Dashboard Home
Sidebar > Command Center > Dashboard Home
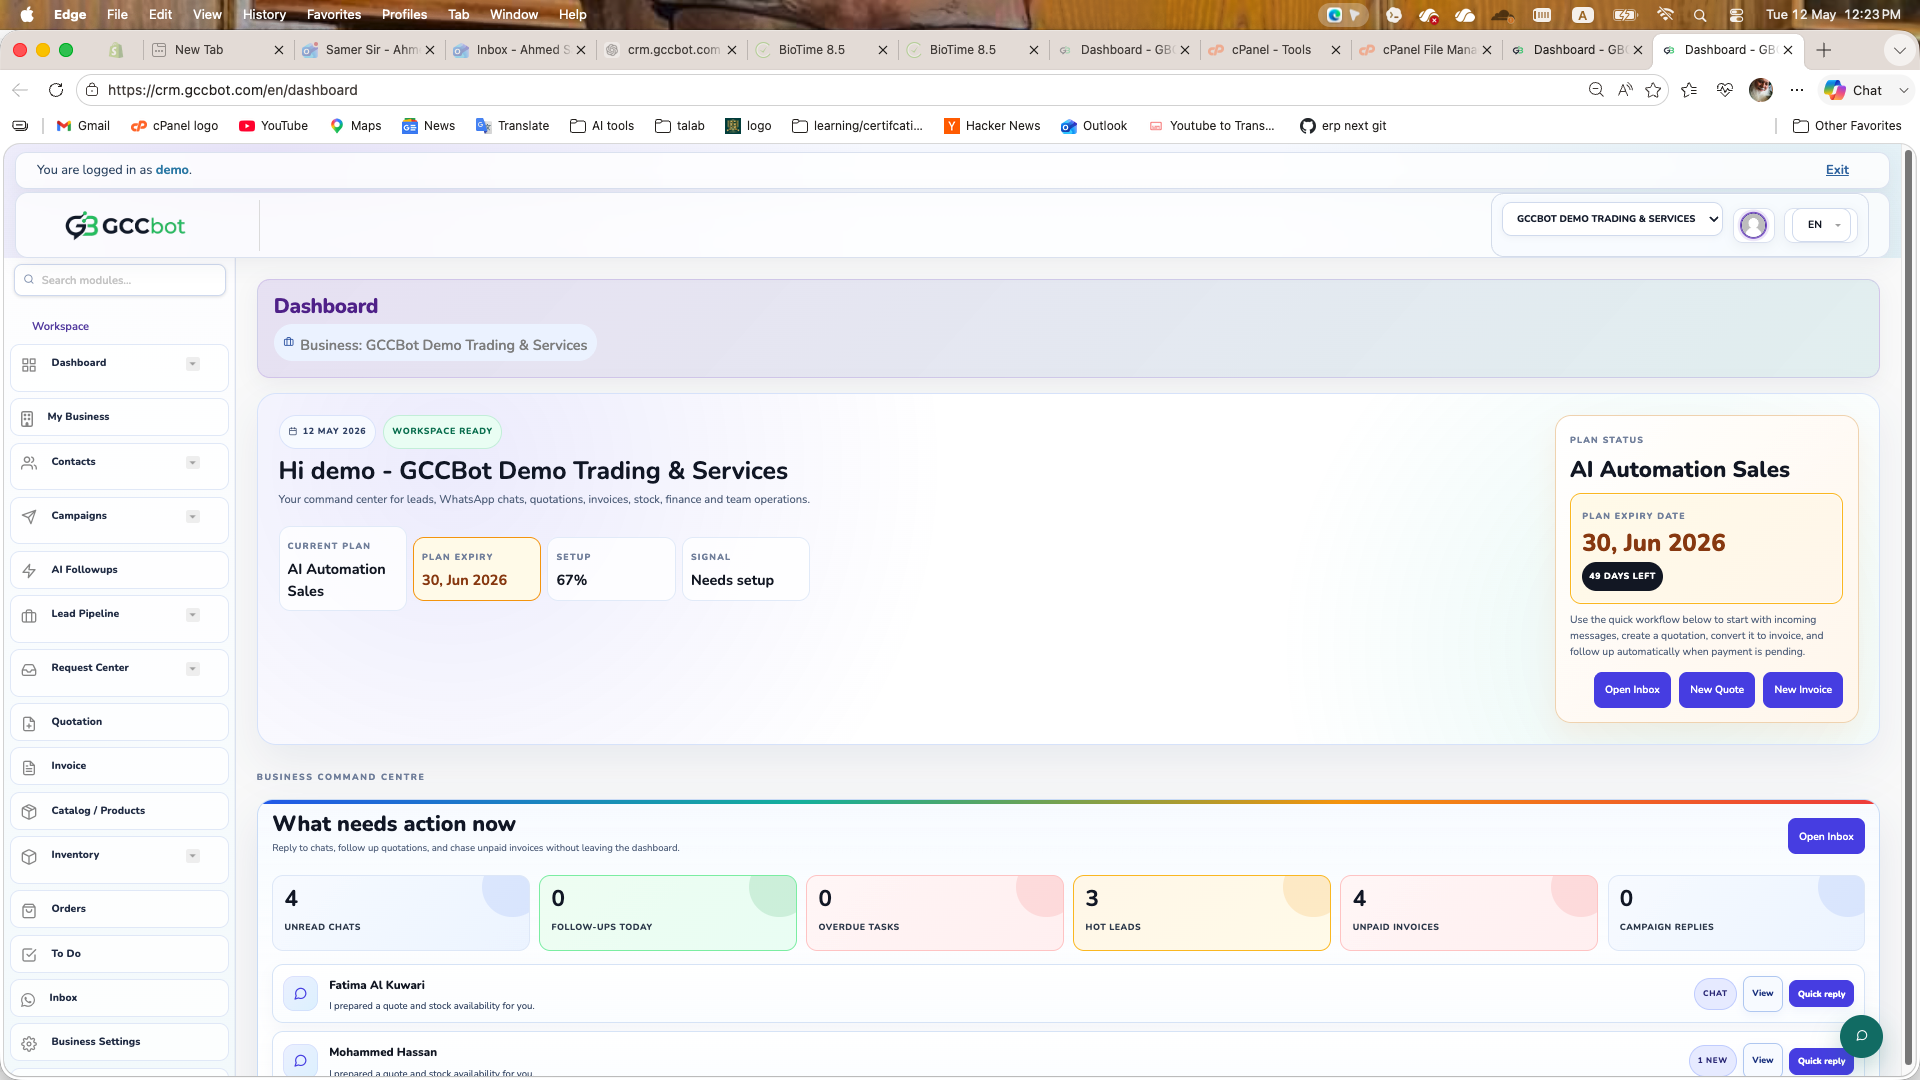
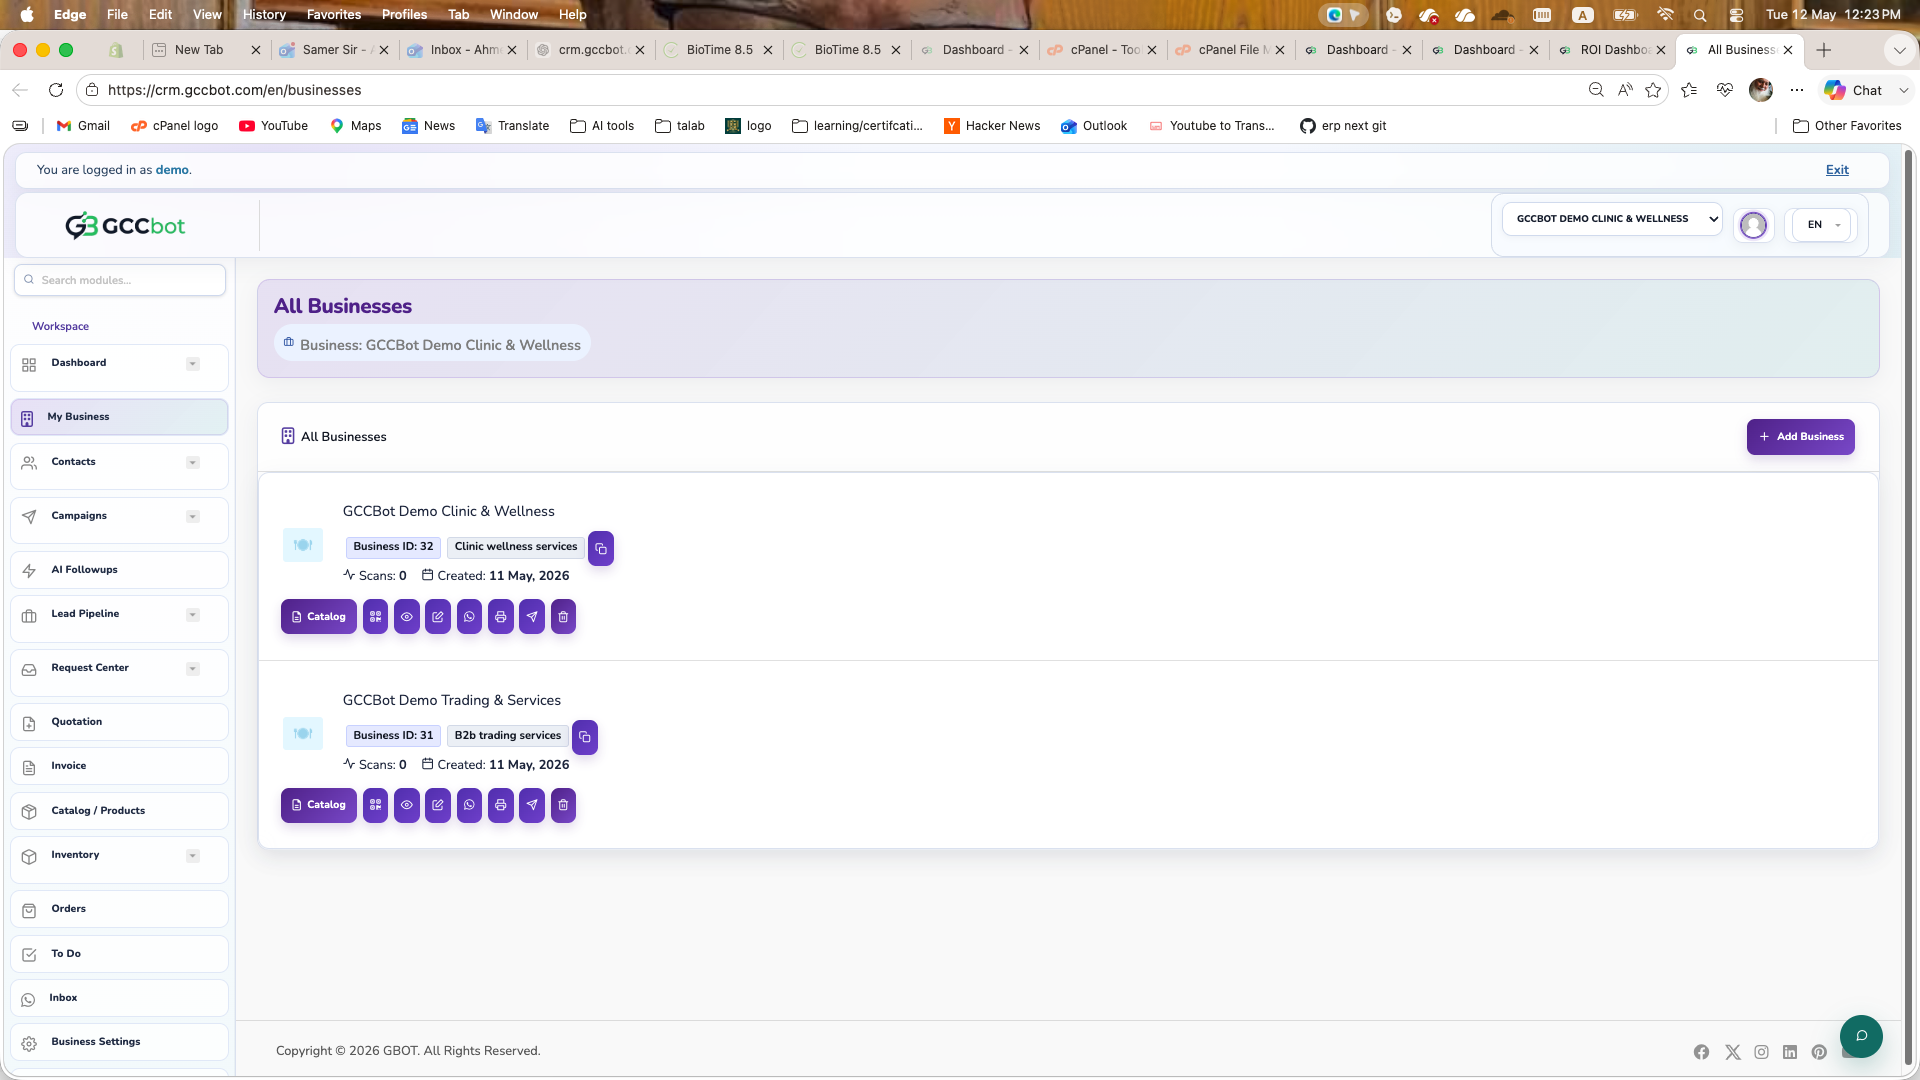
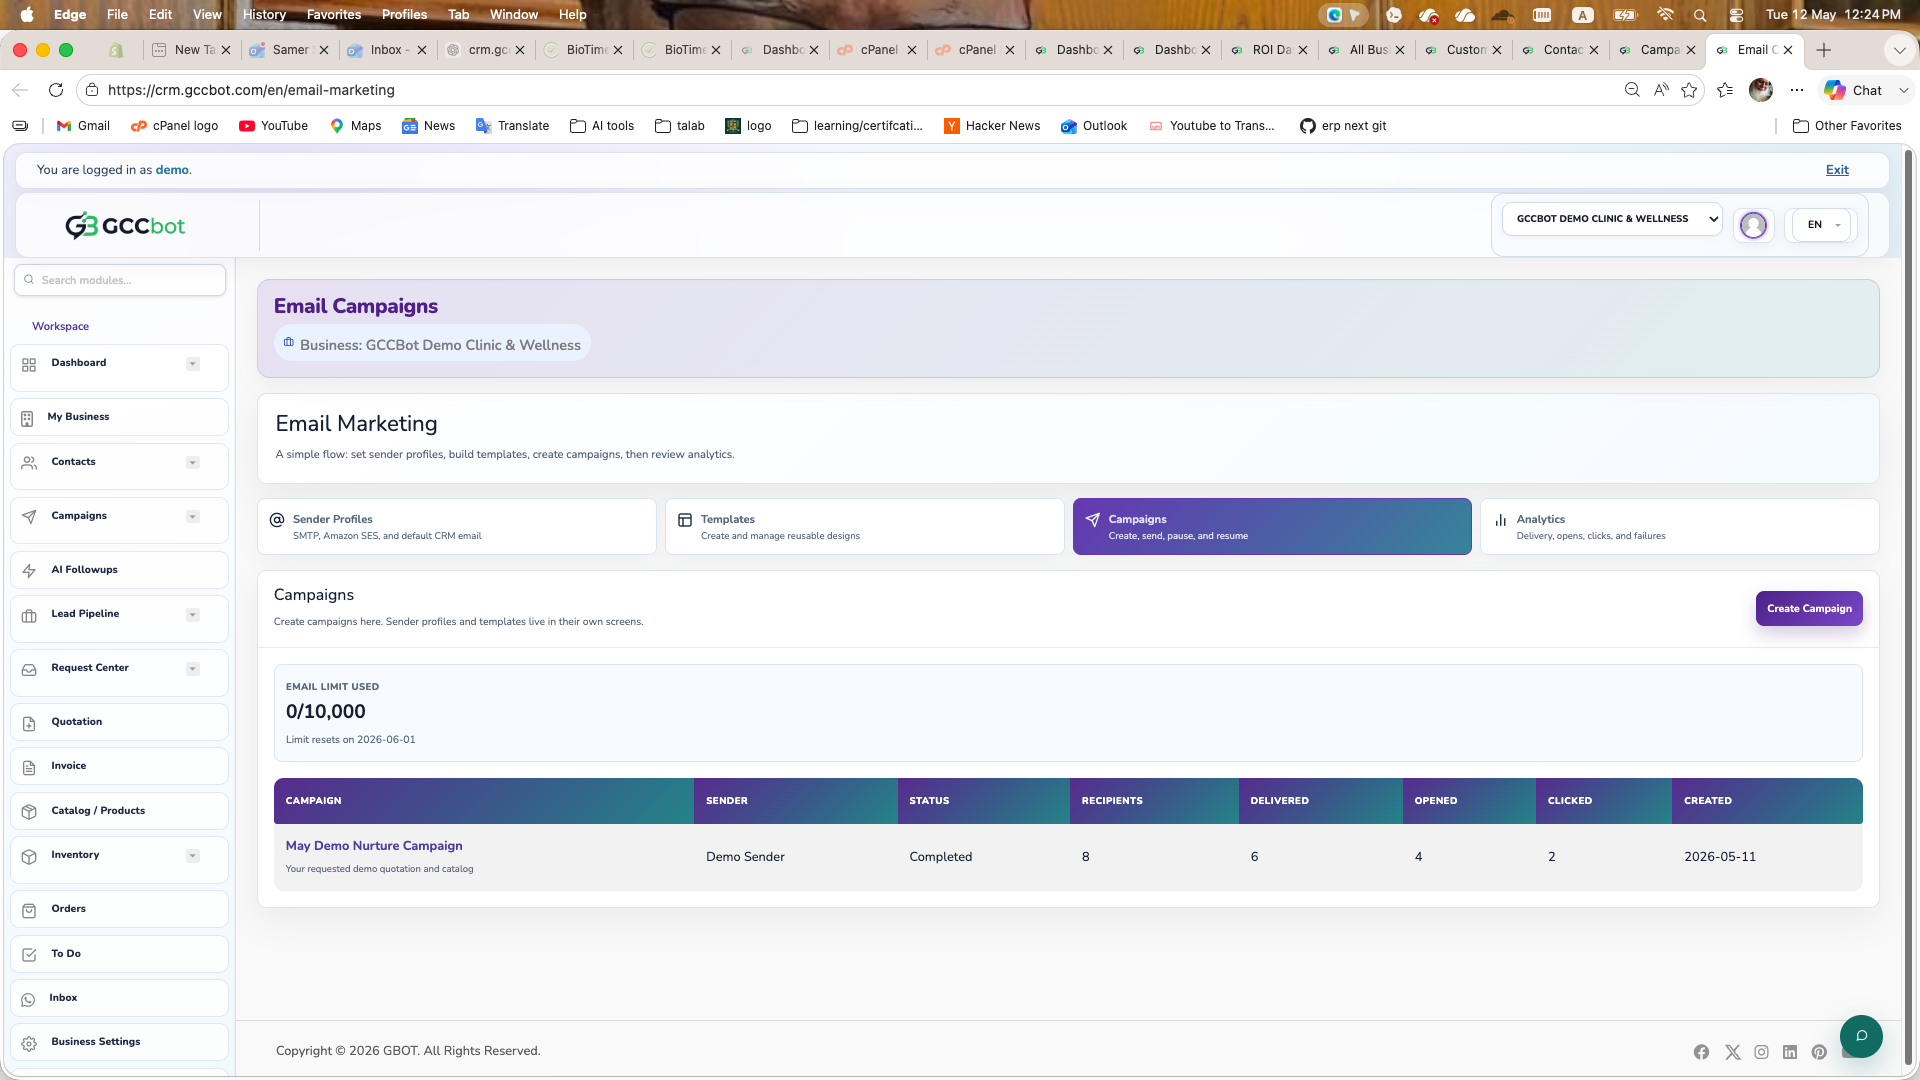
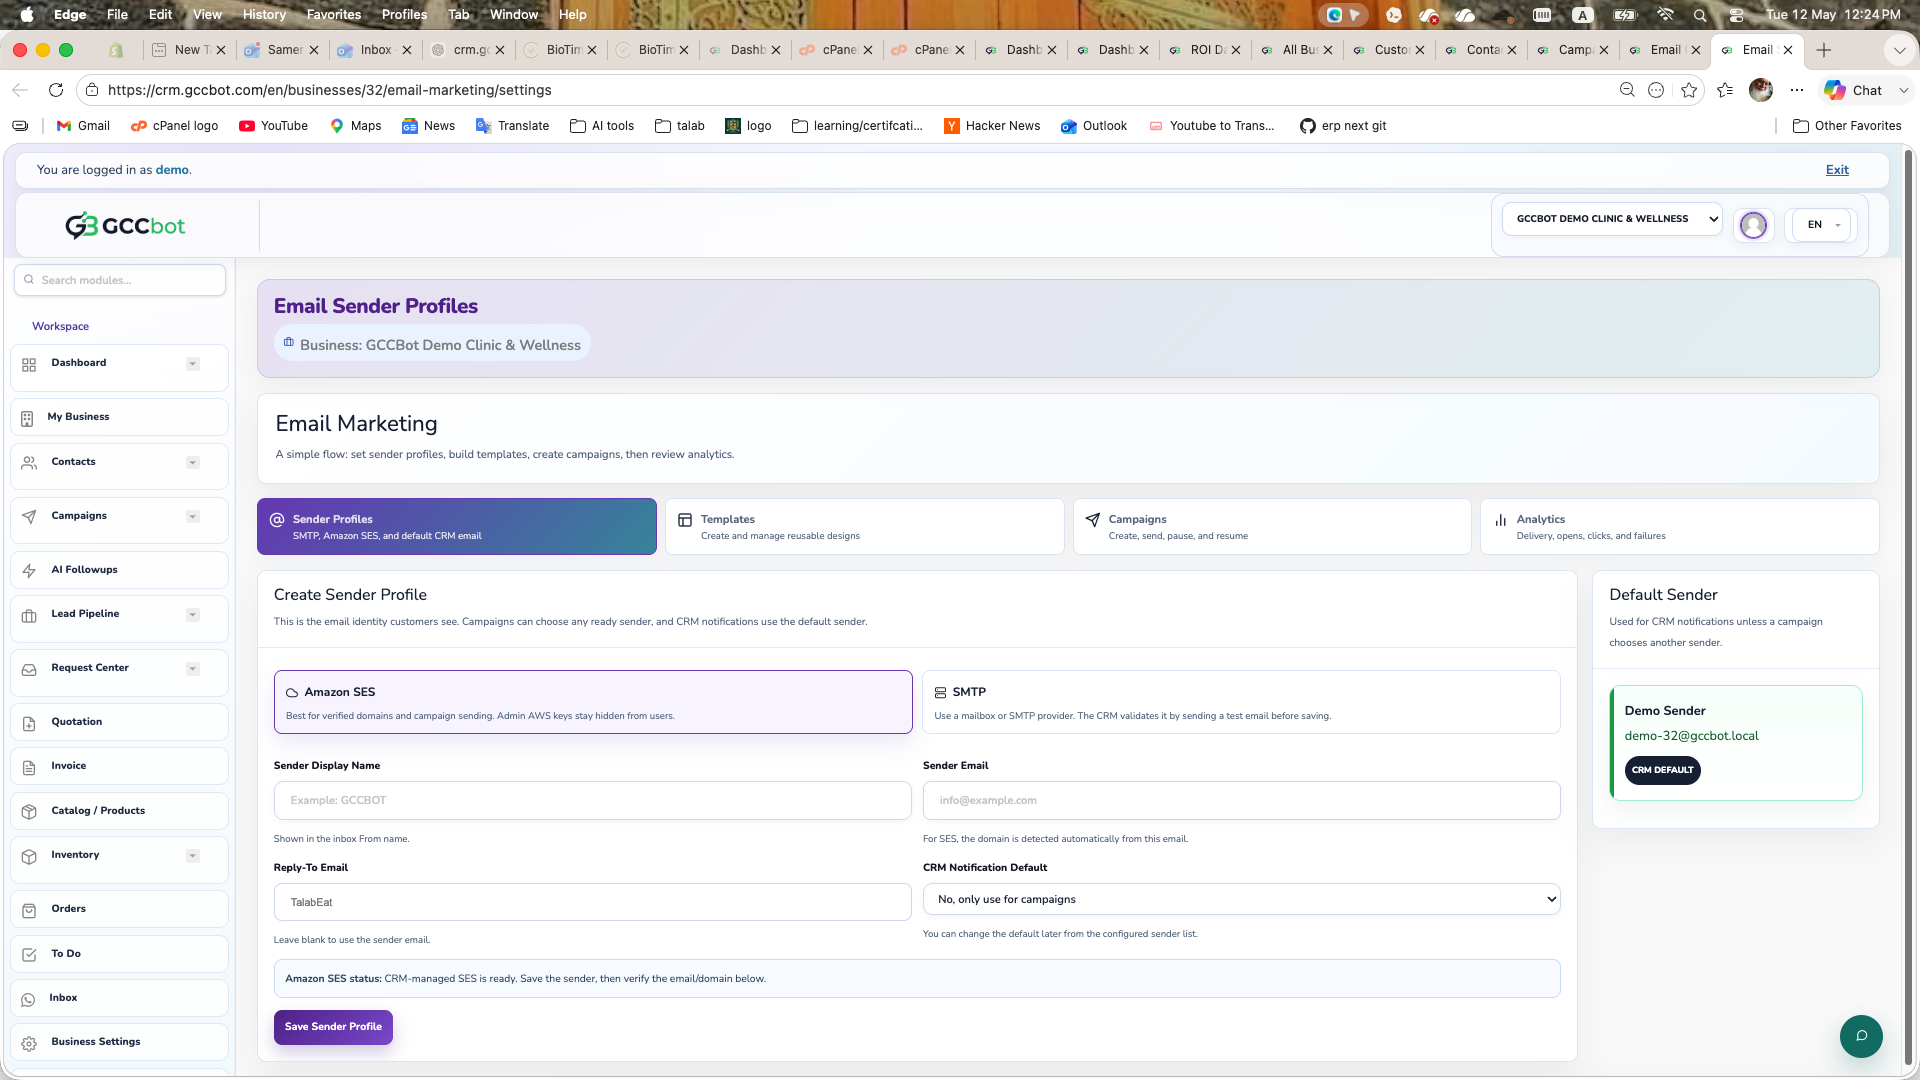
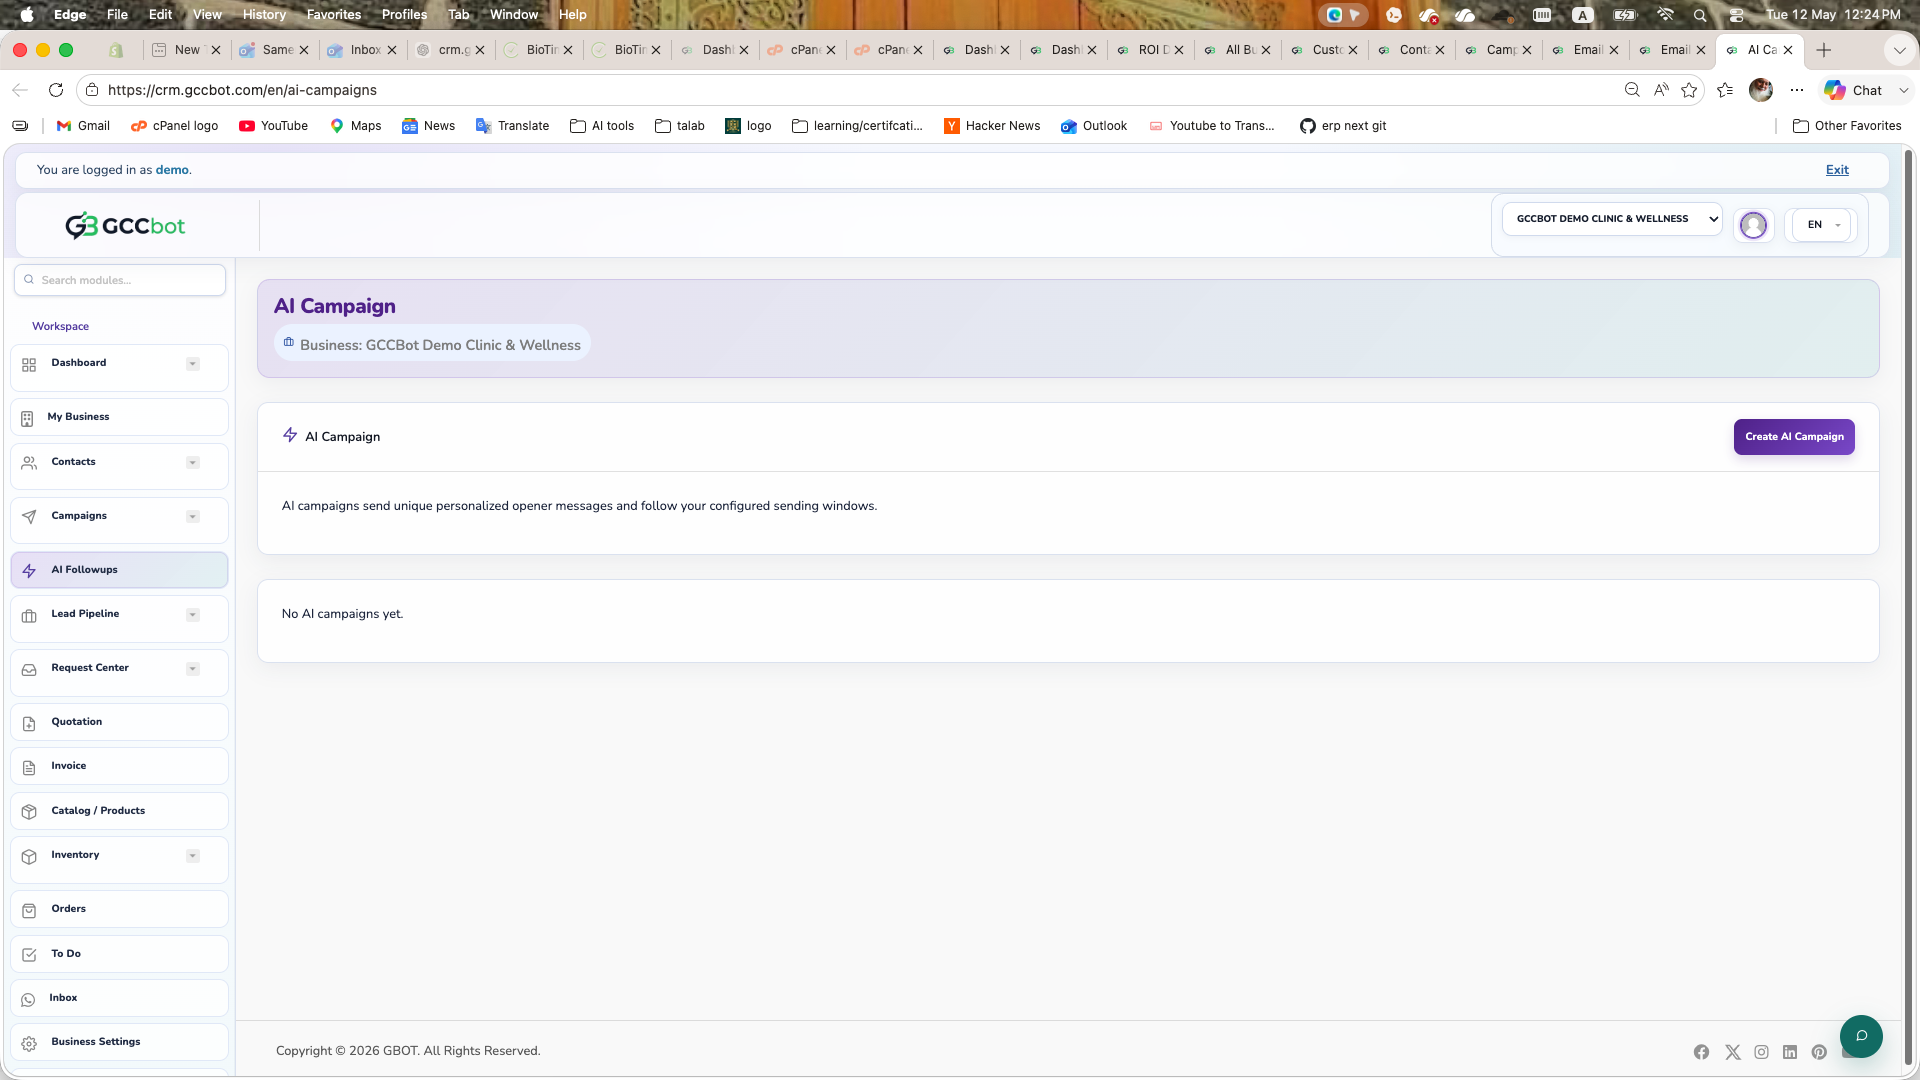
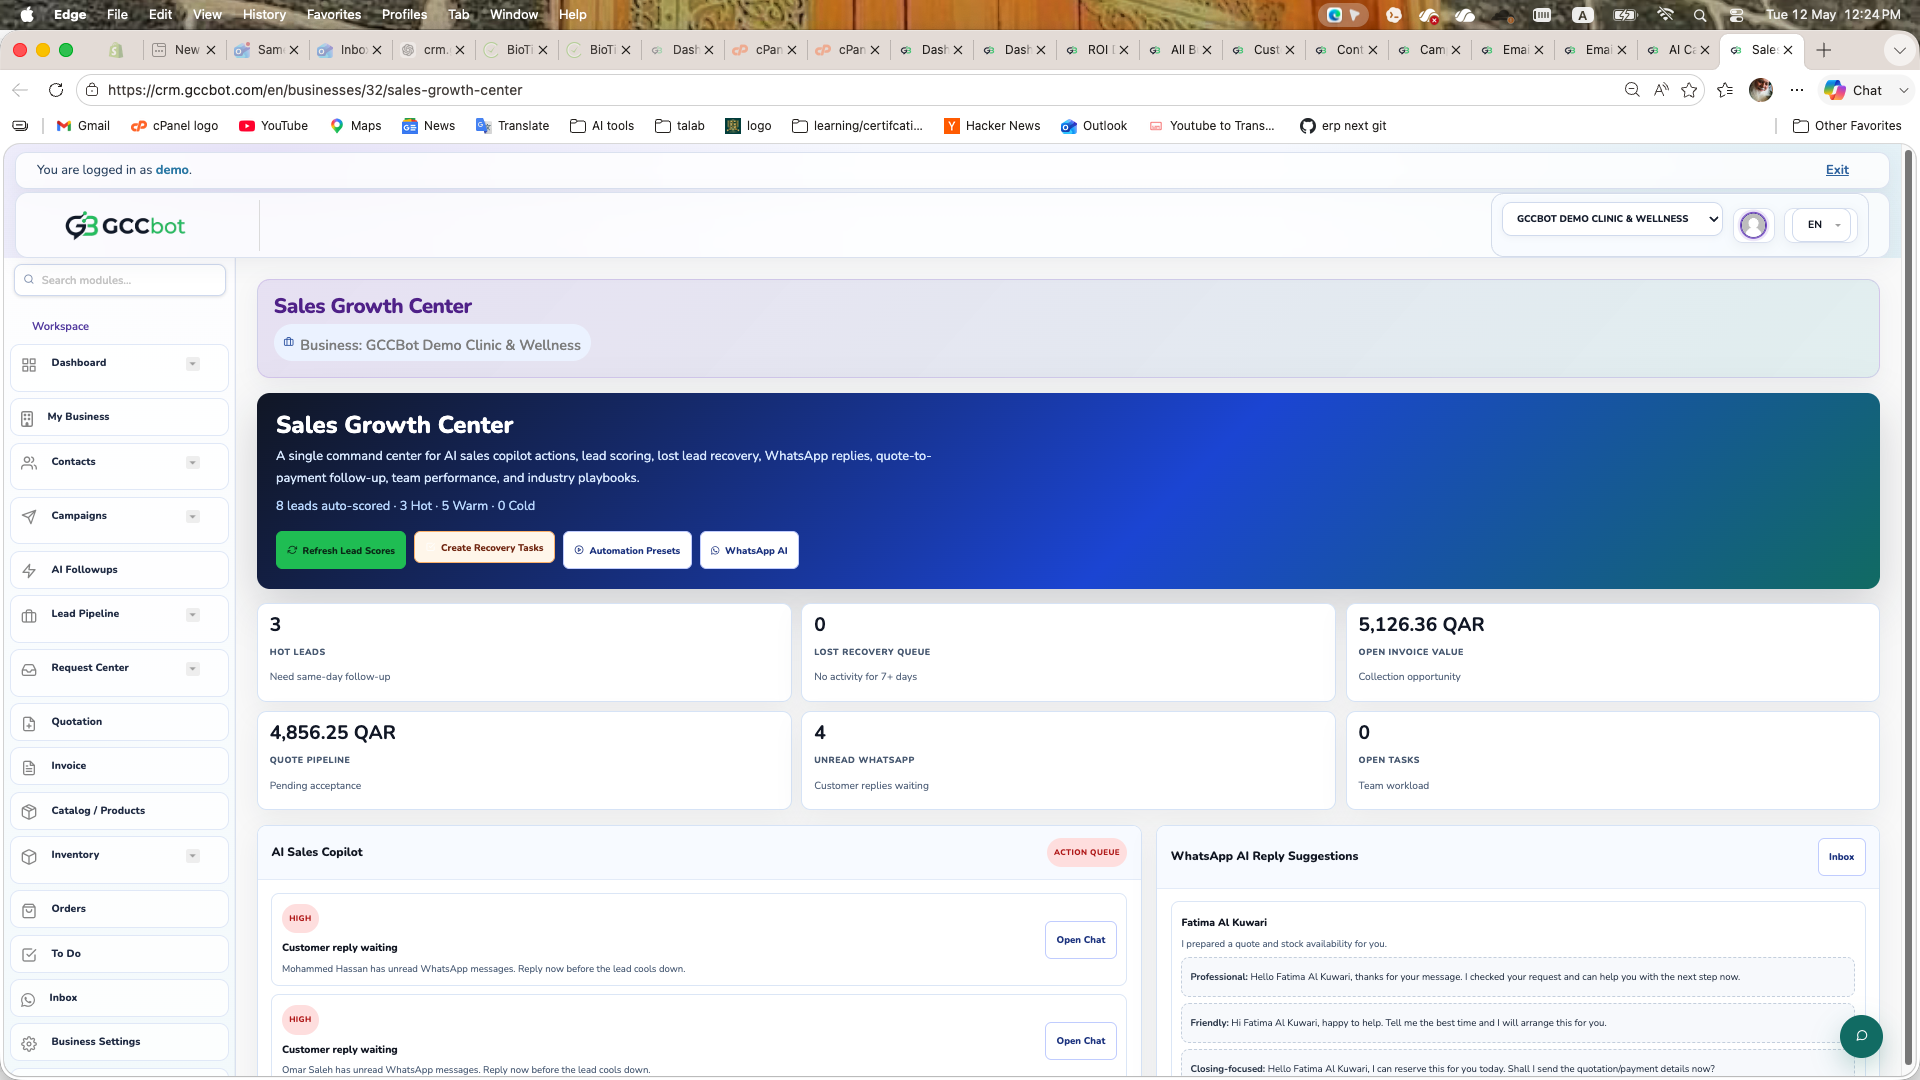
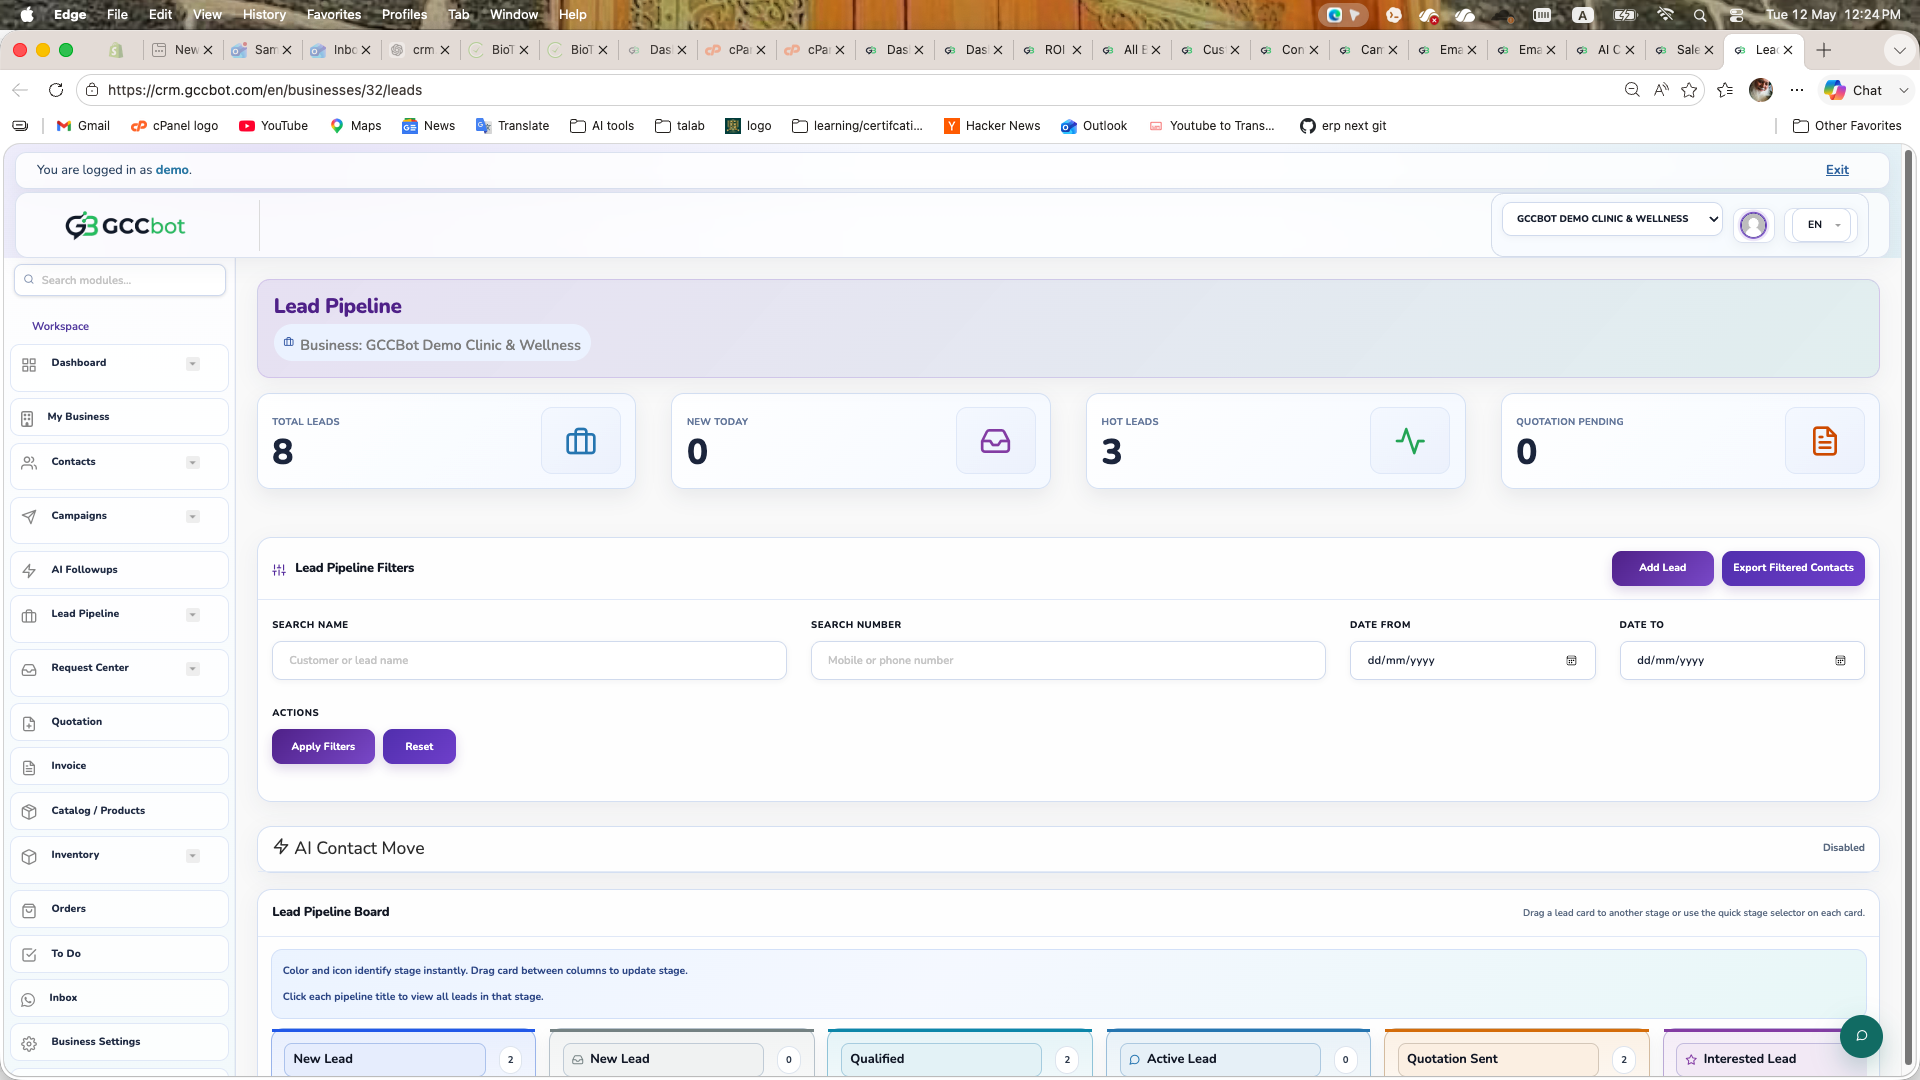
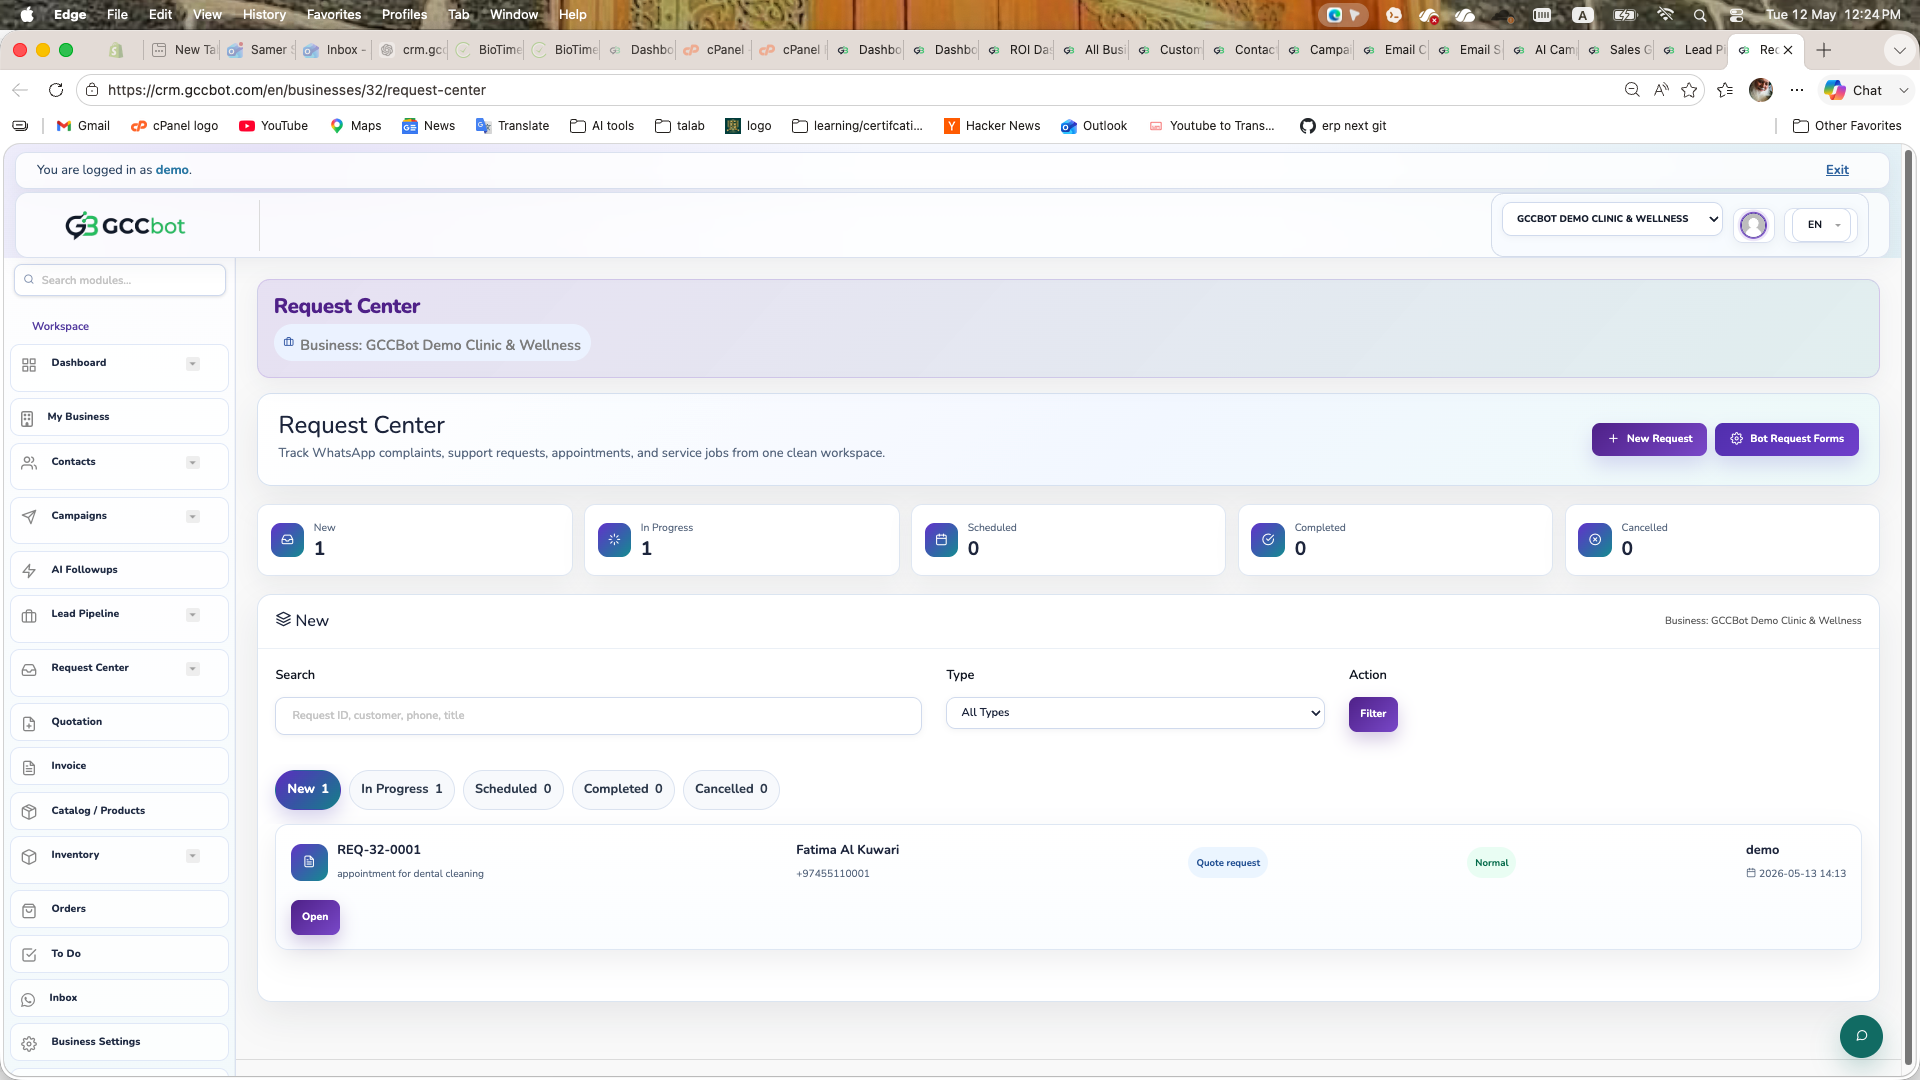
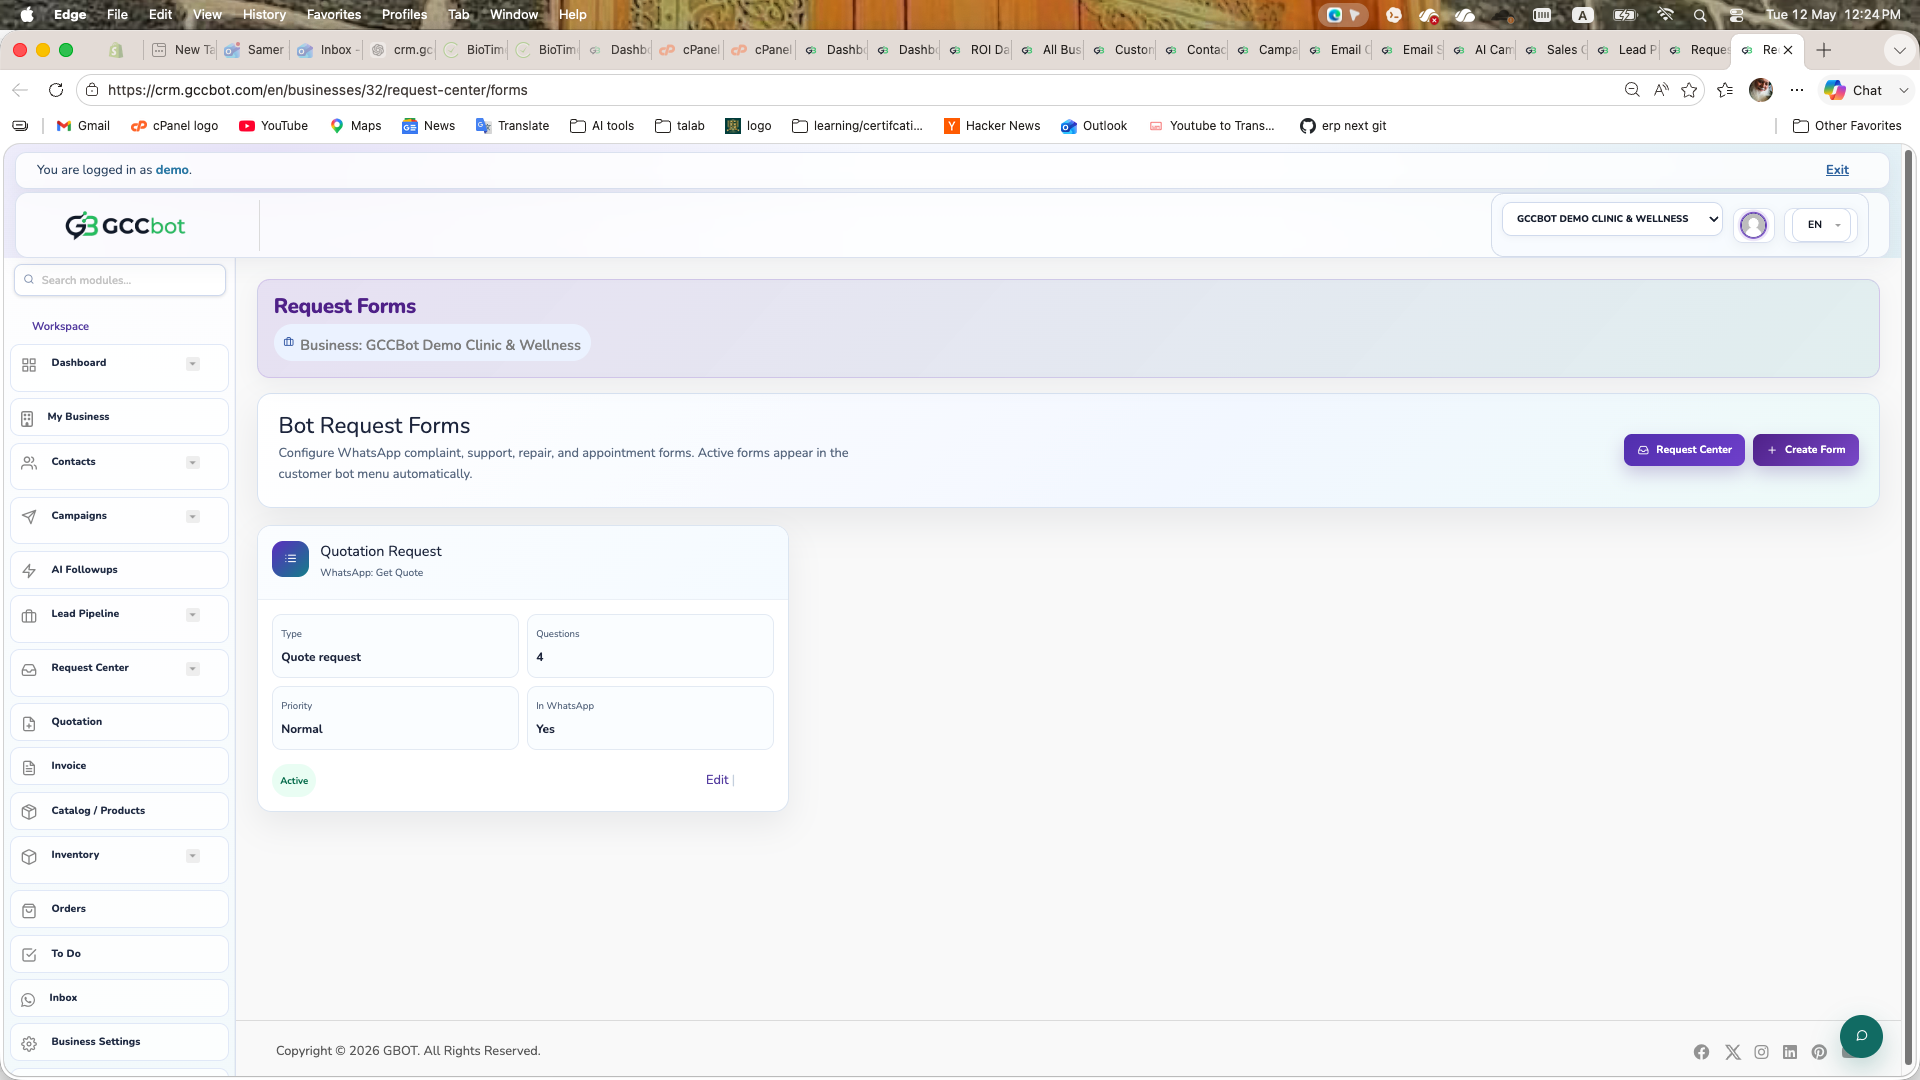
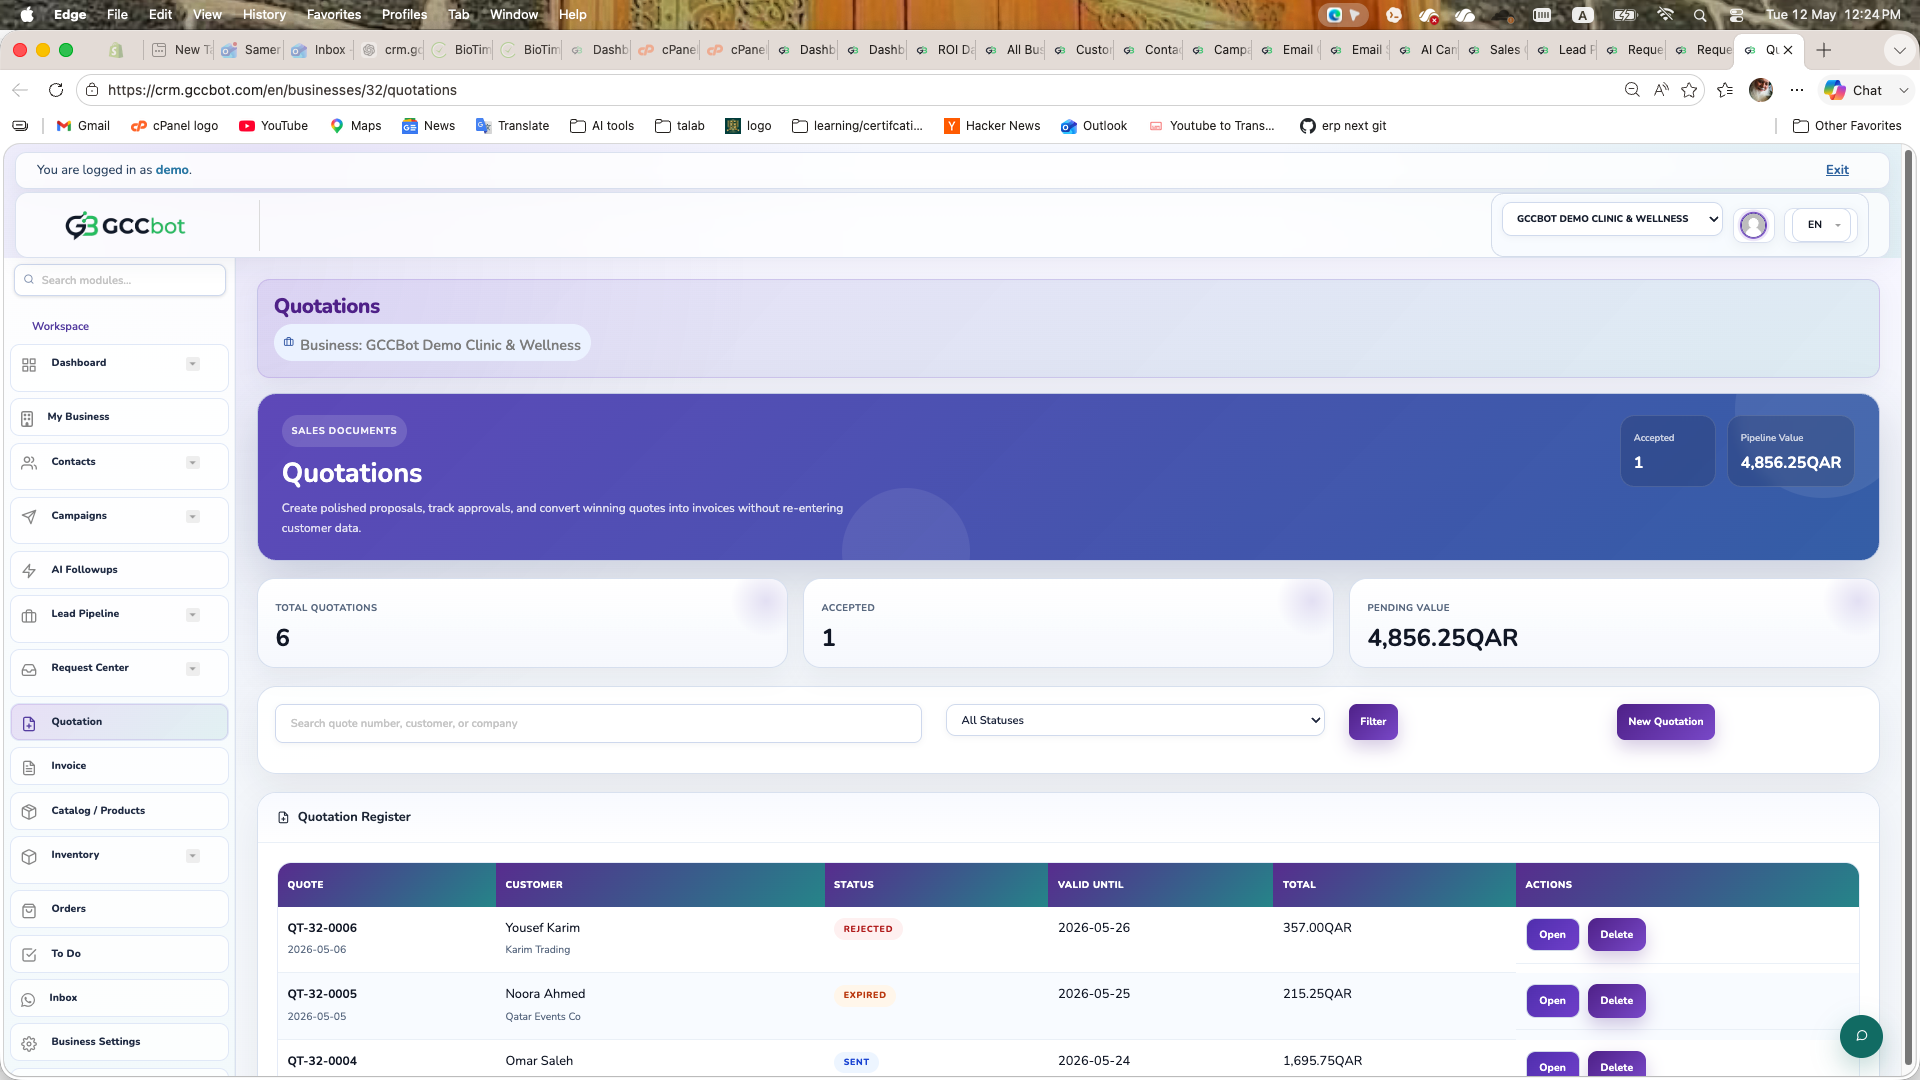
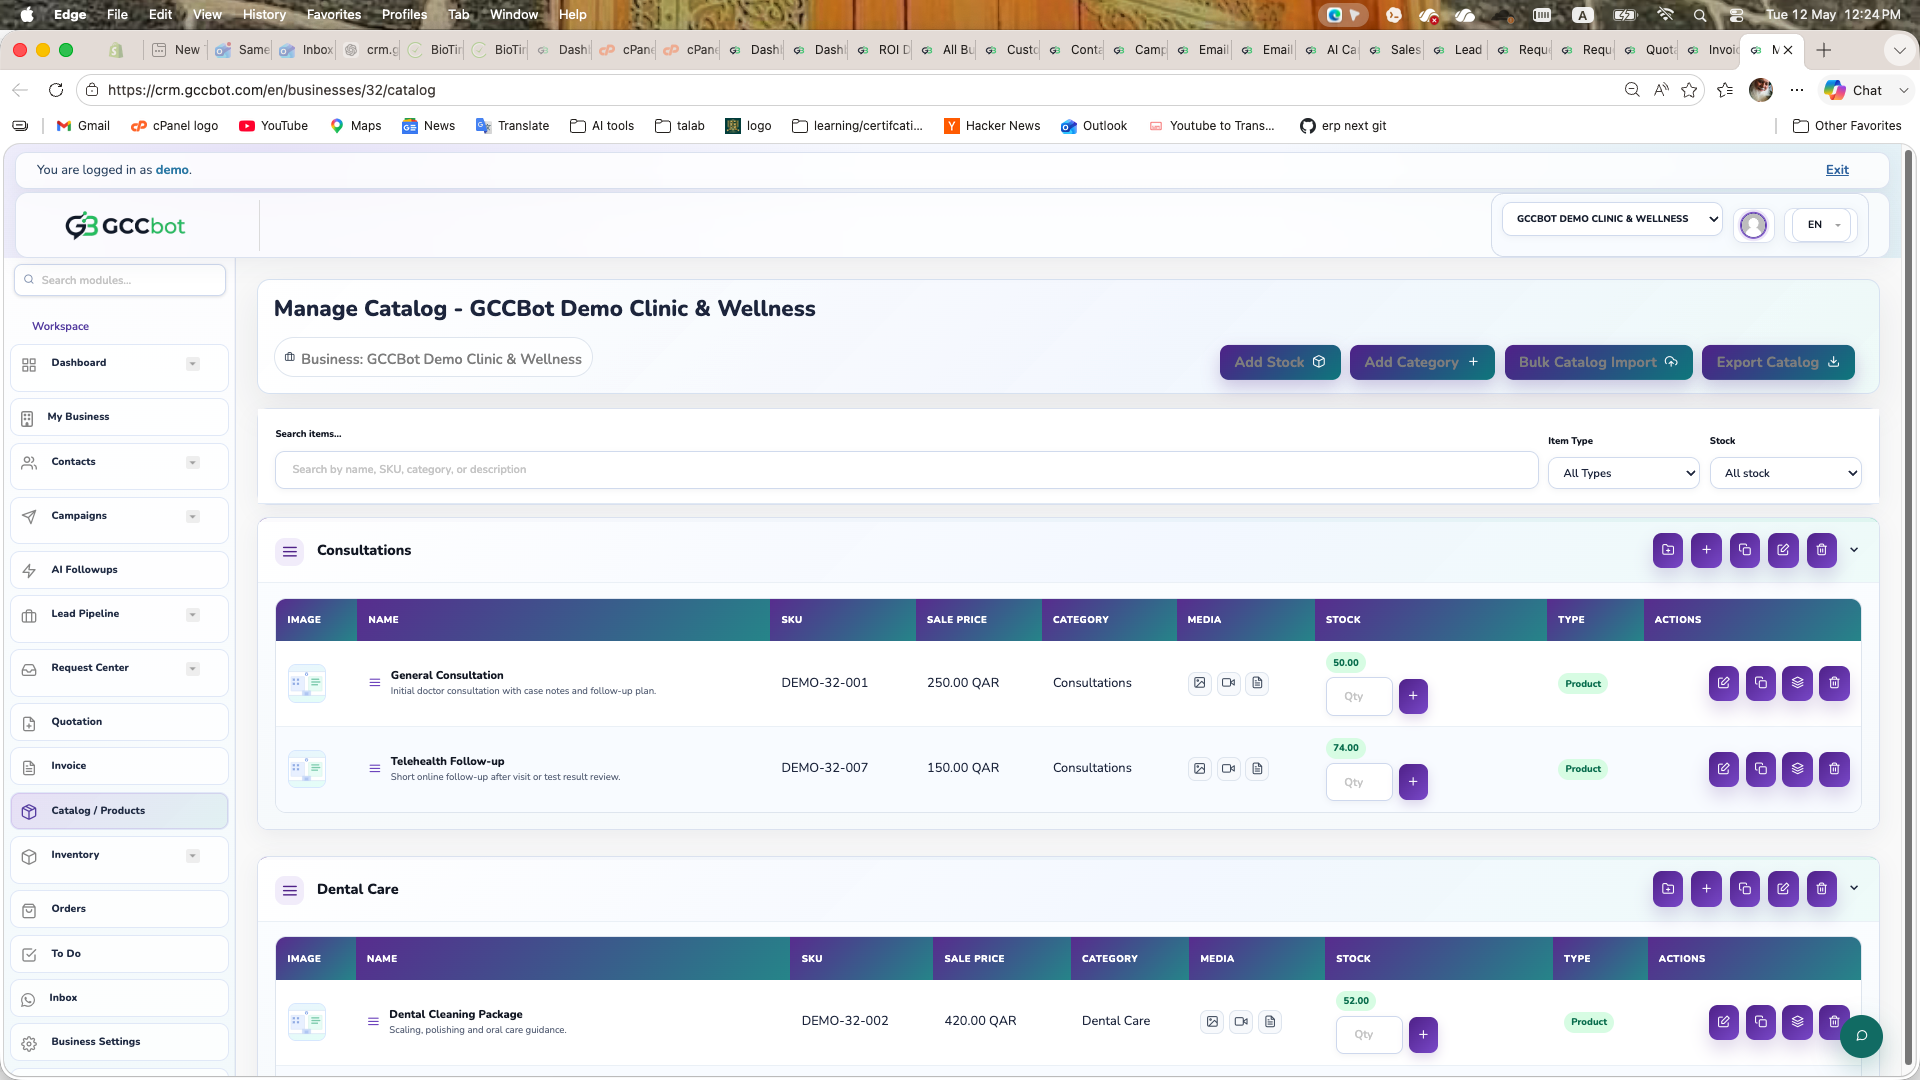
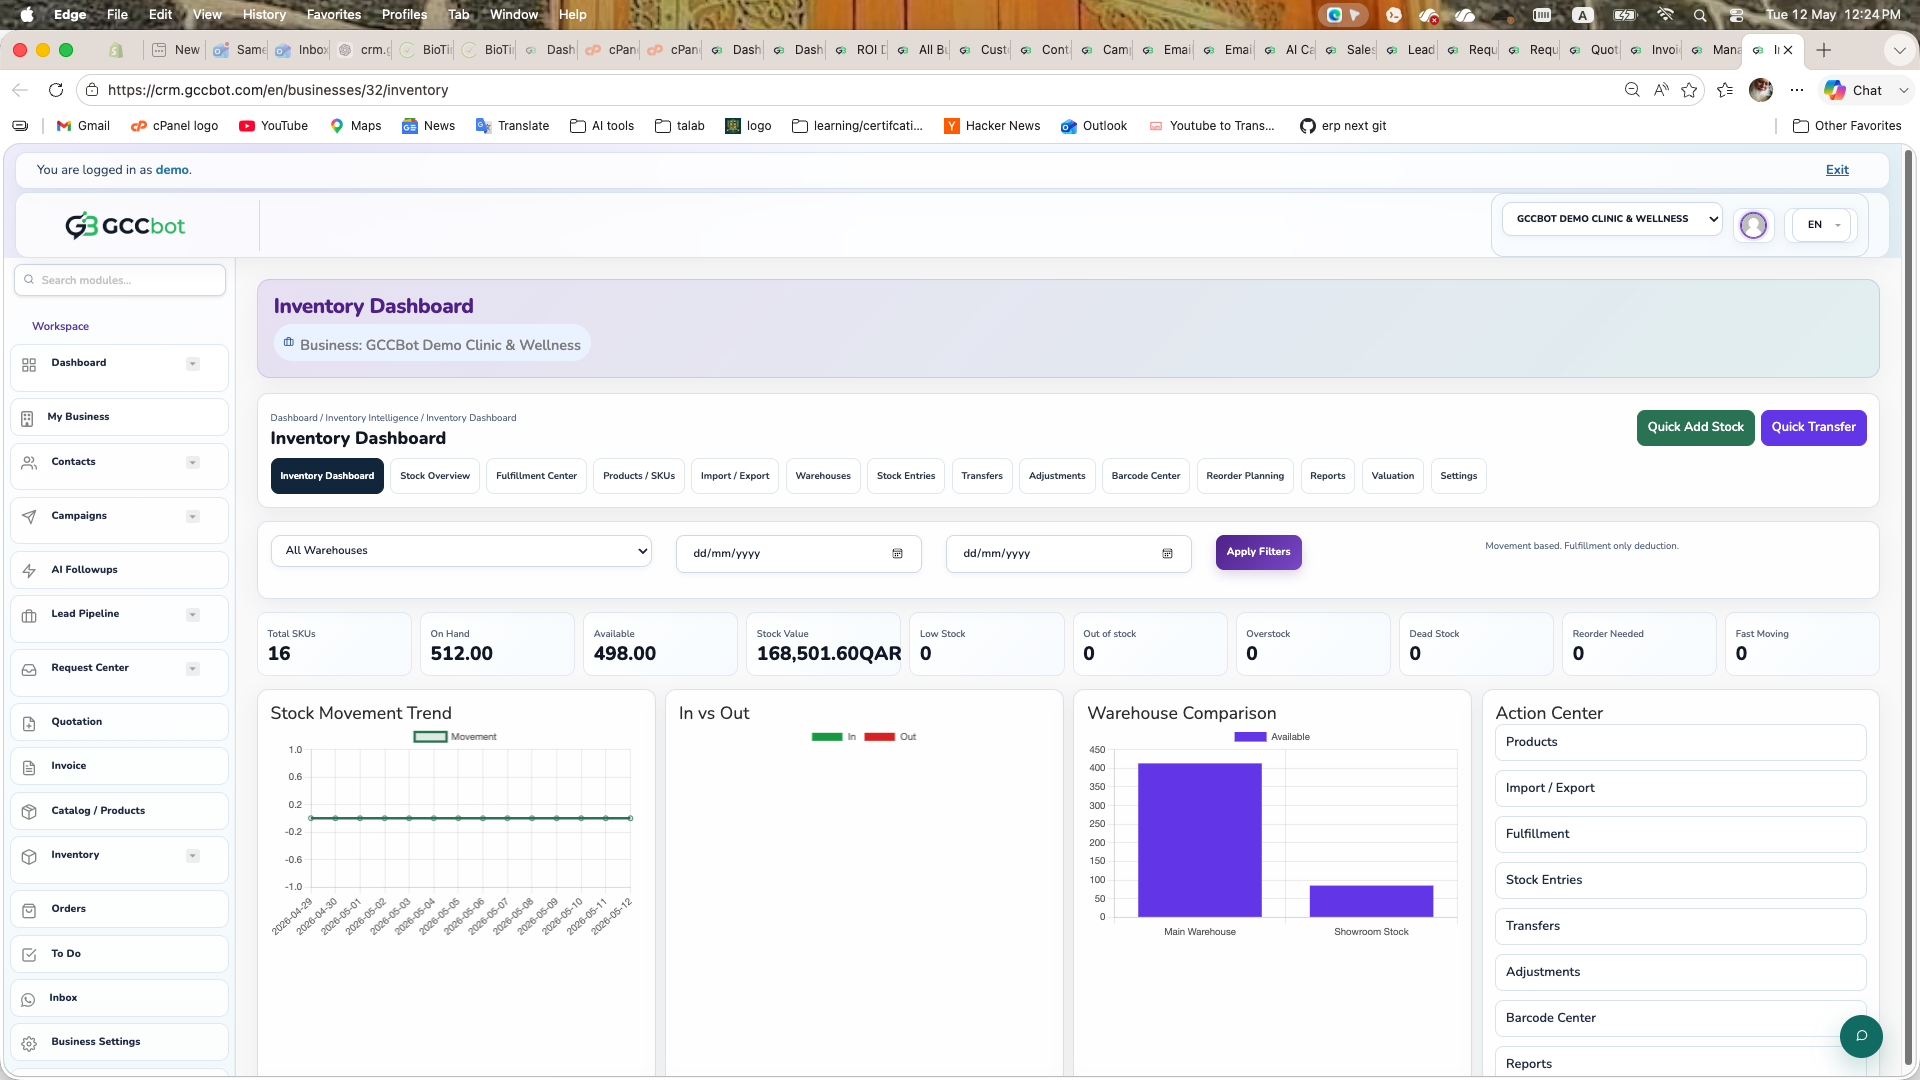
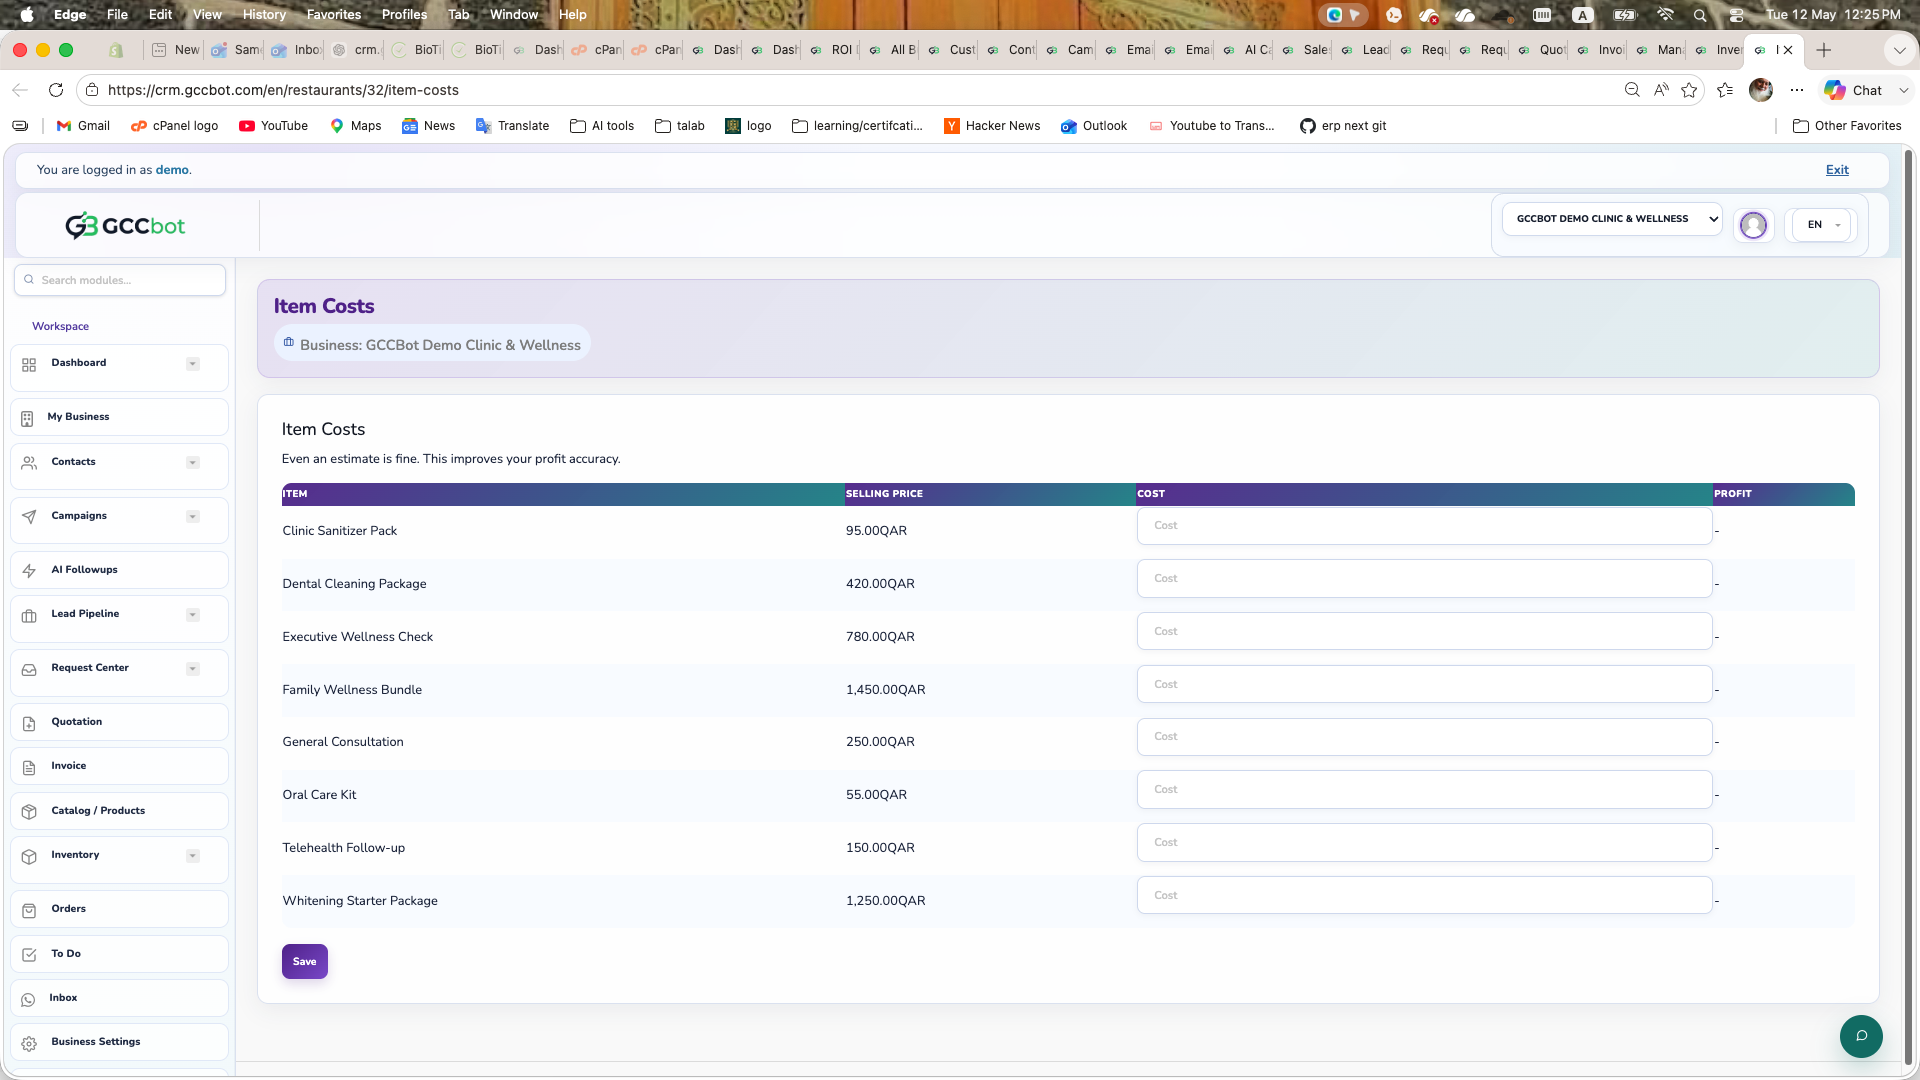
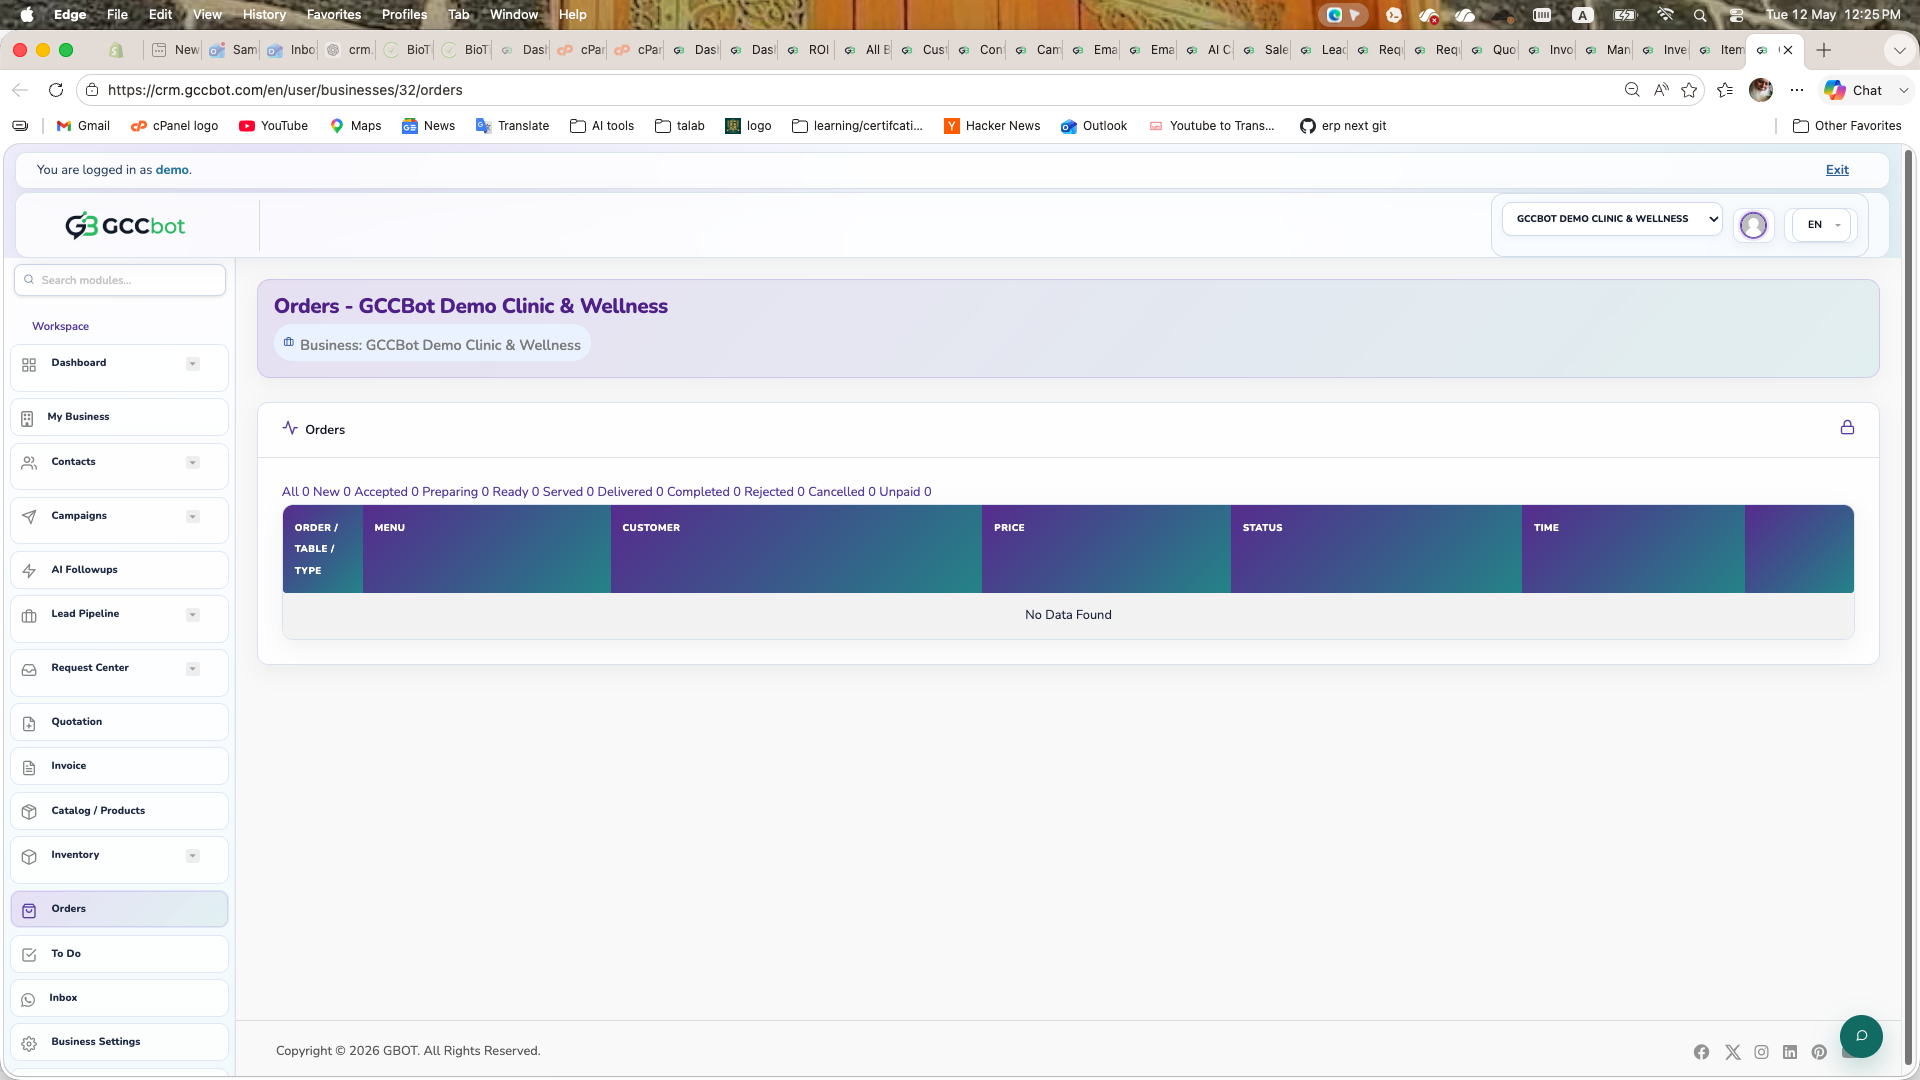
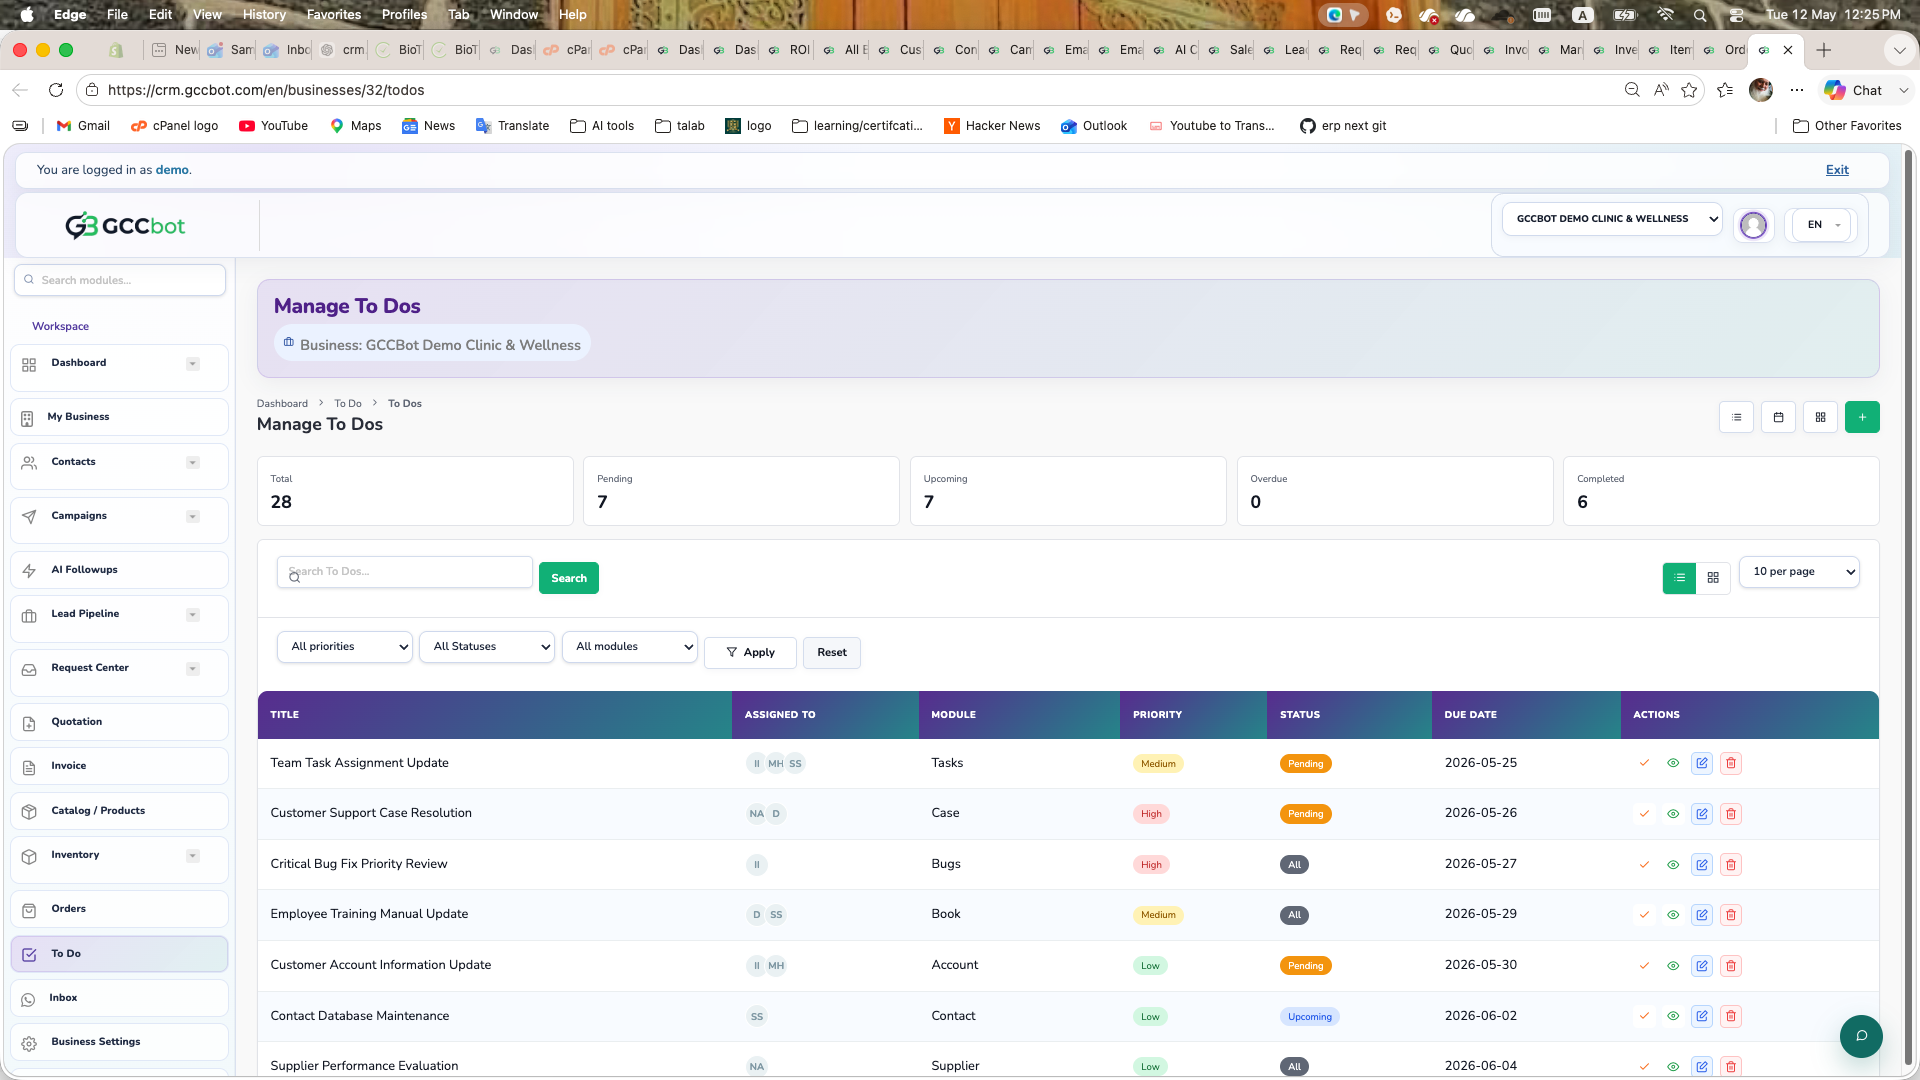
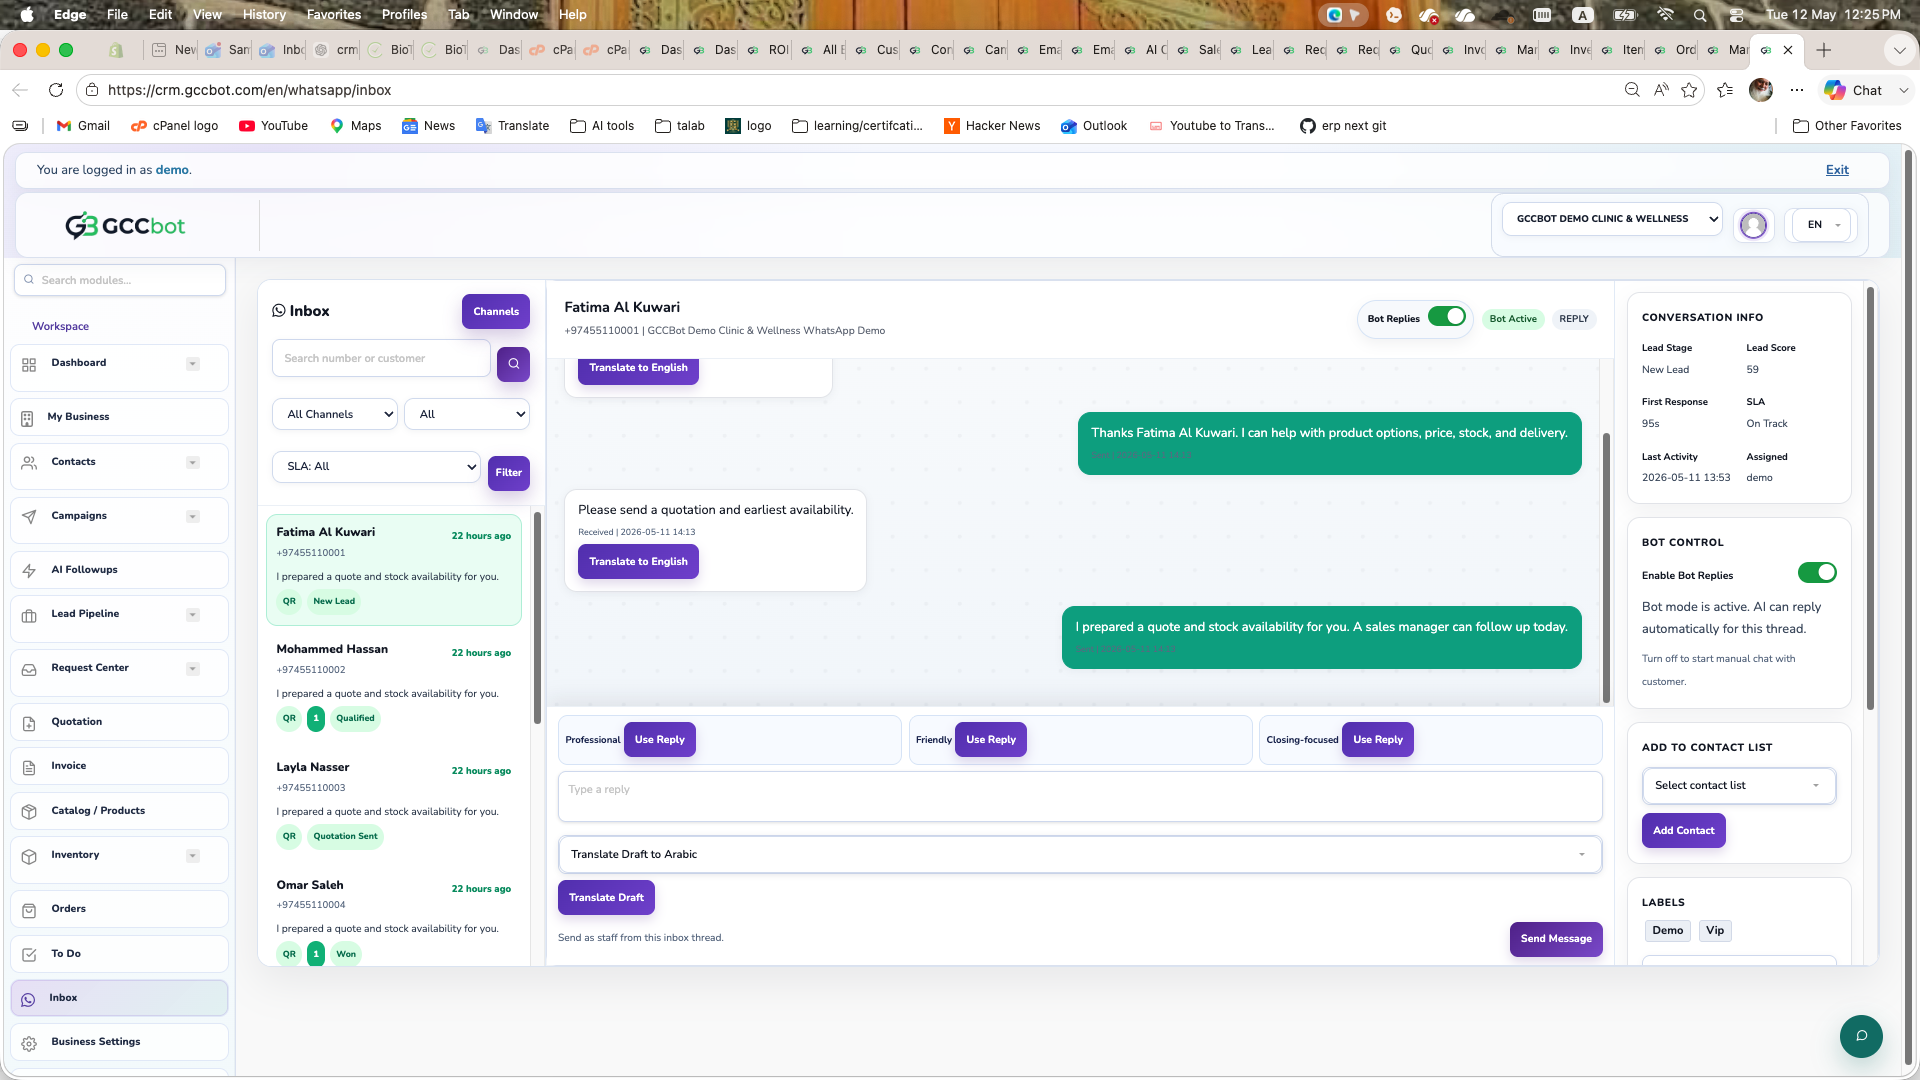
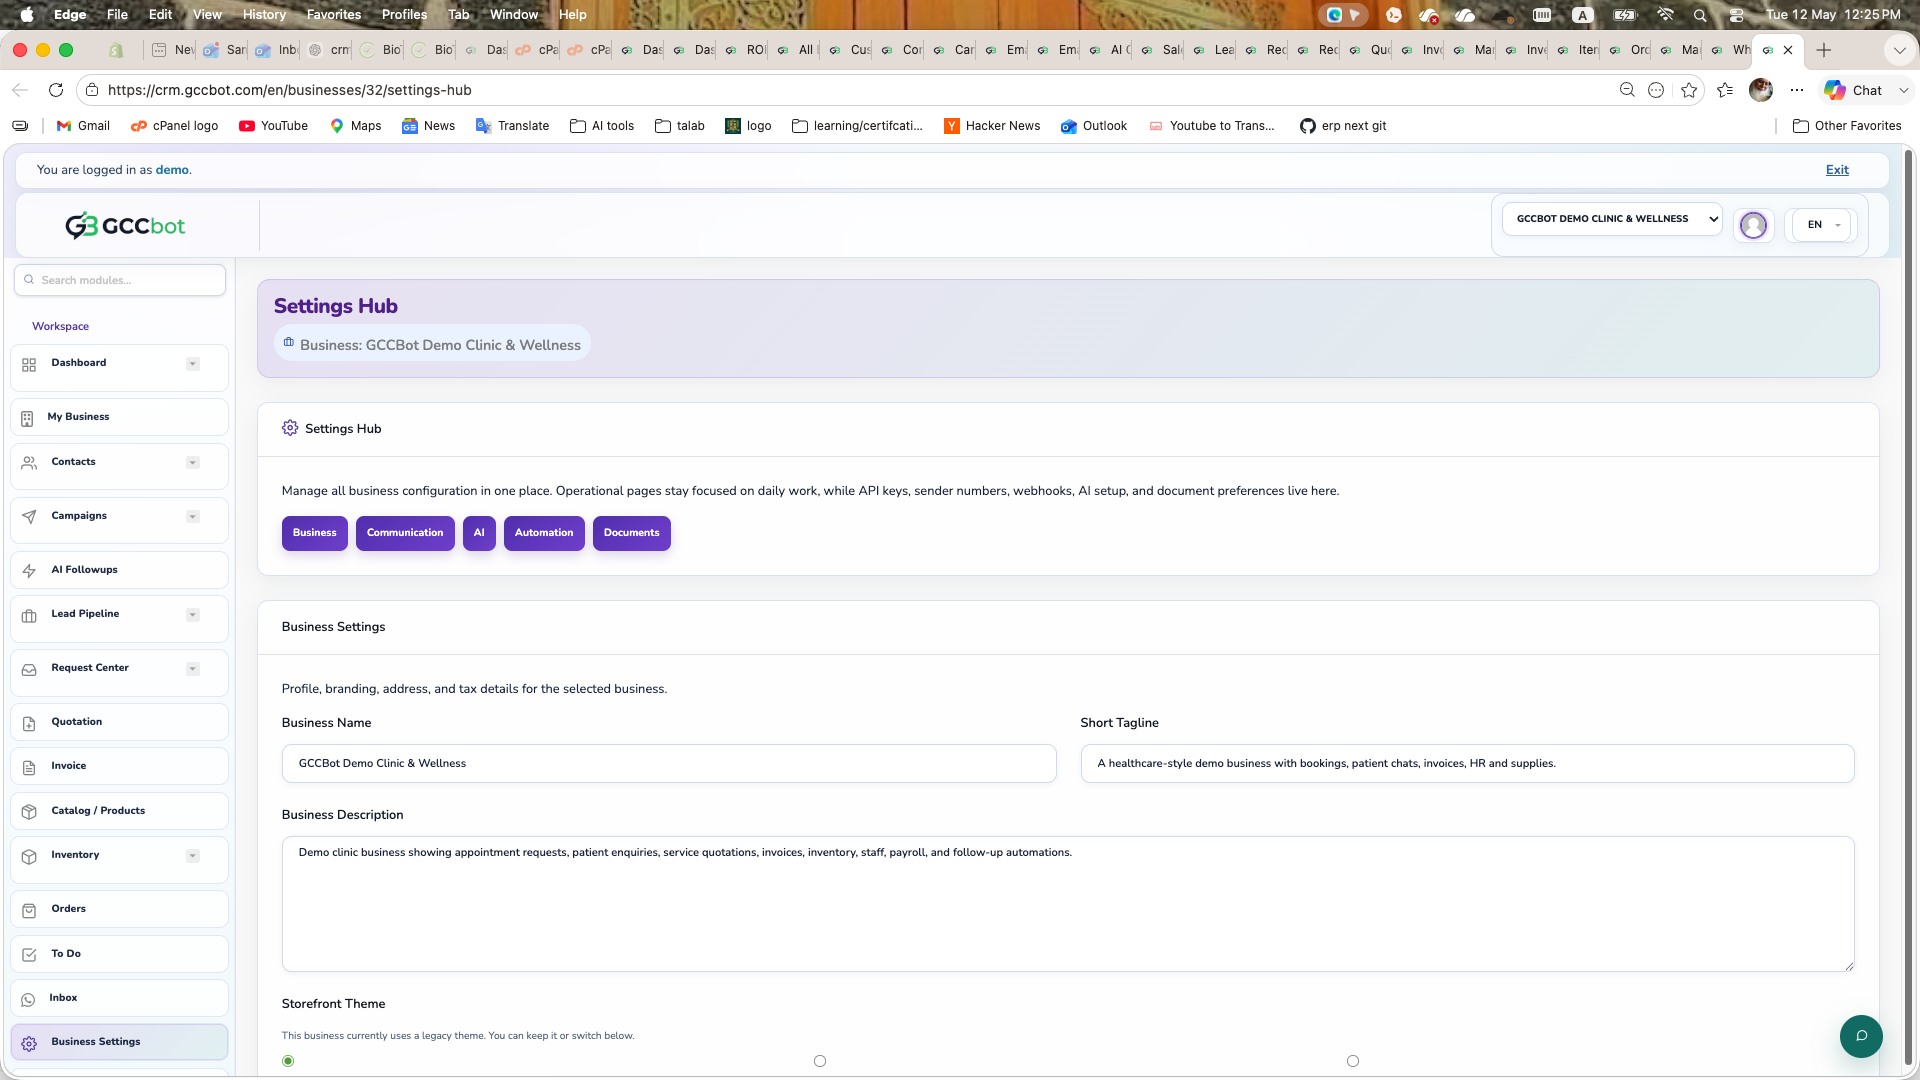
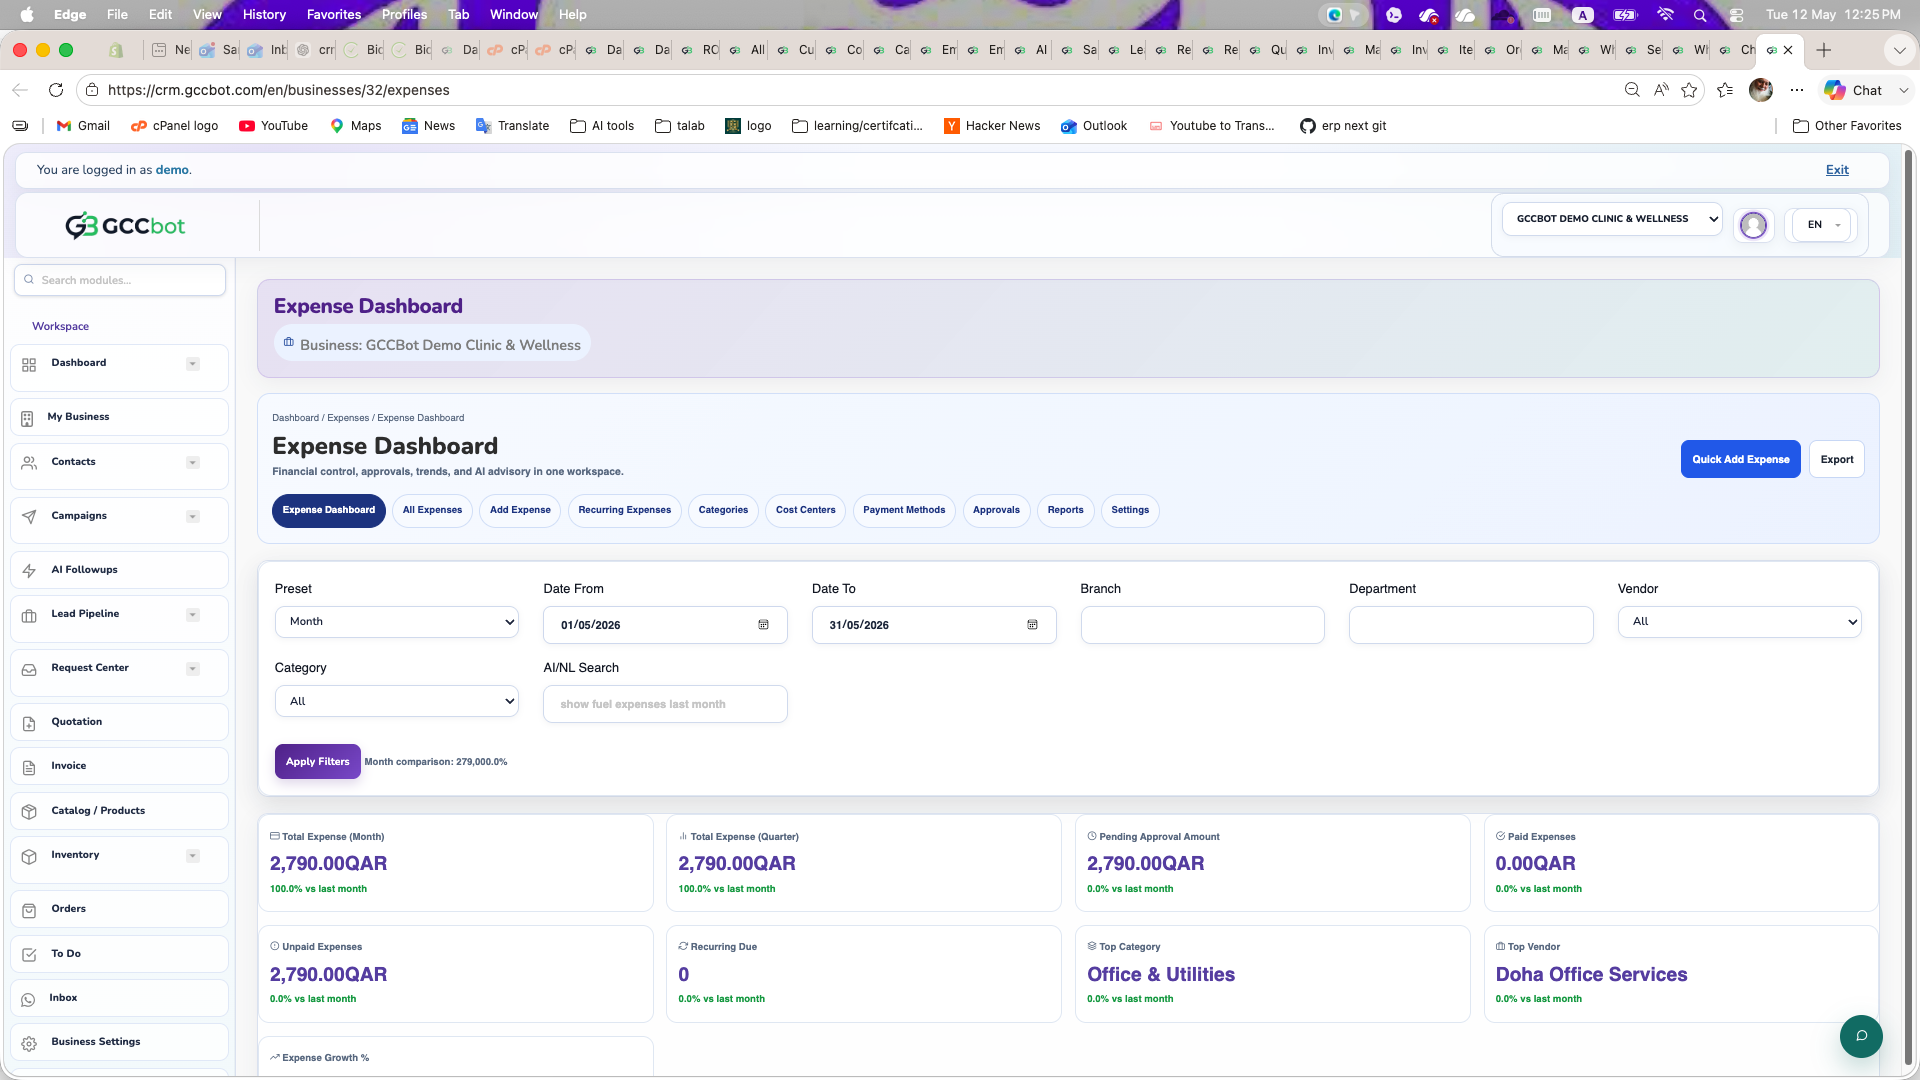
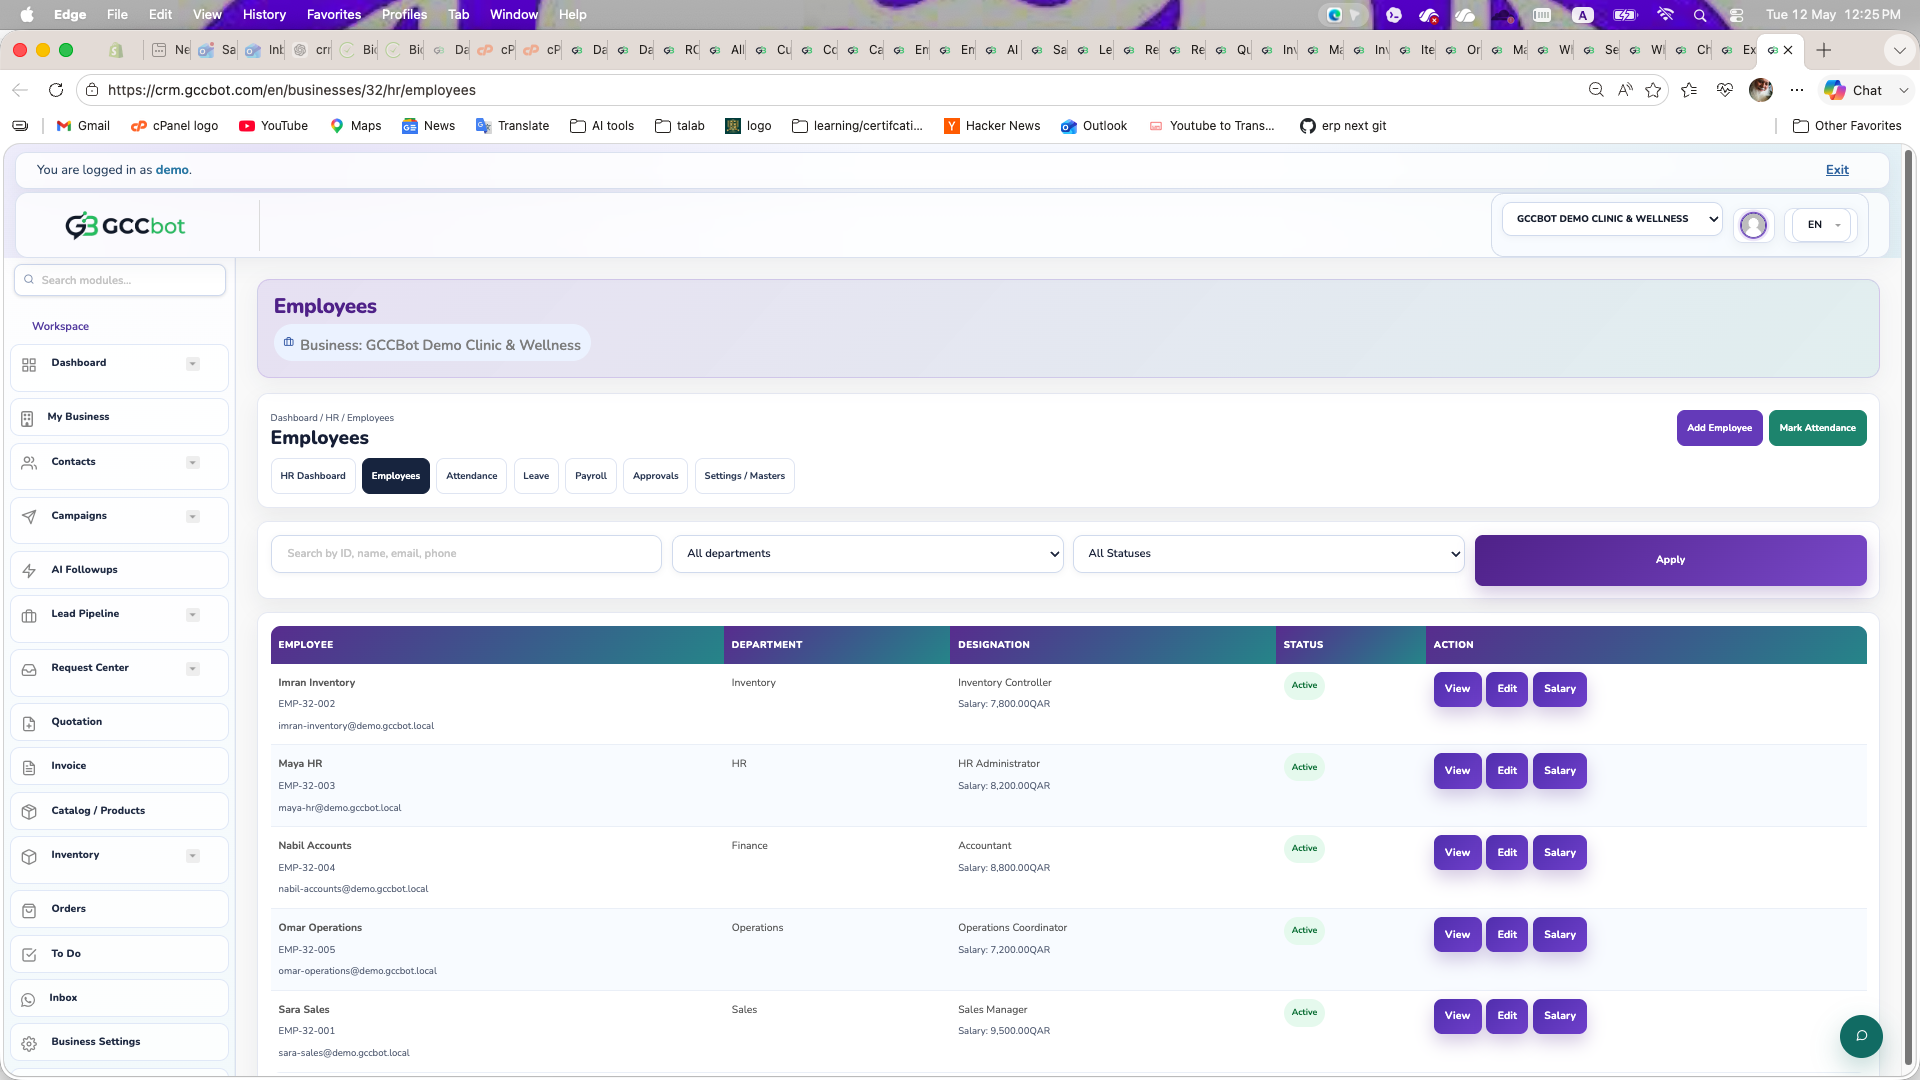
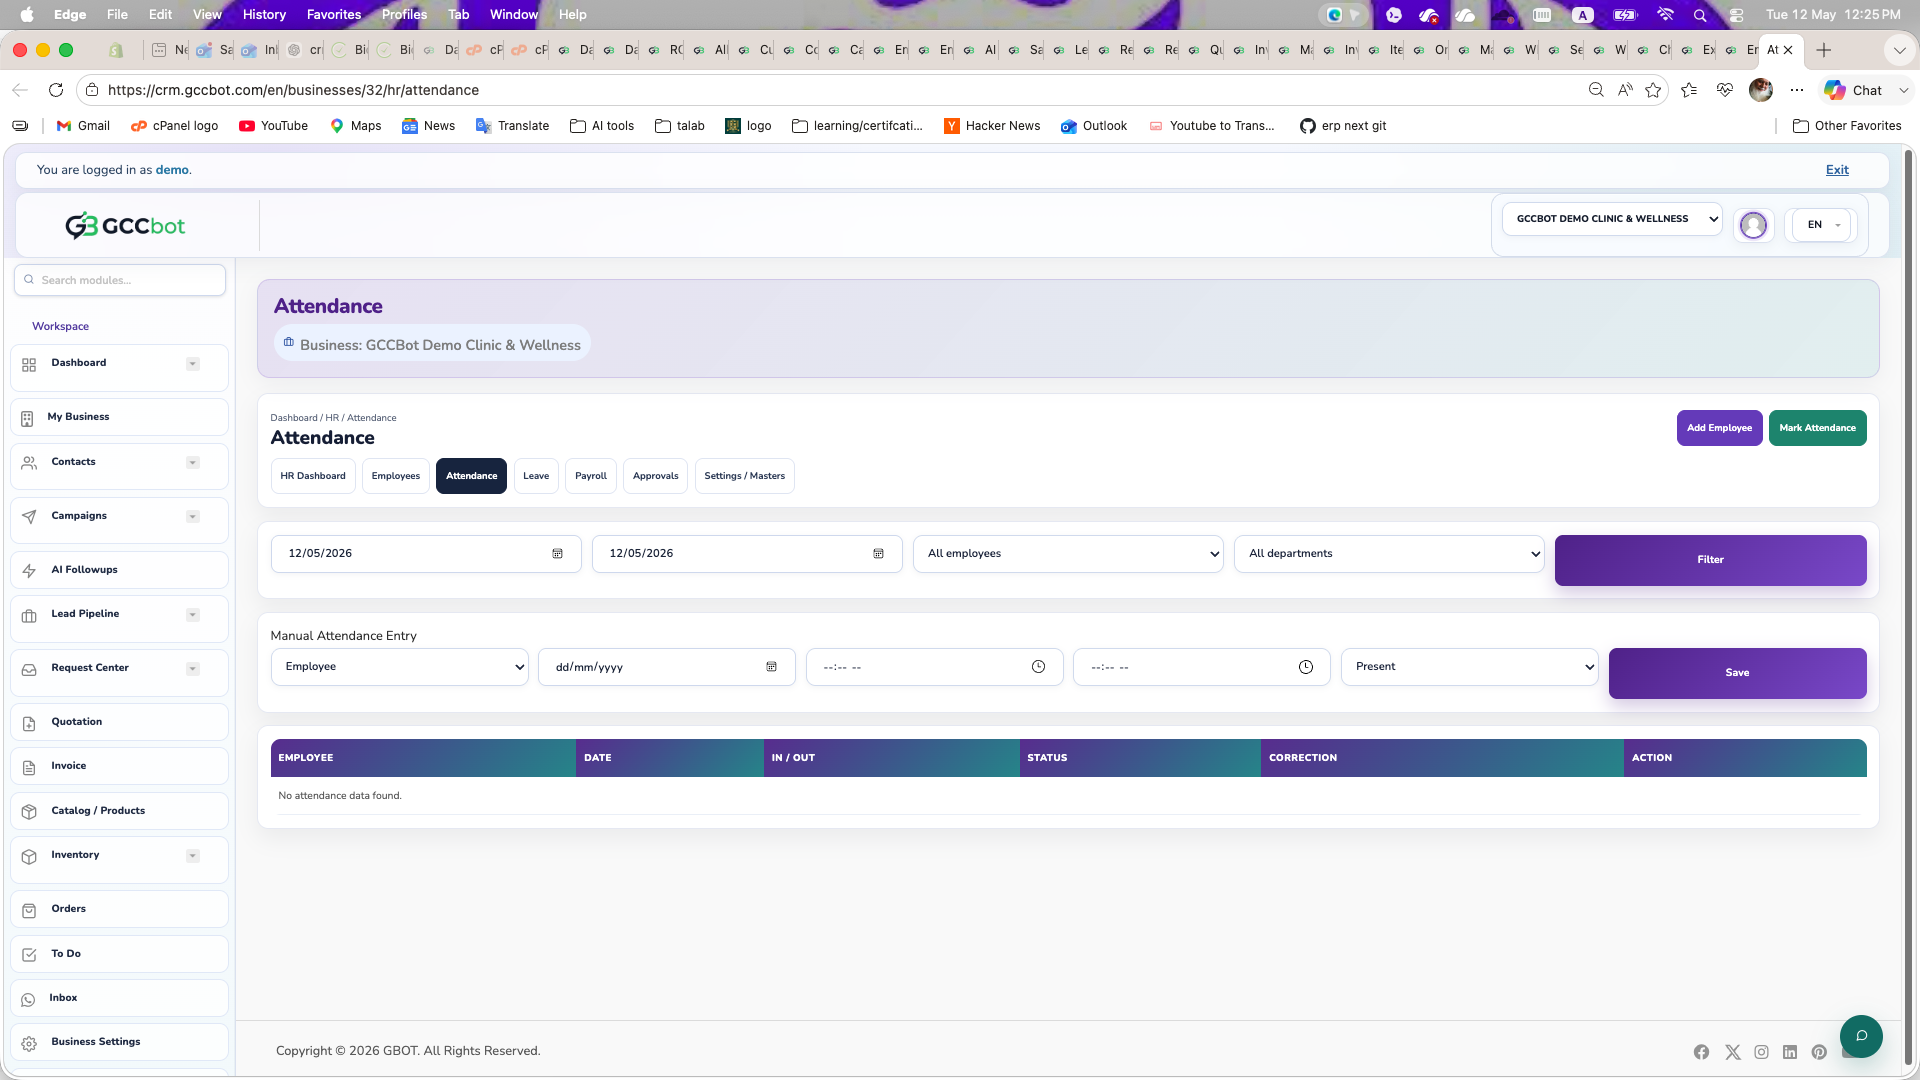
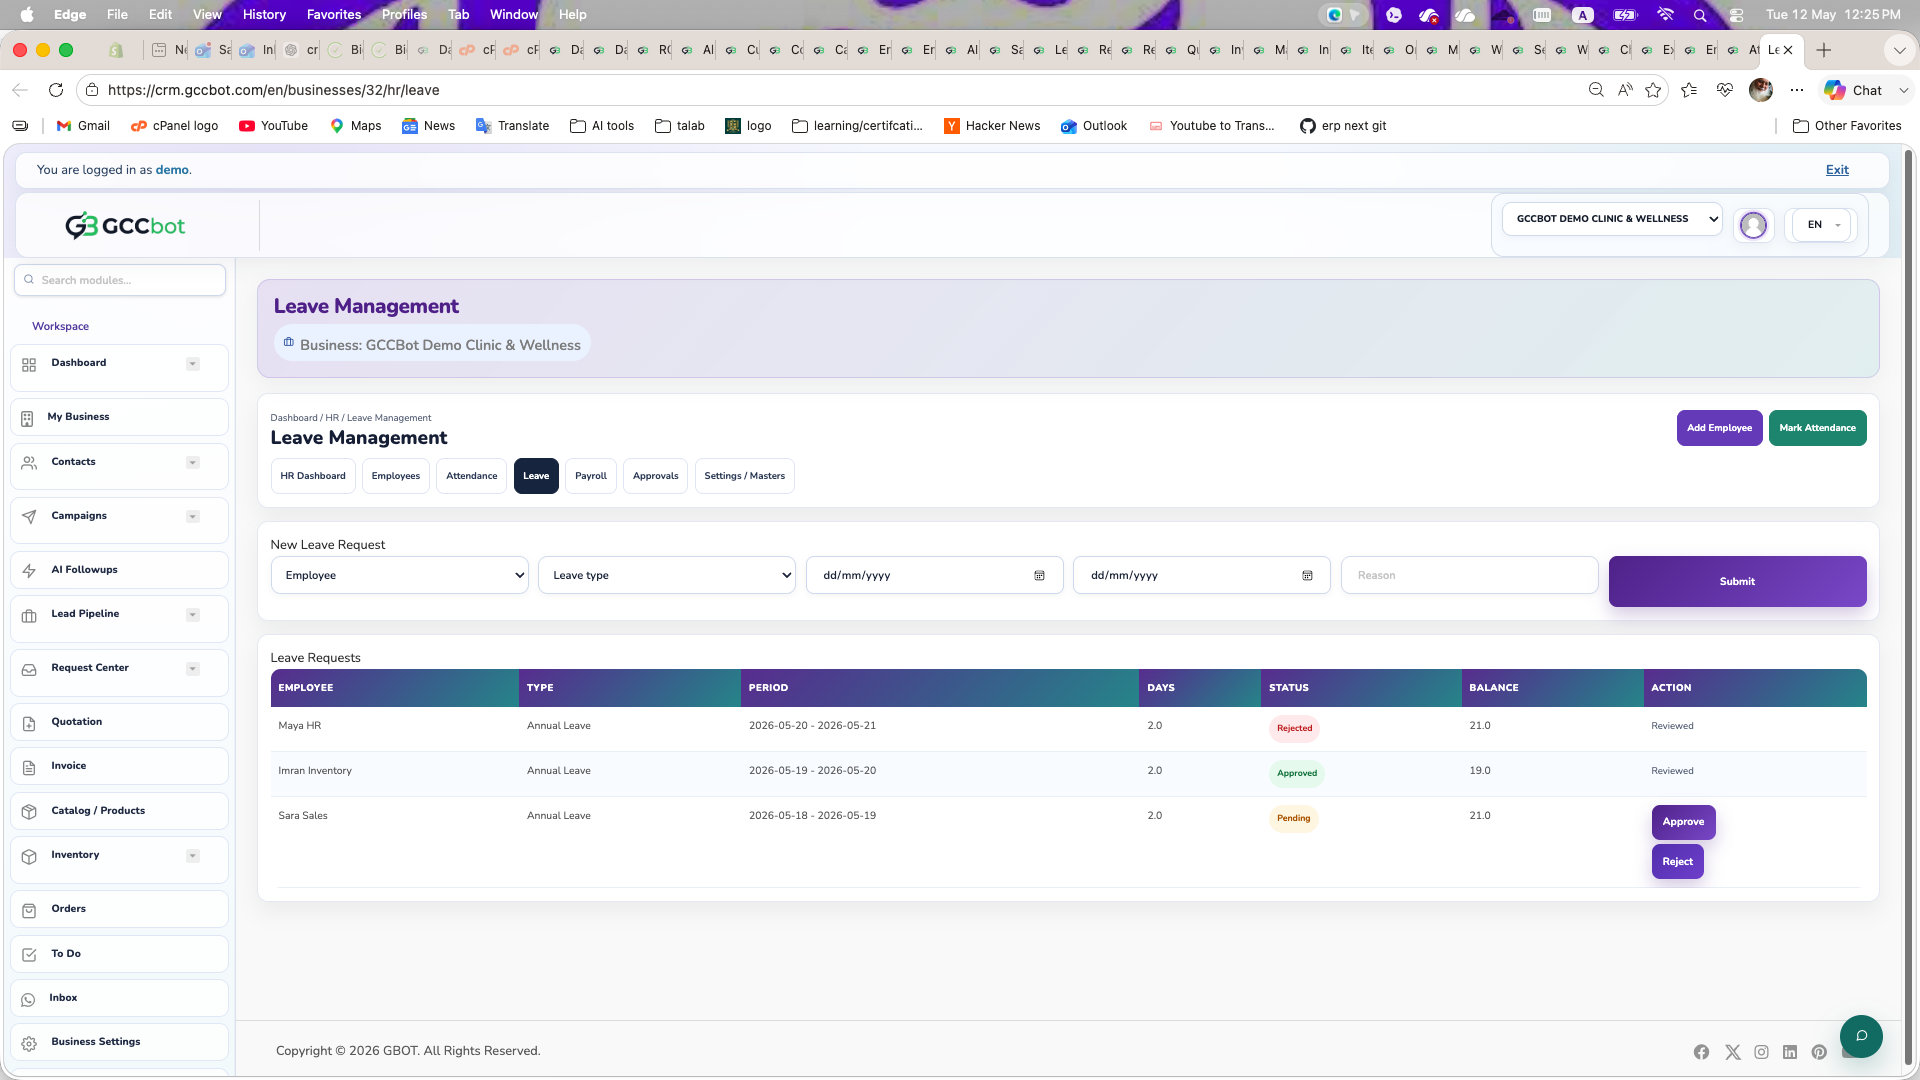
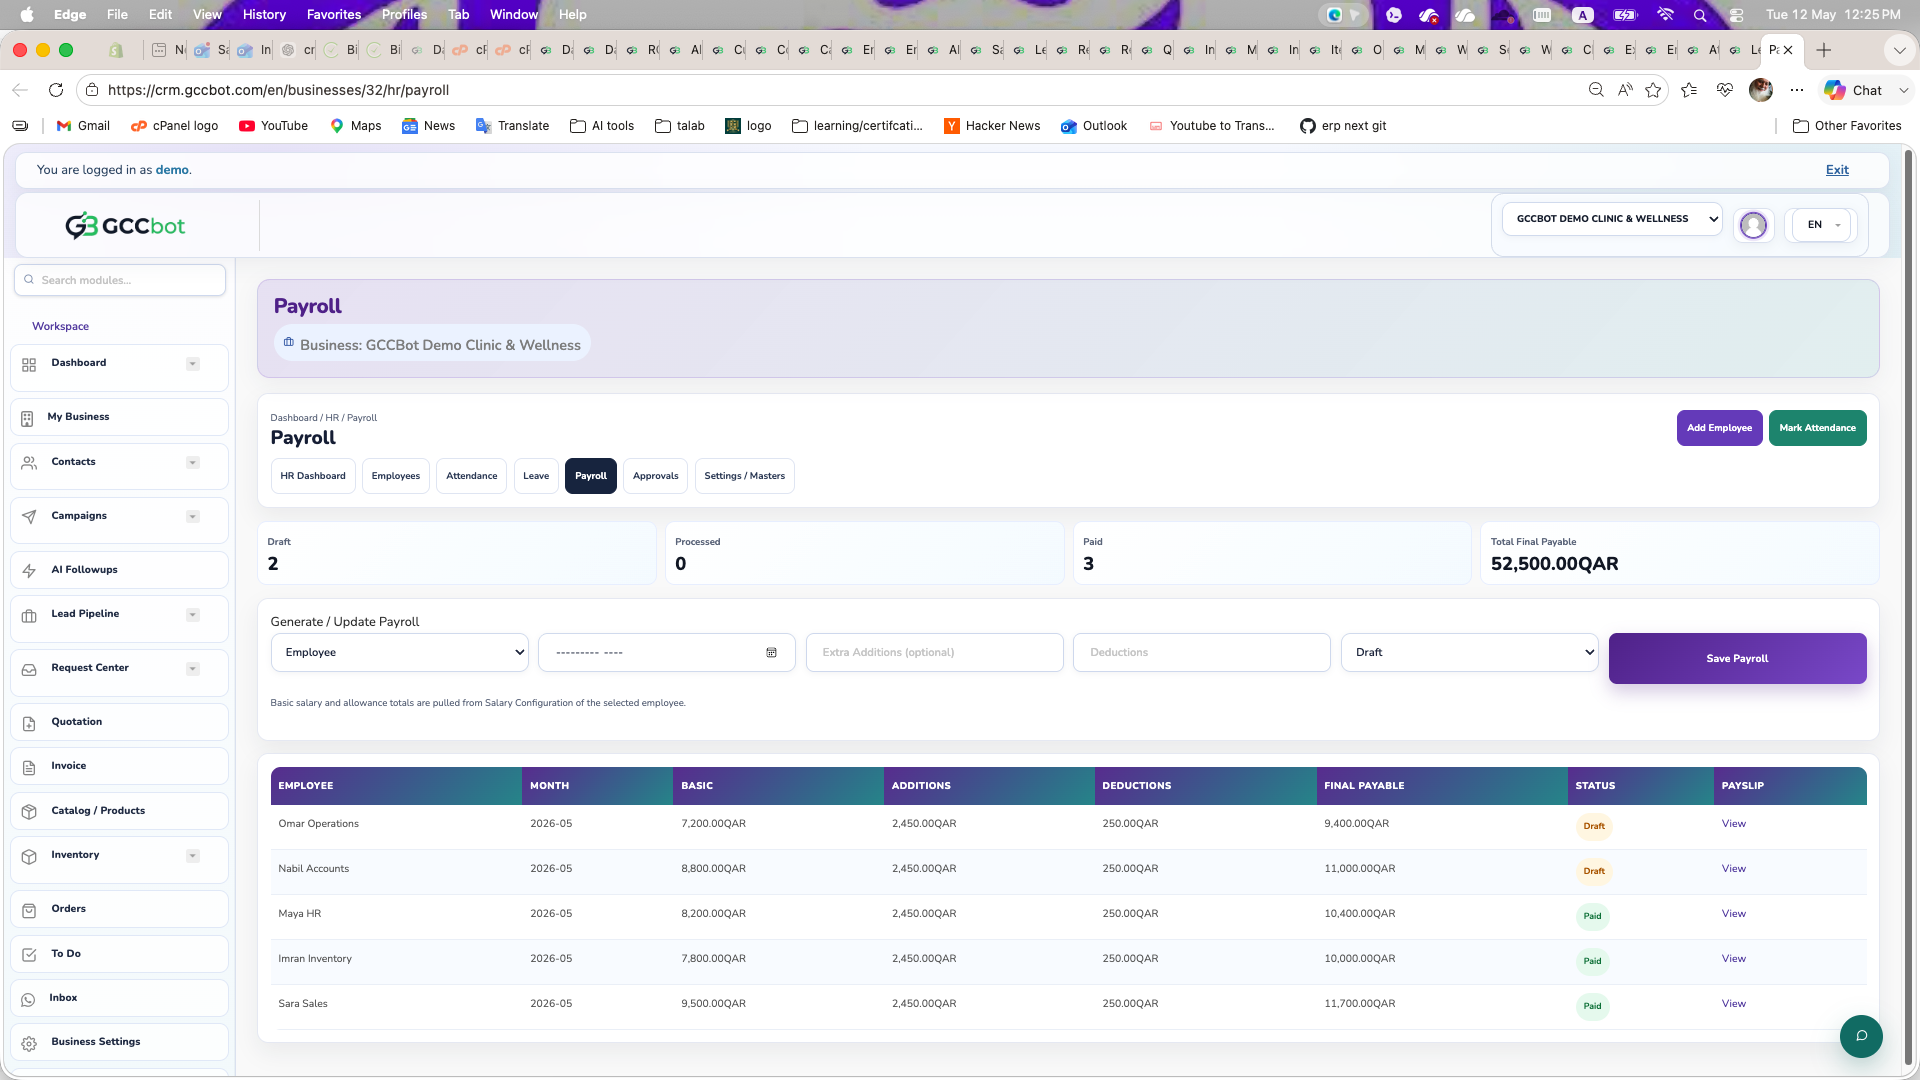
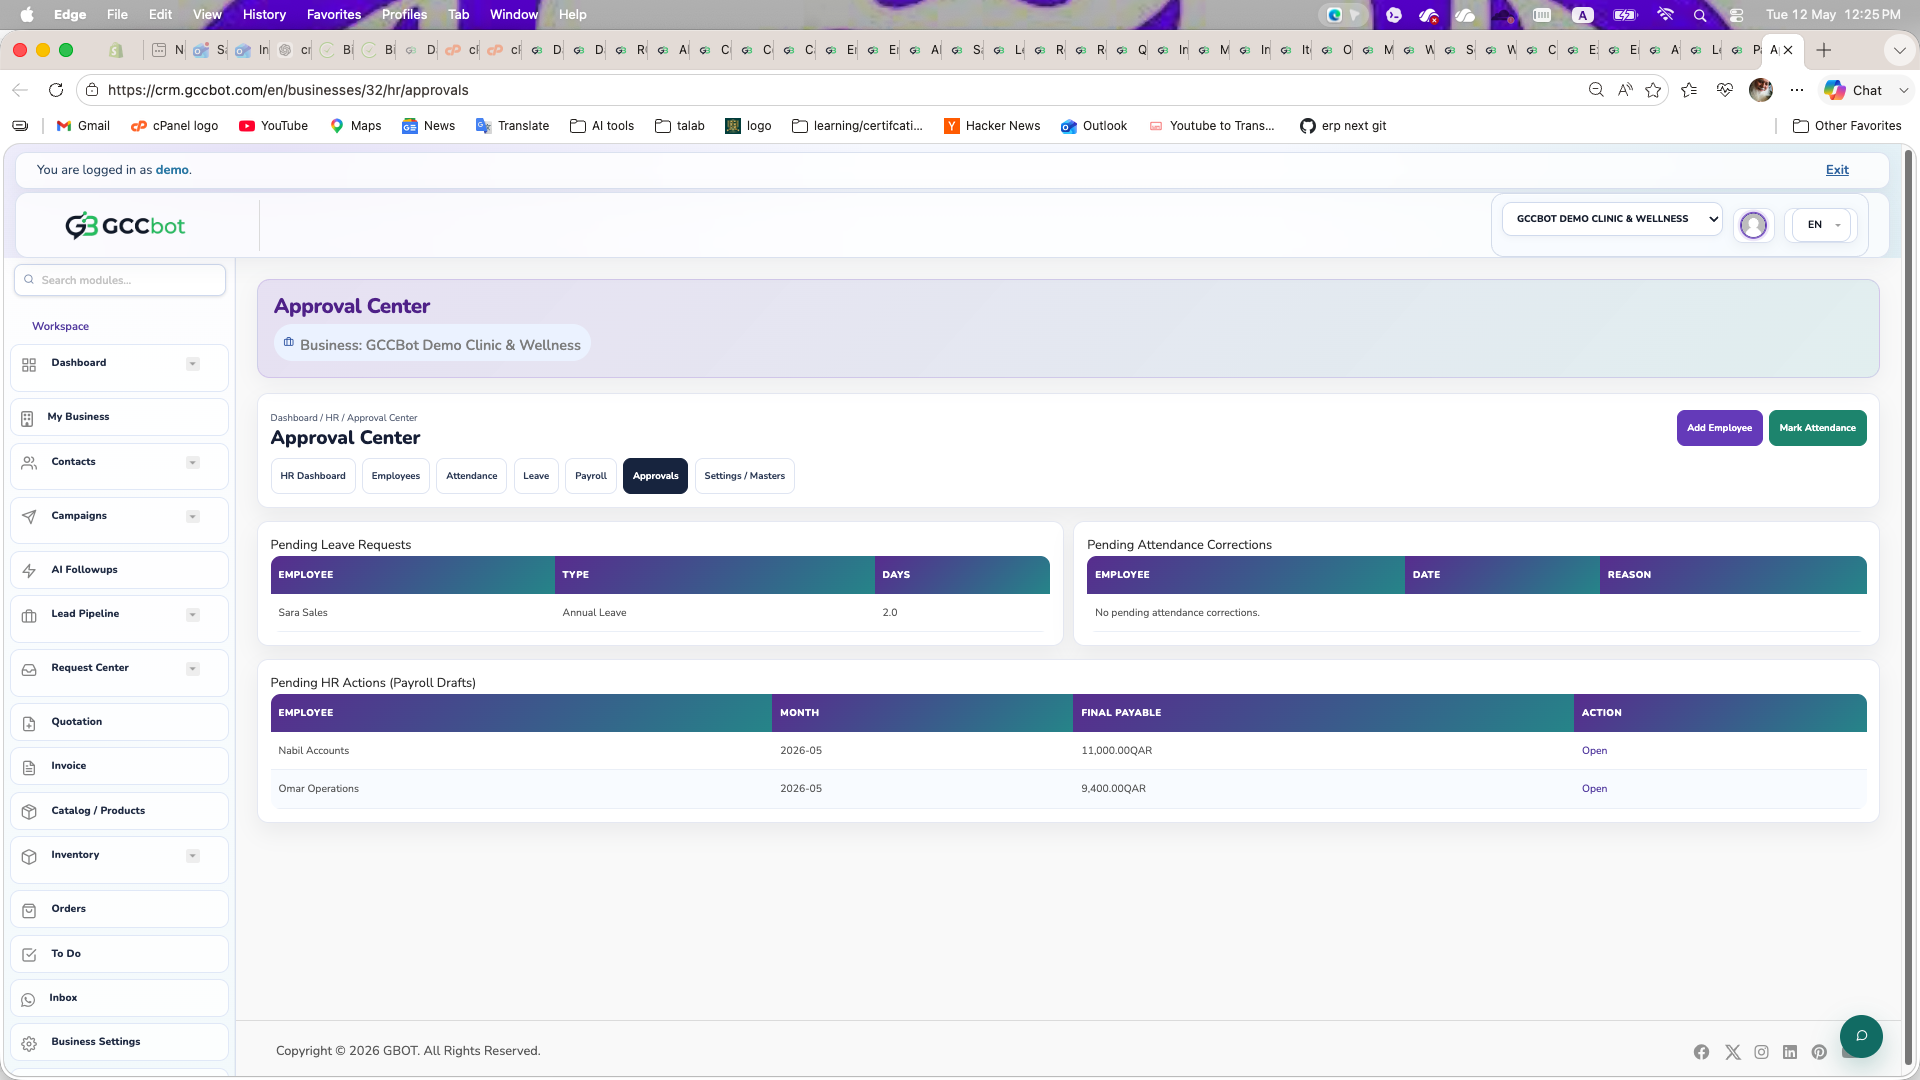
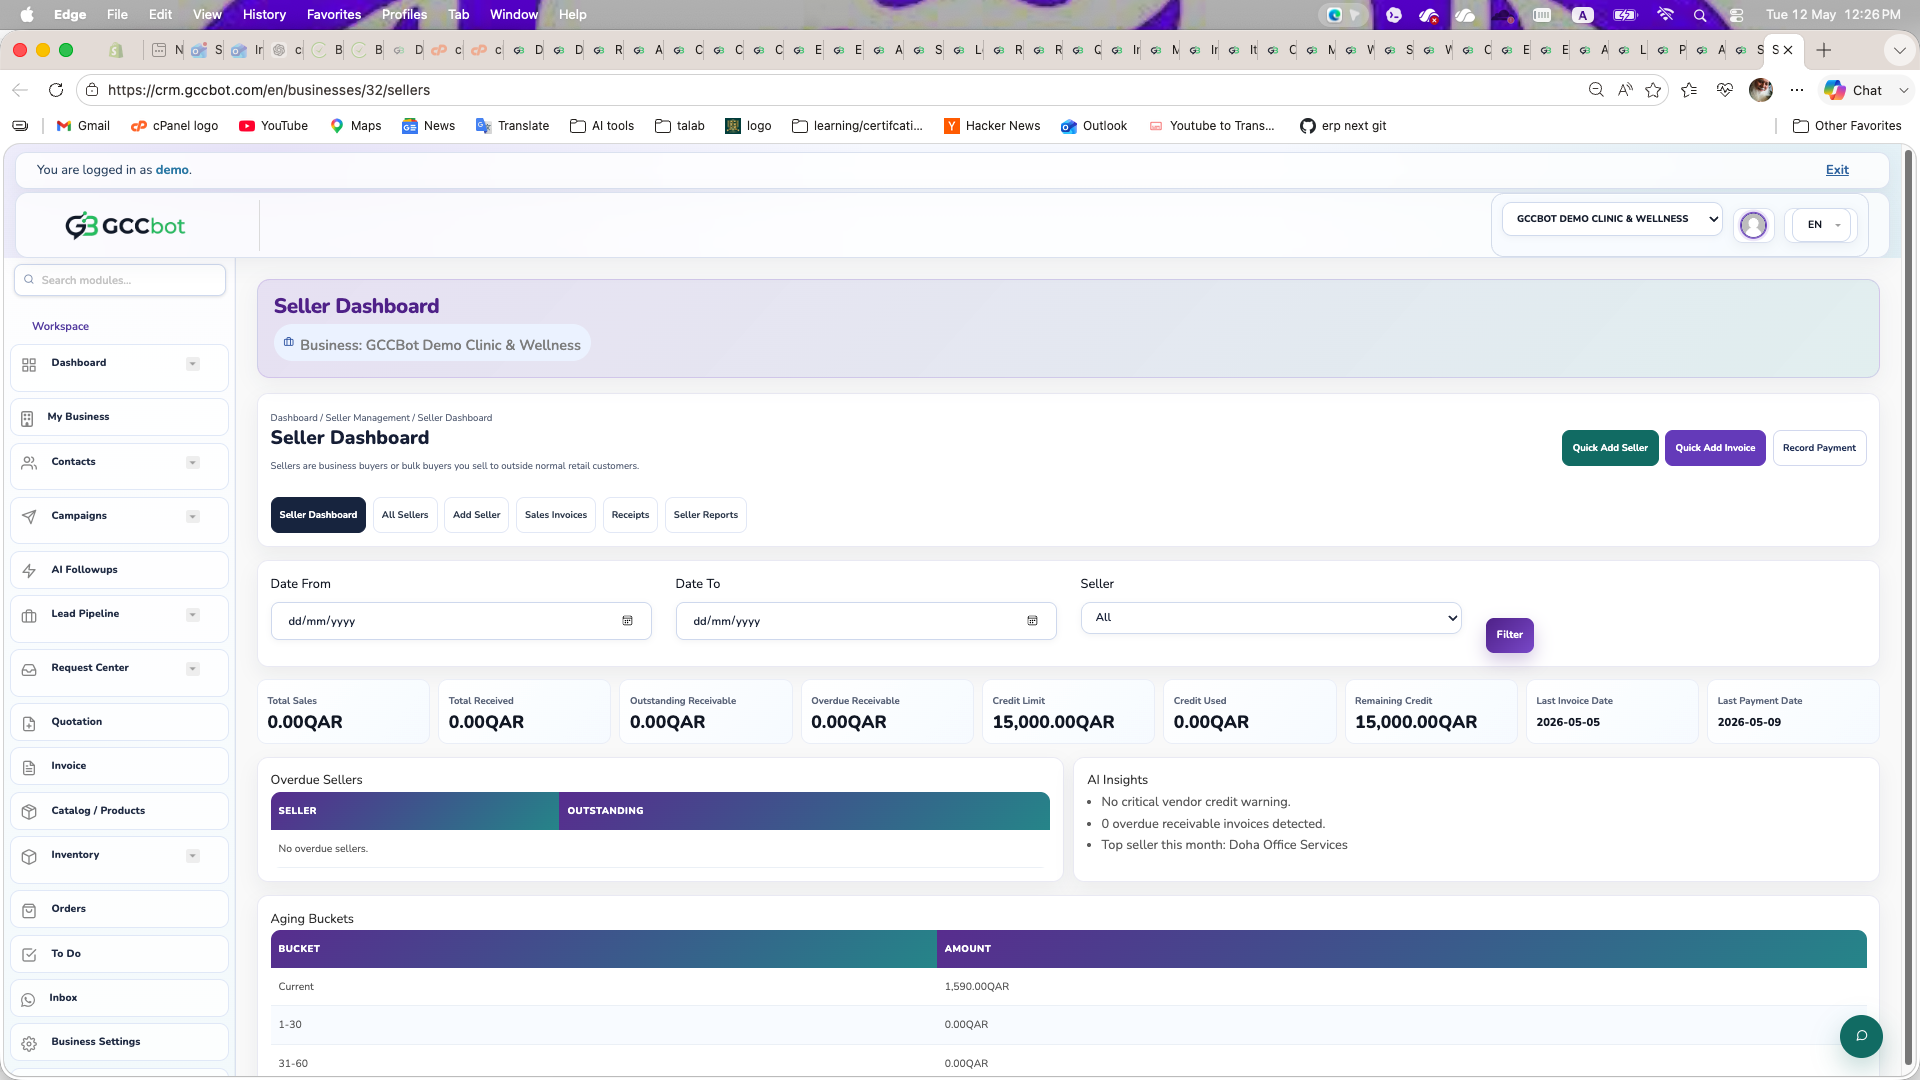
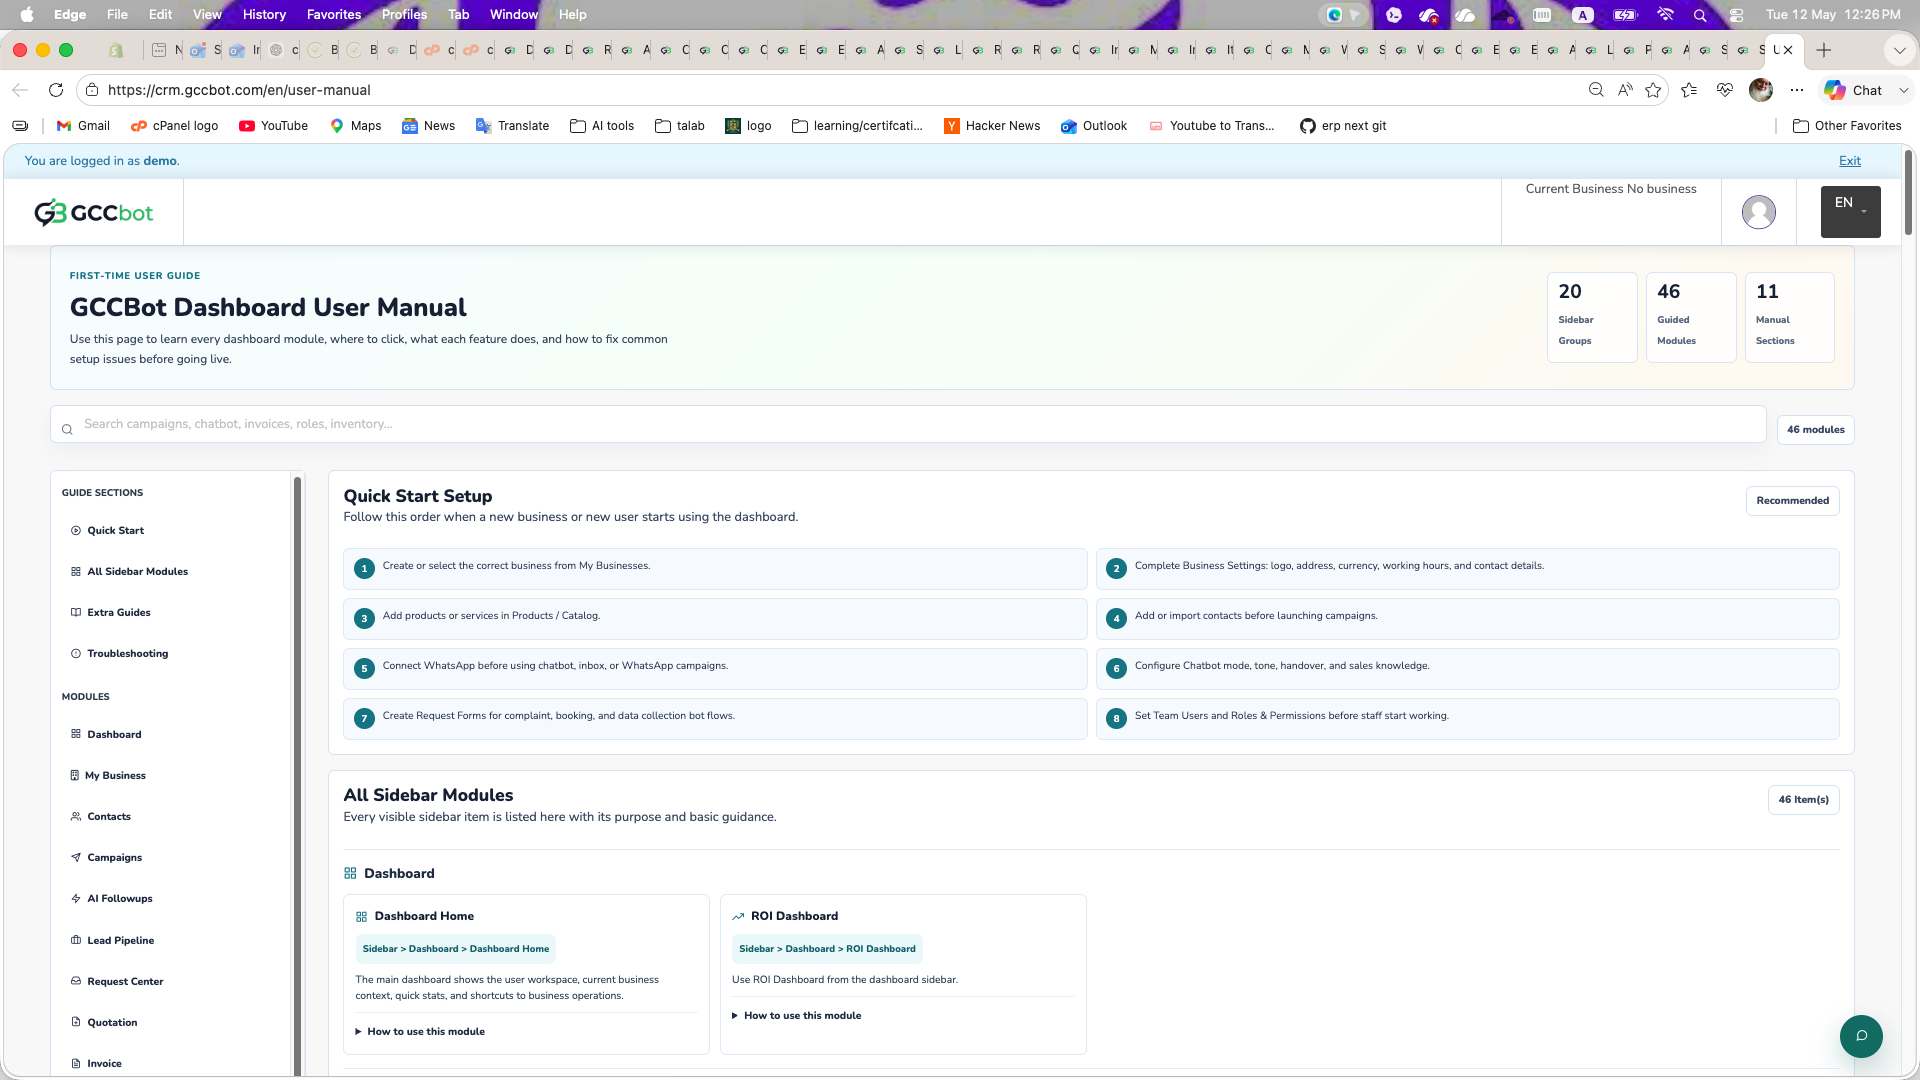
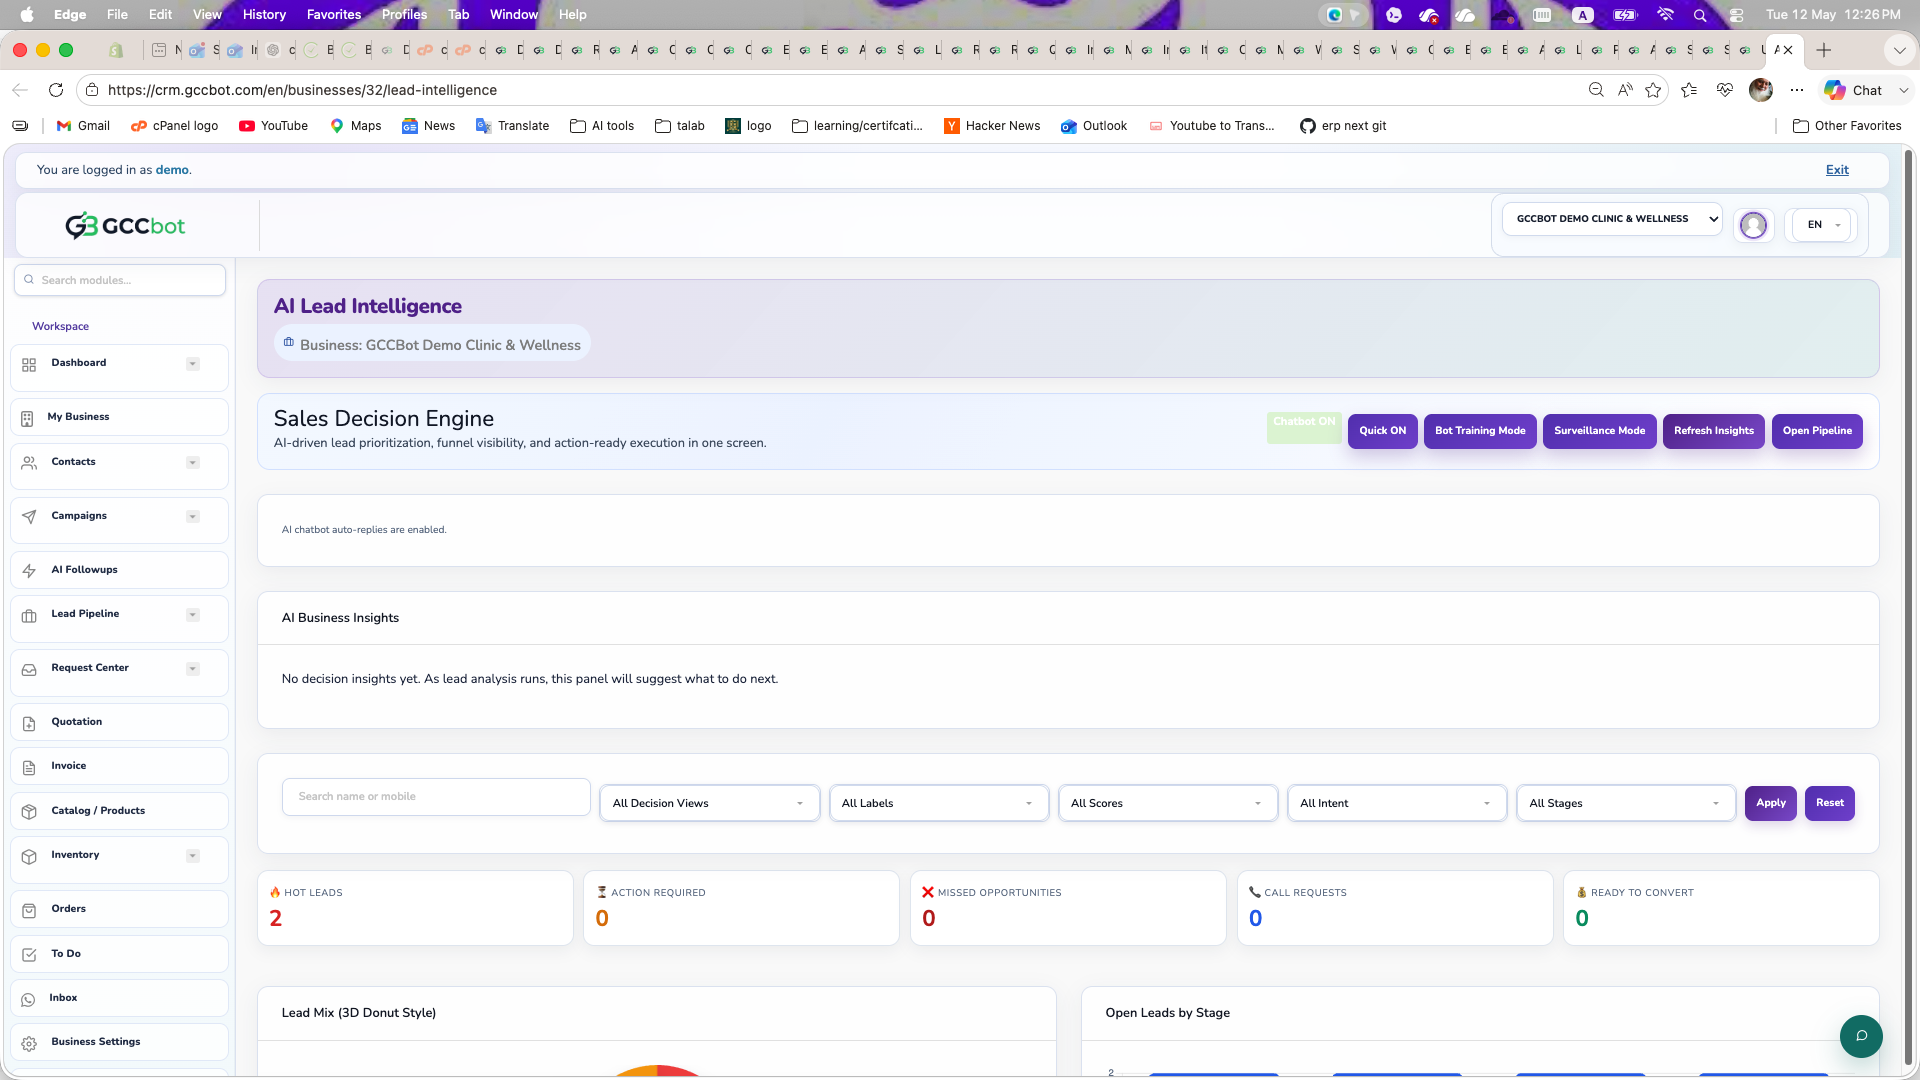
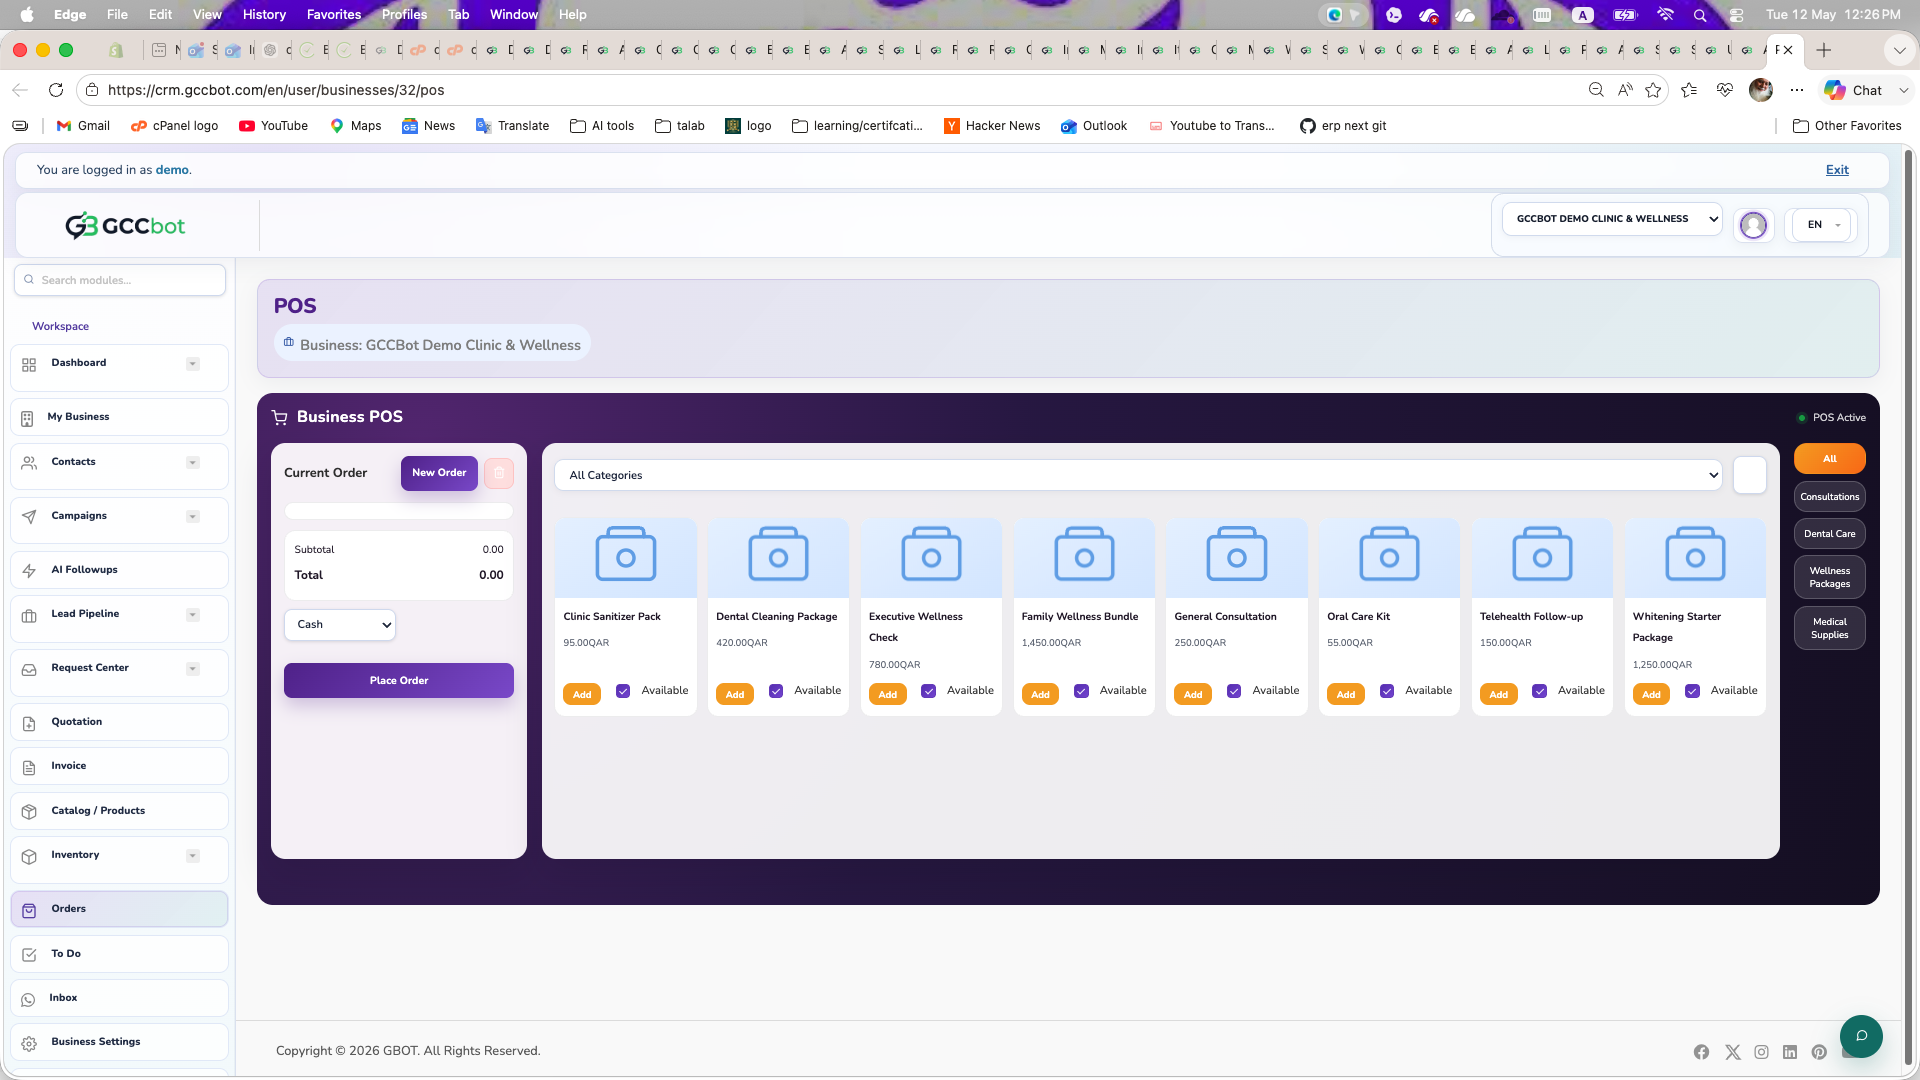
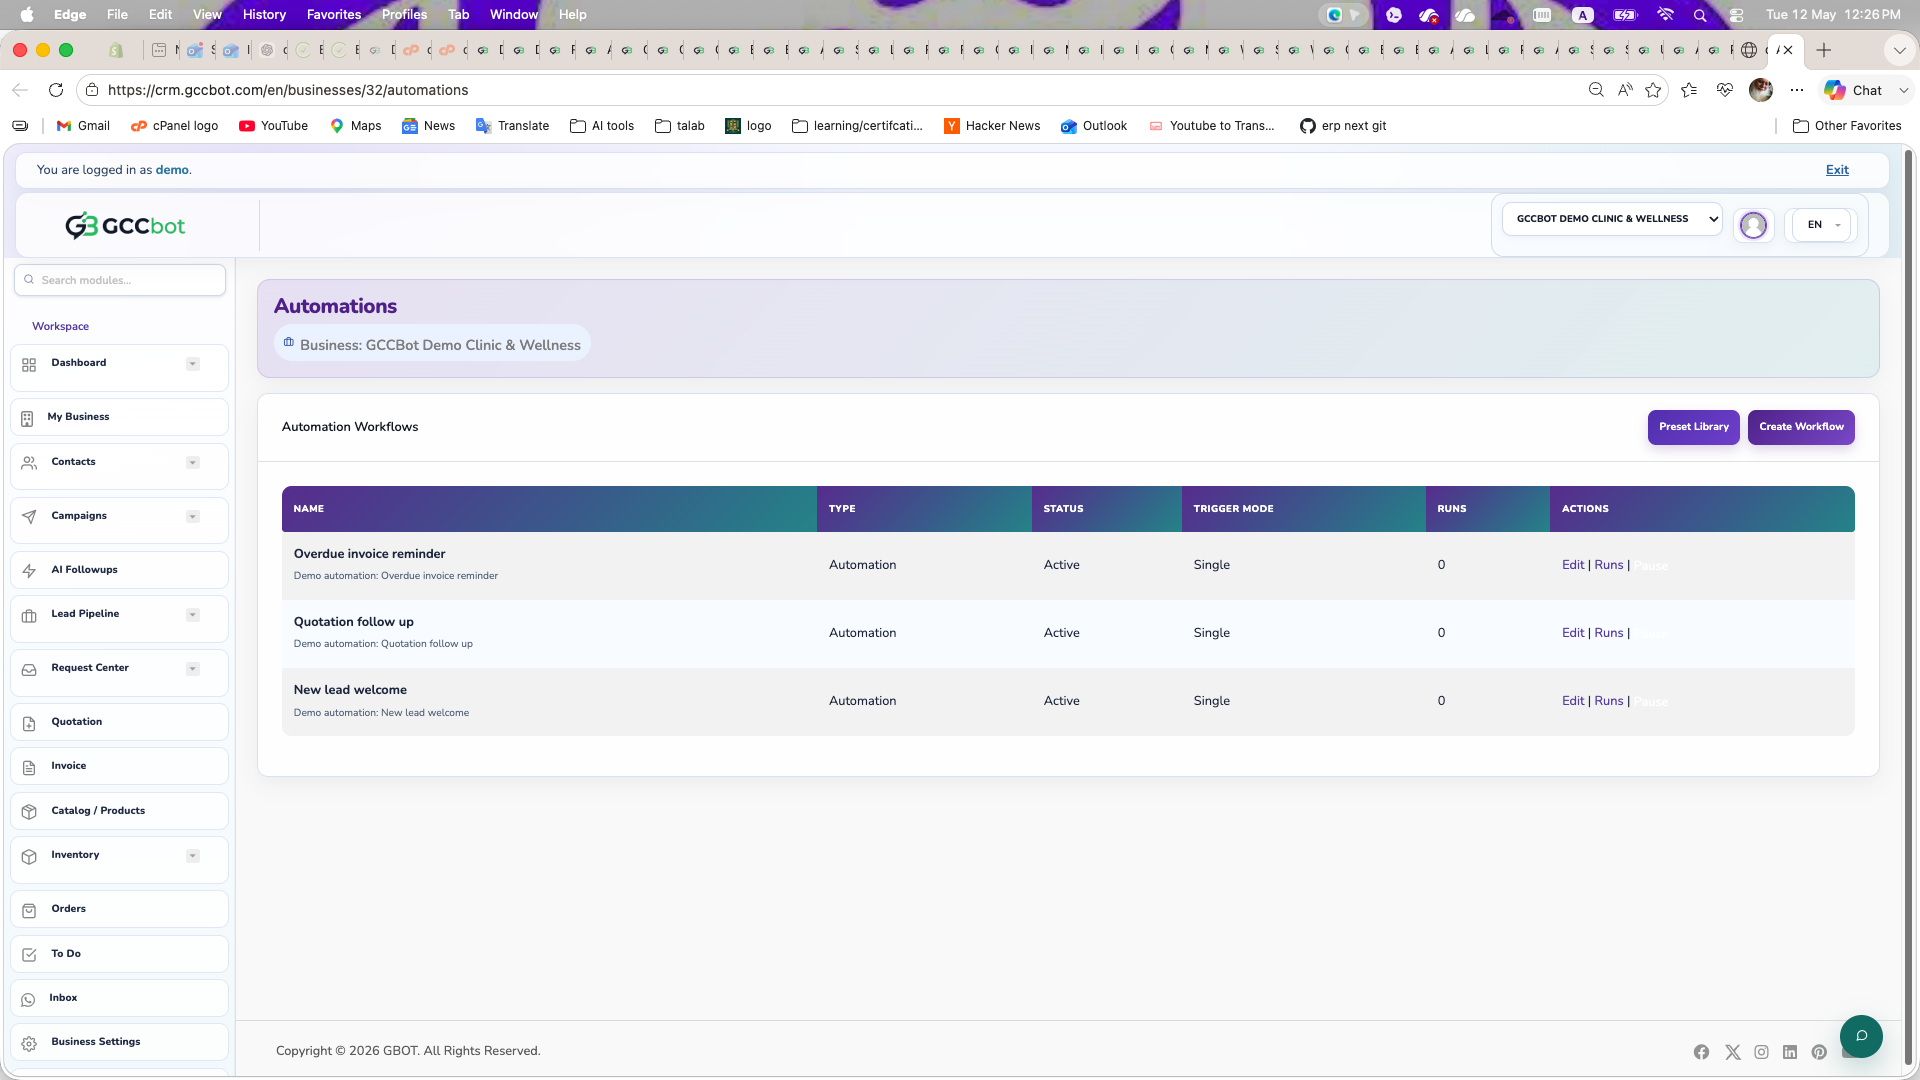
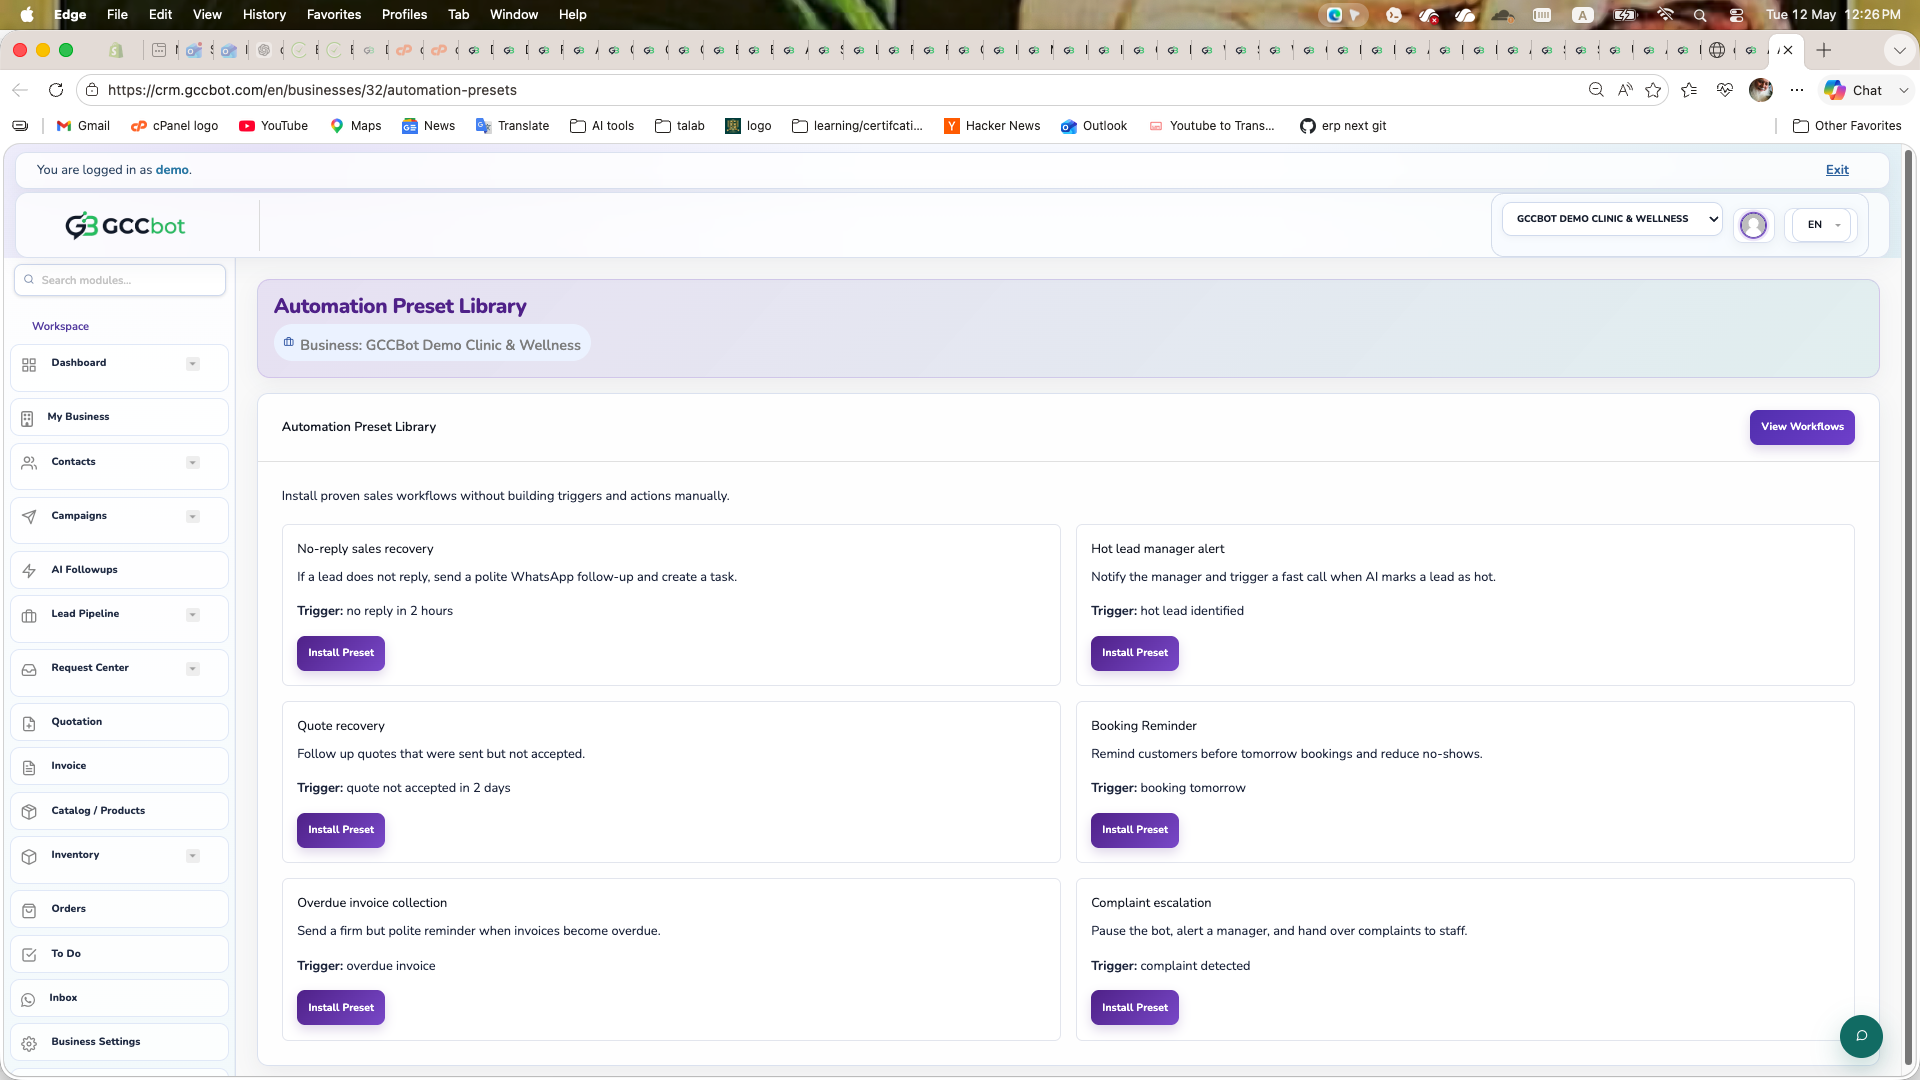
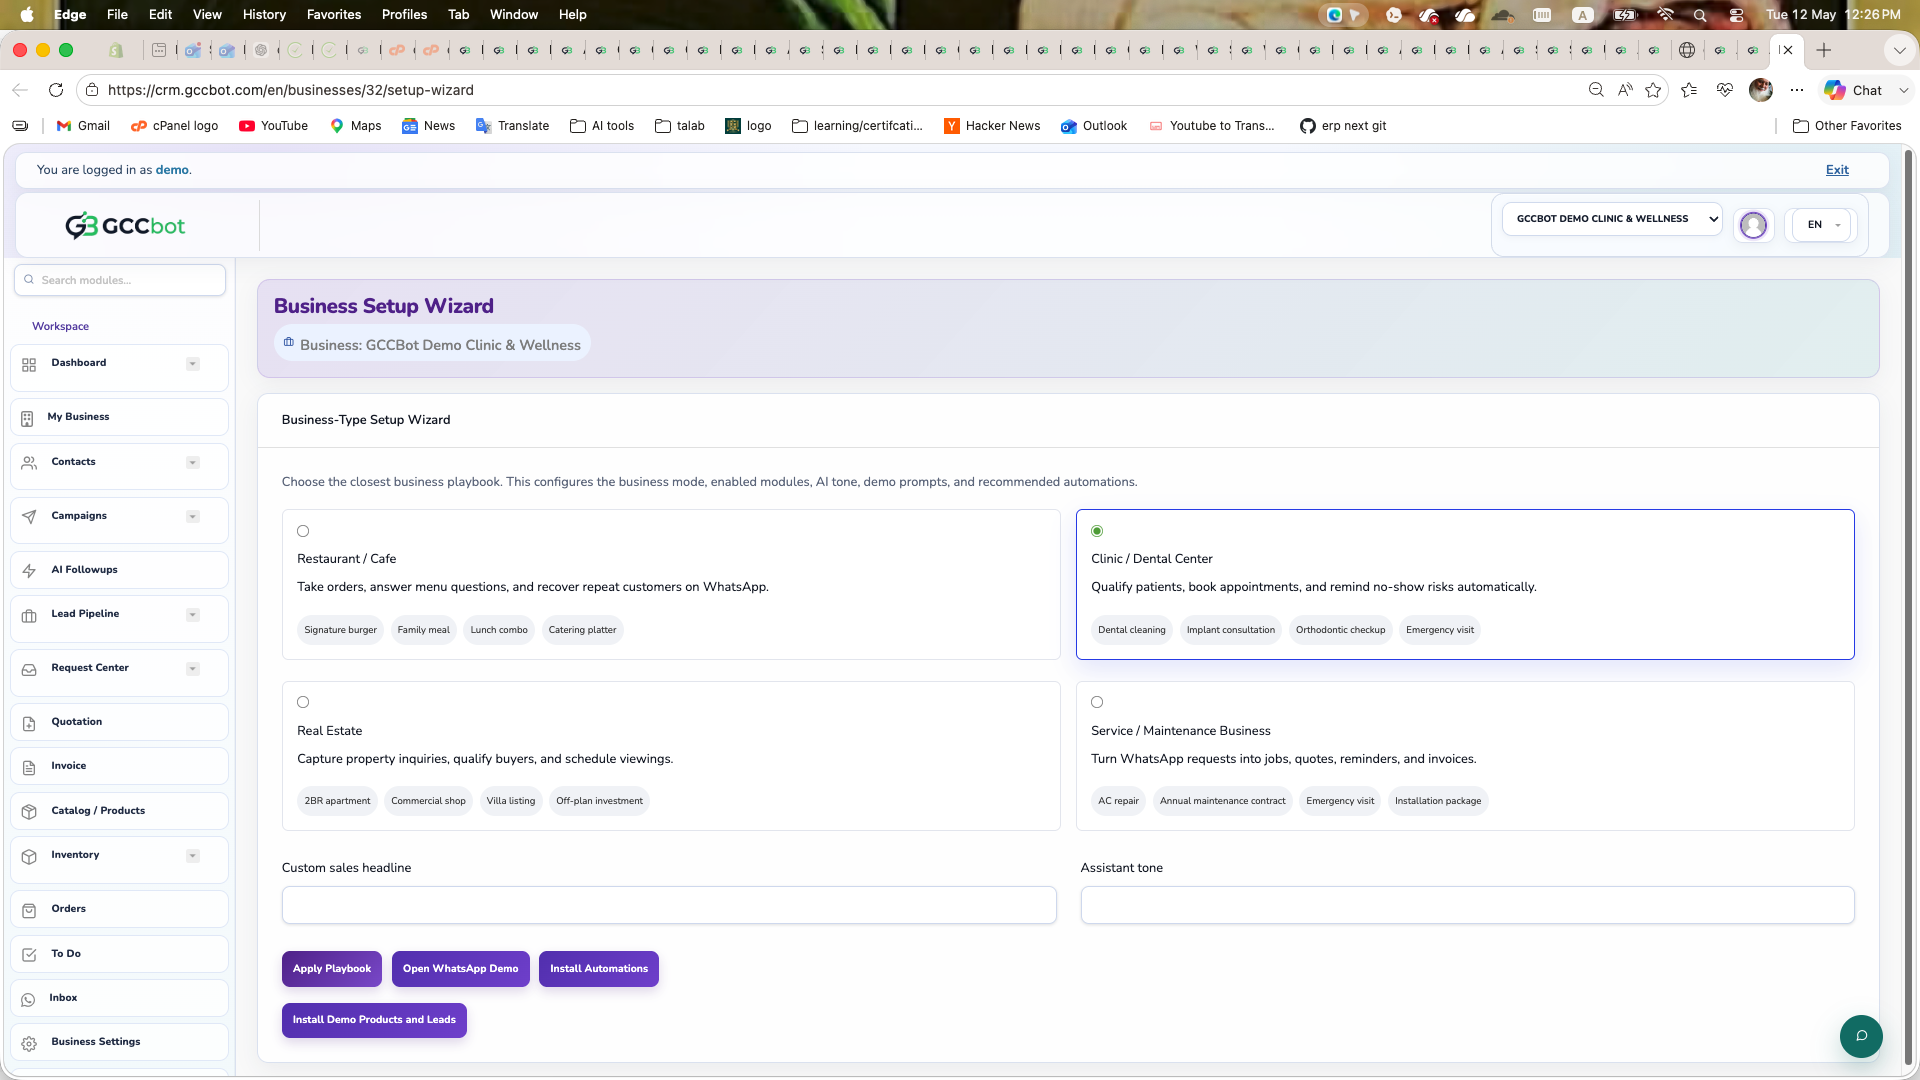
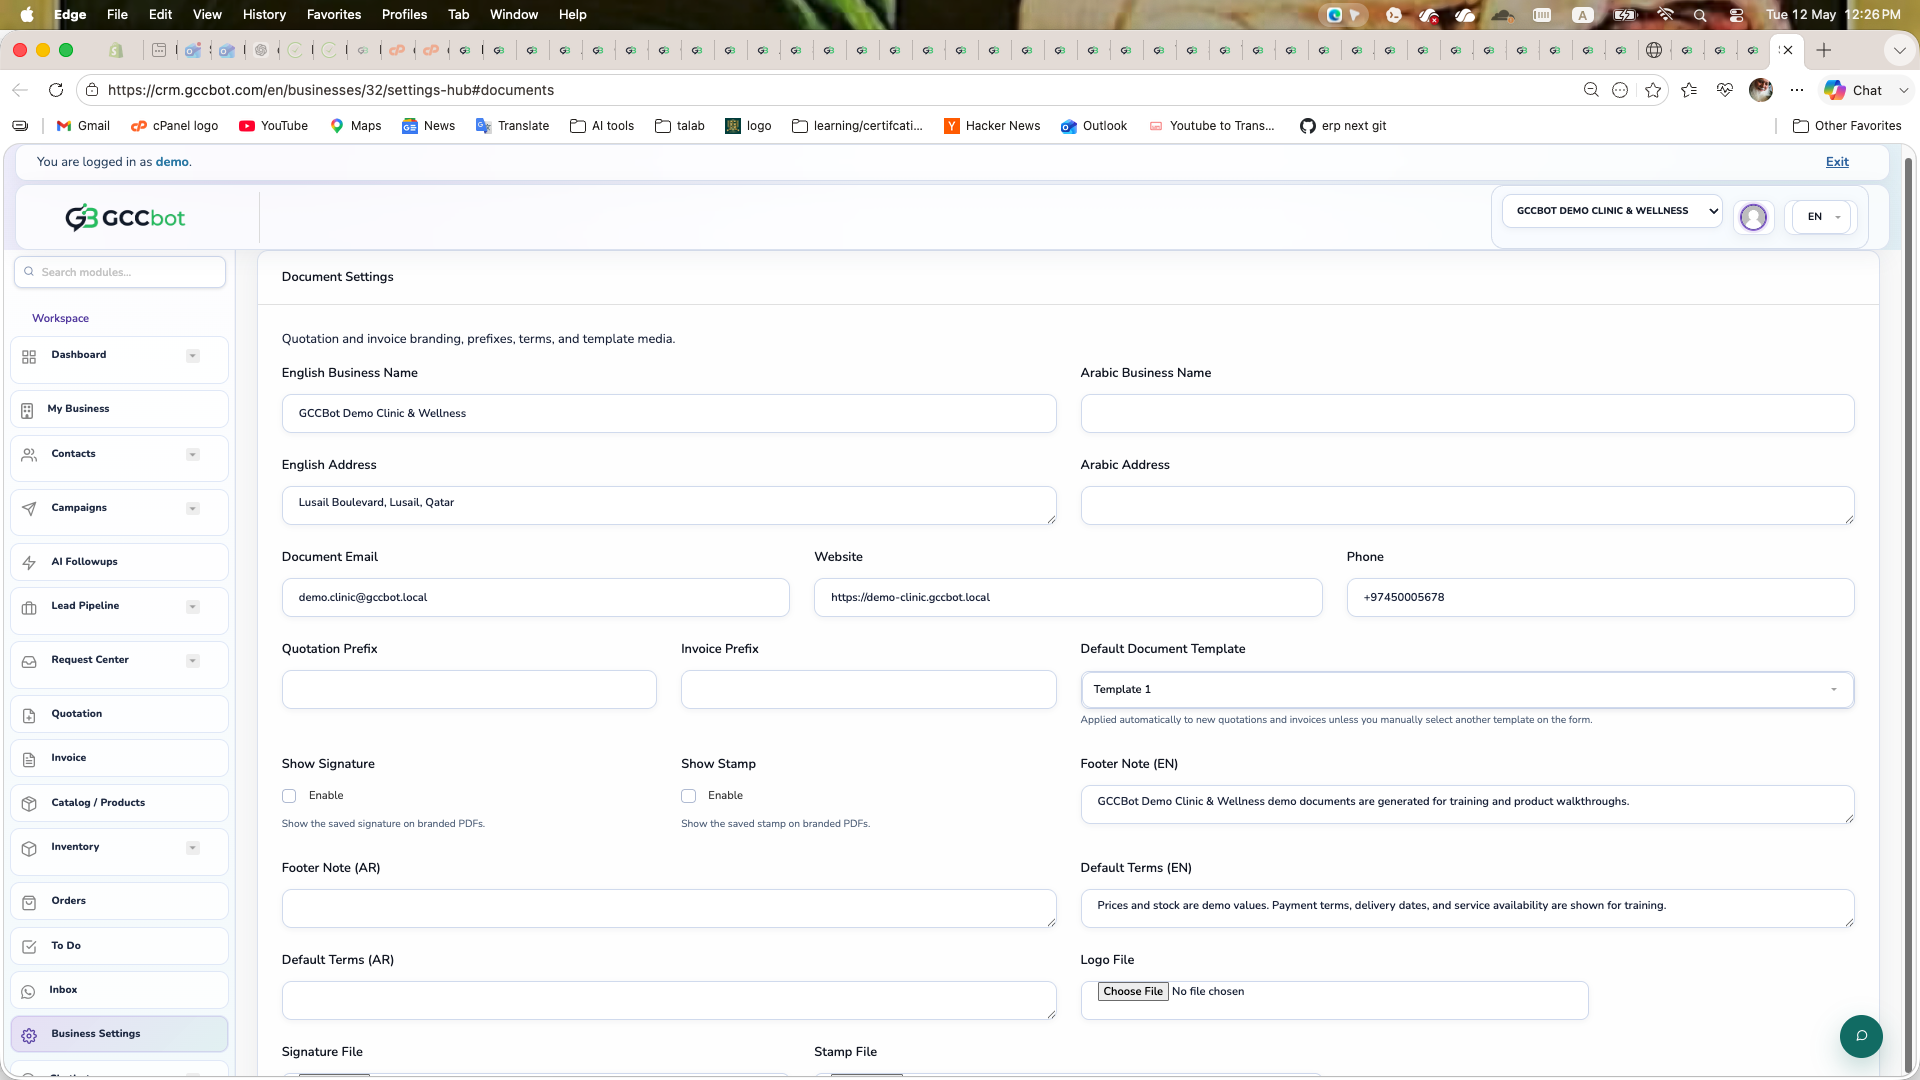
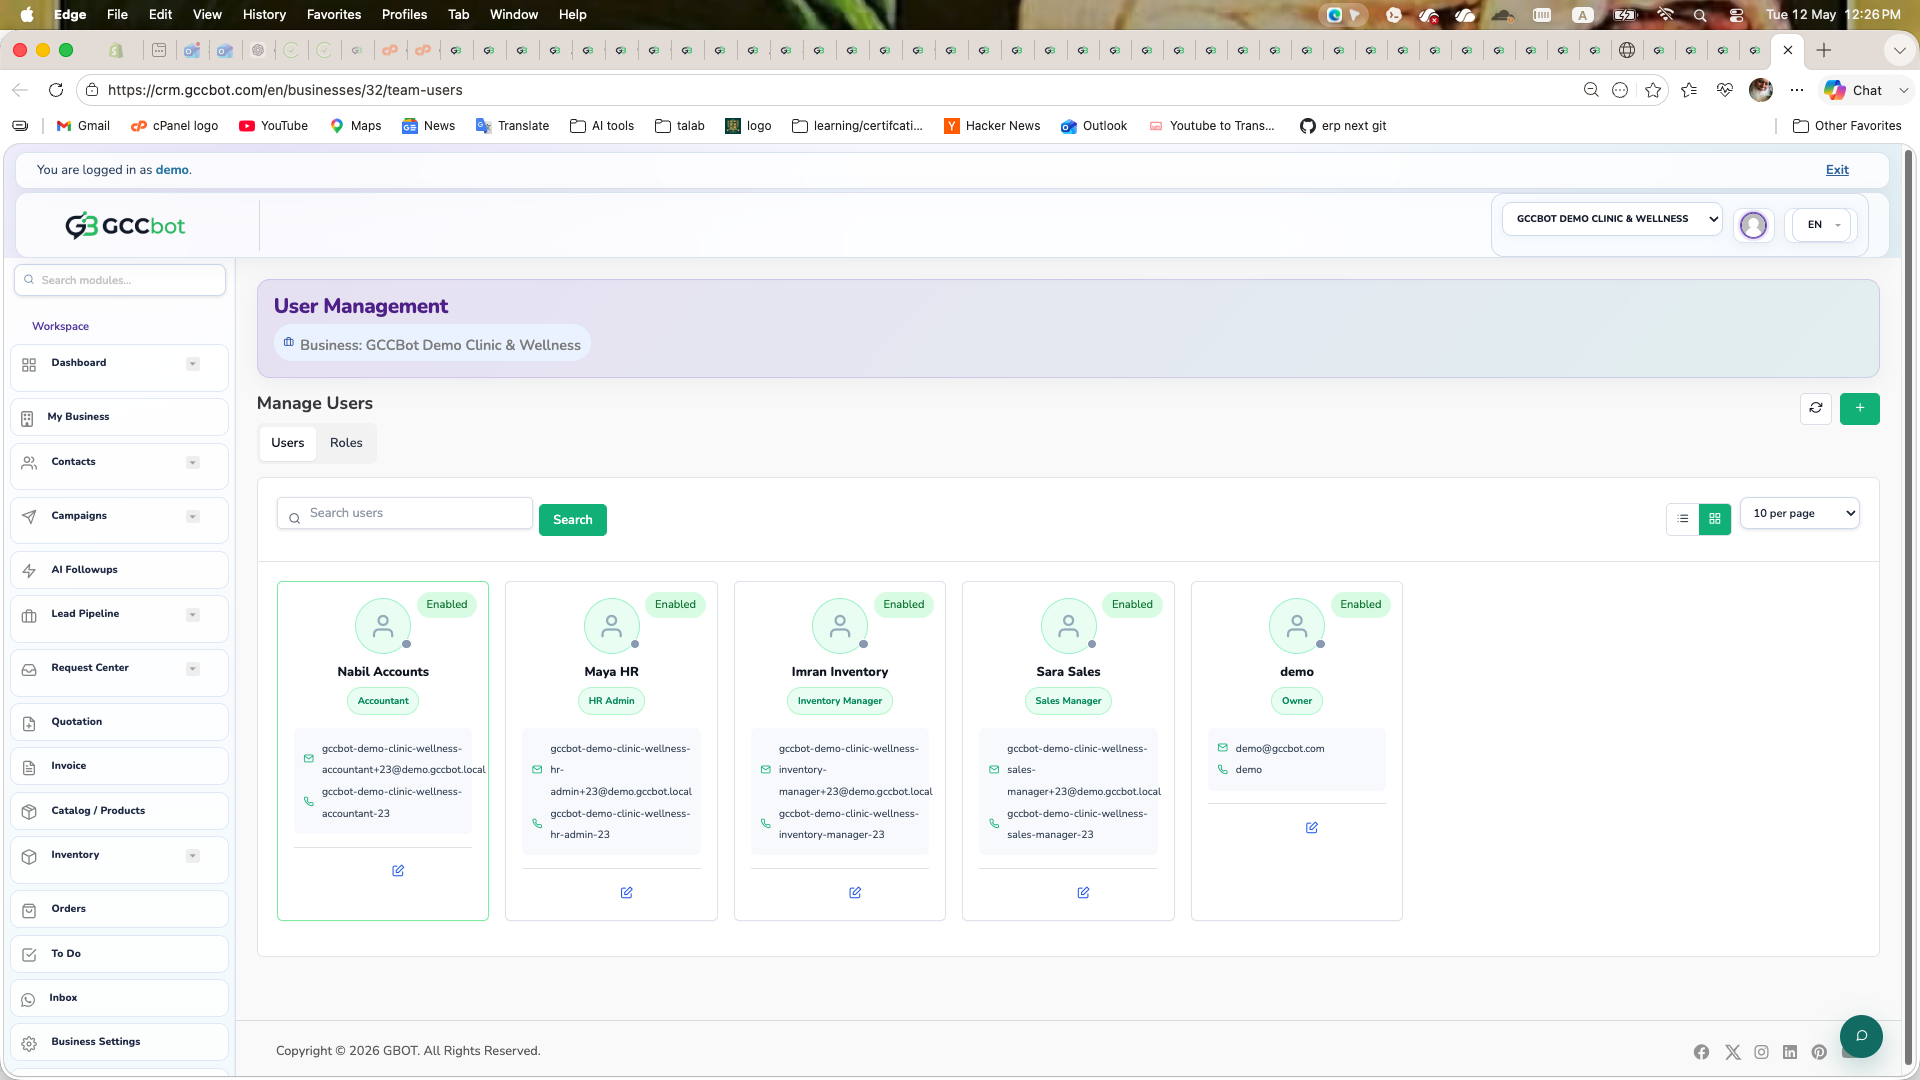
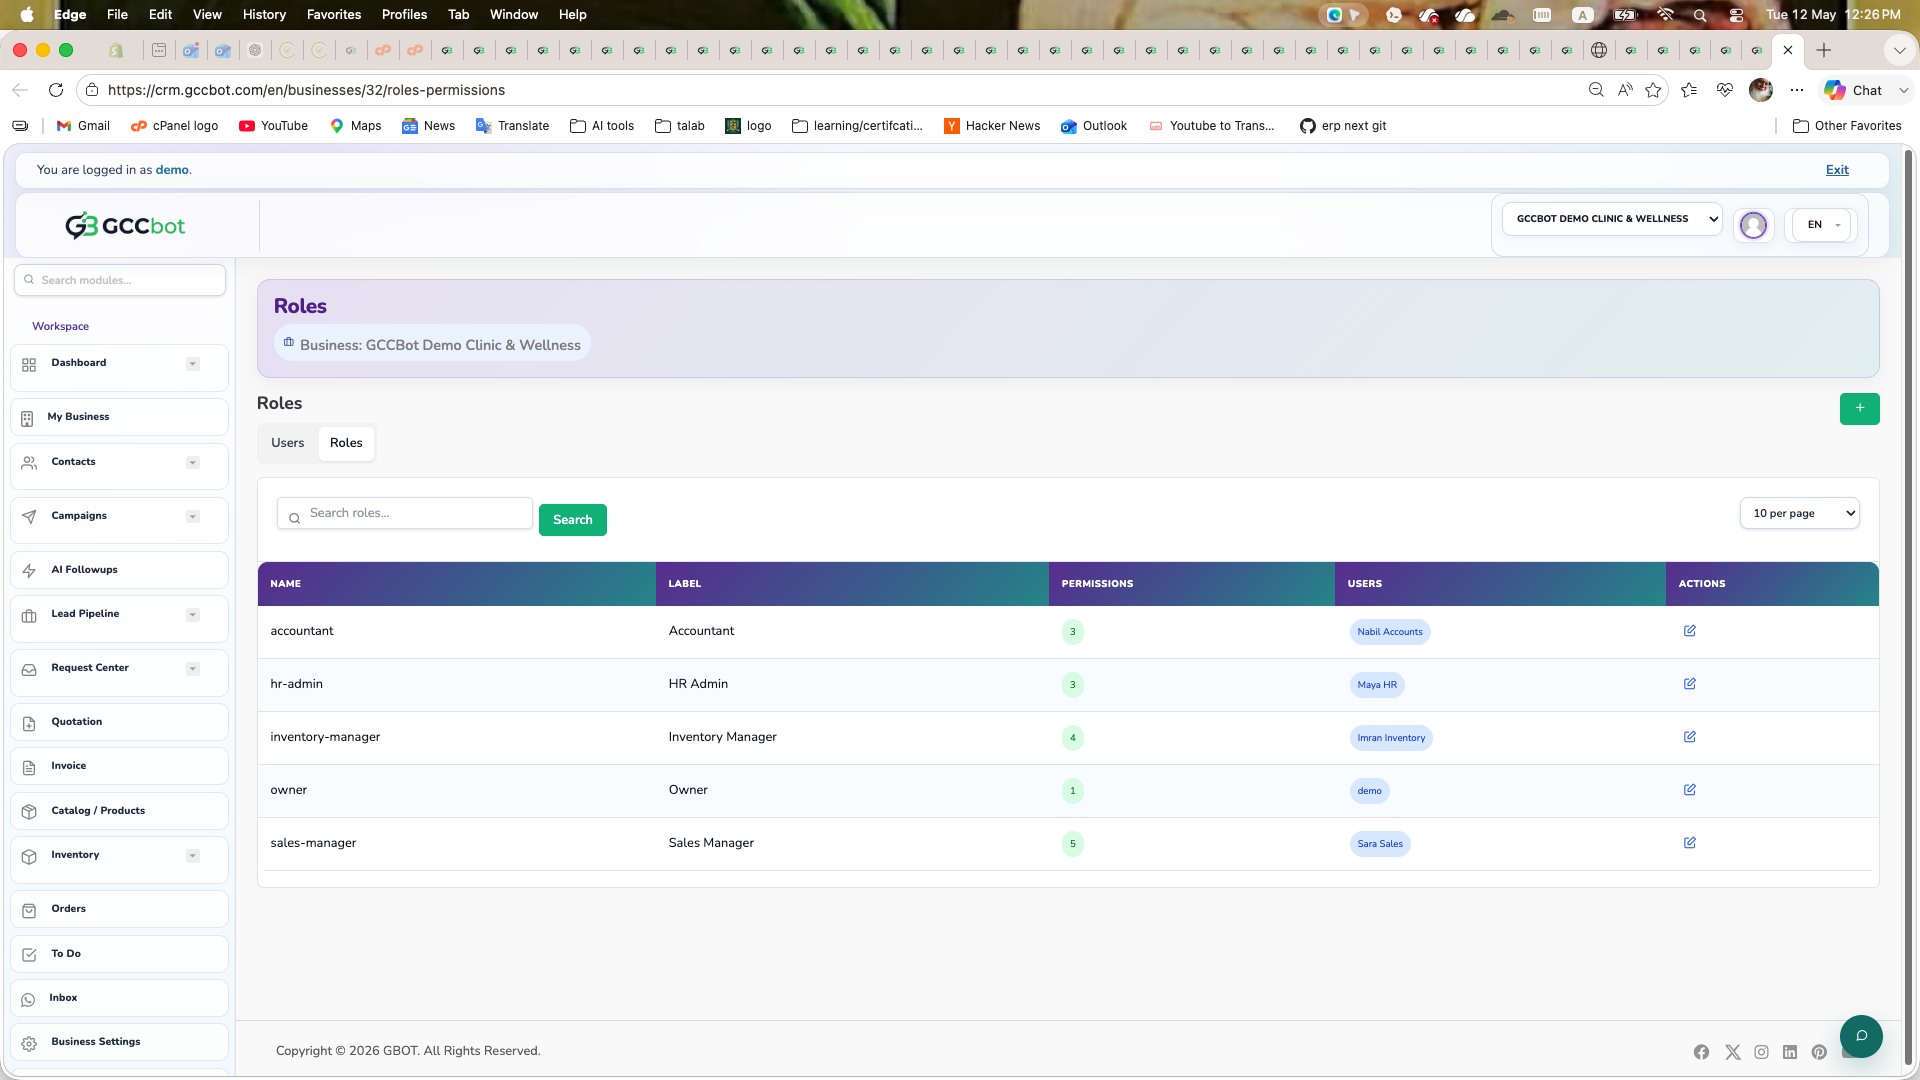
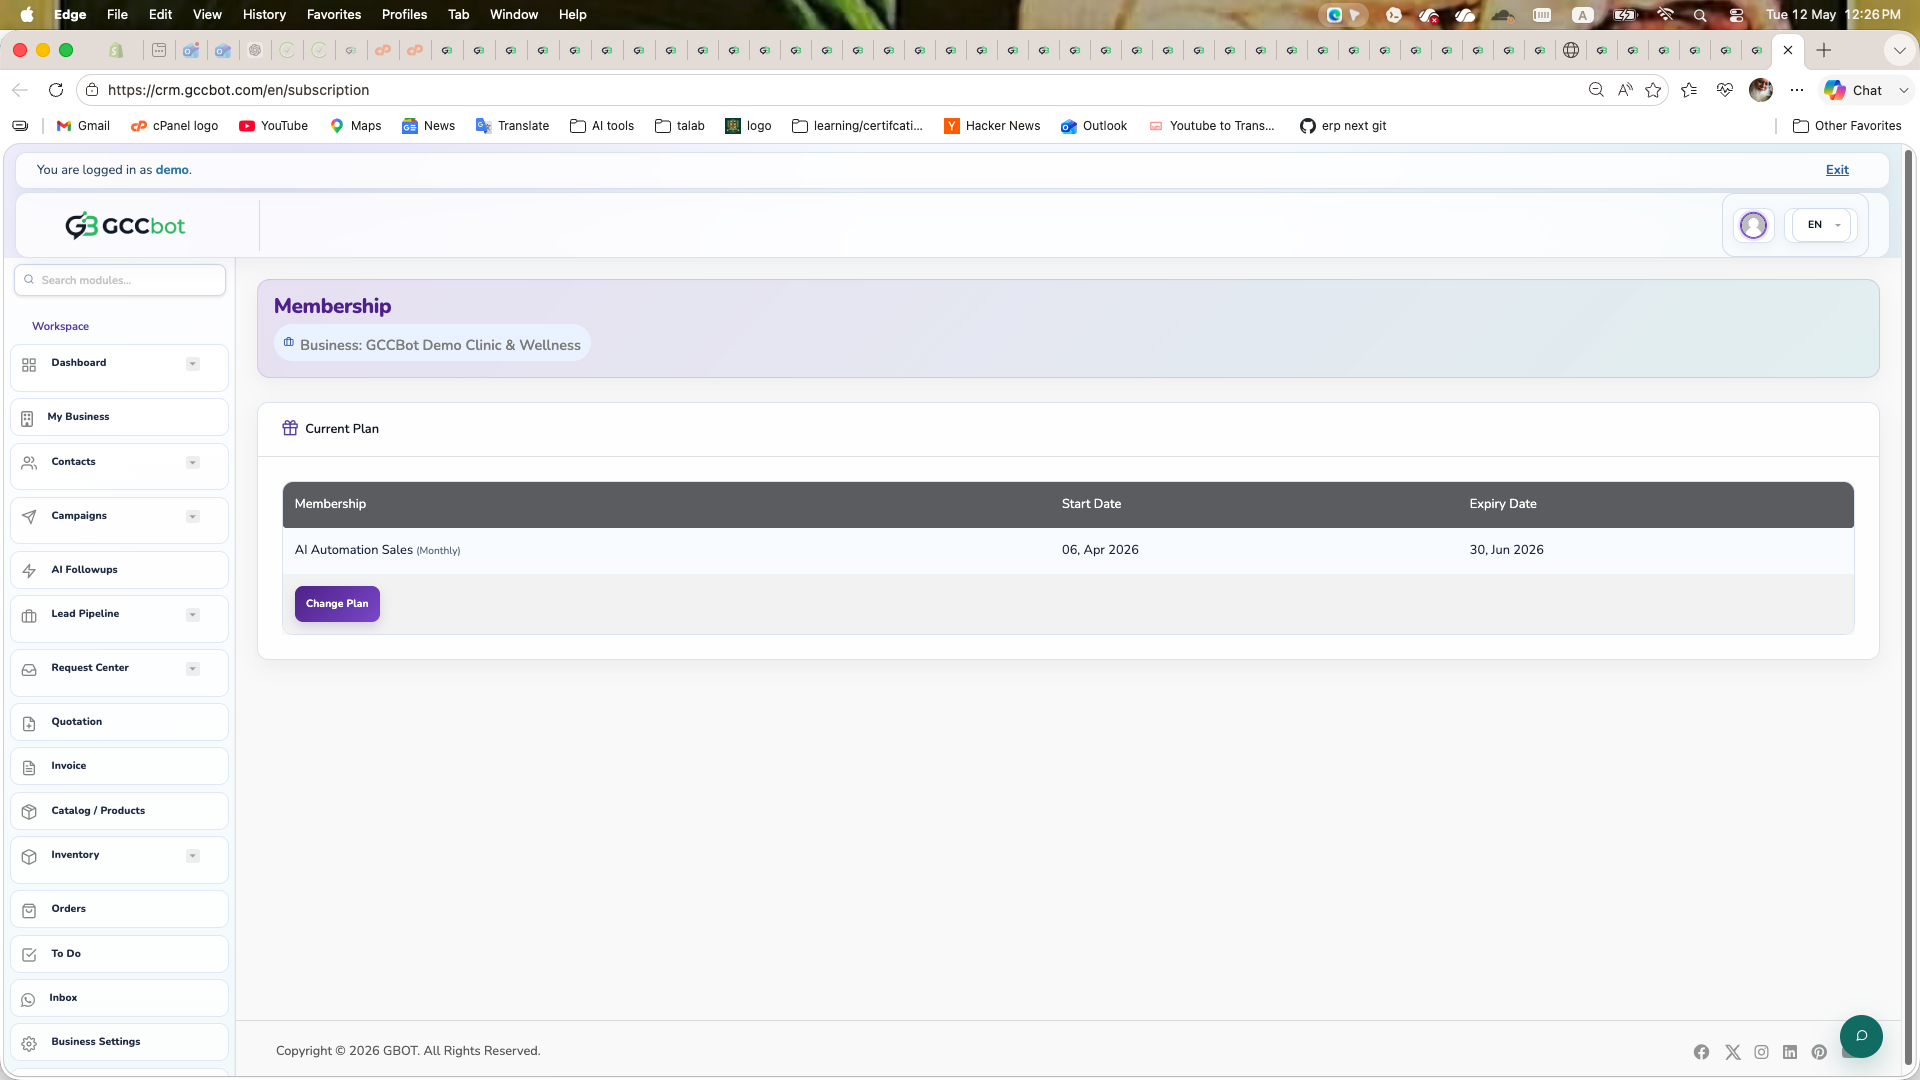
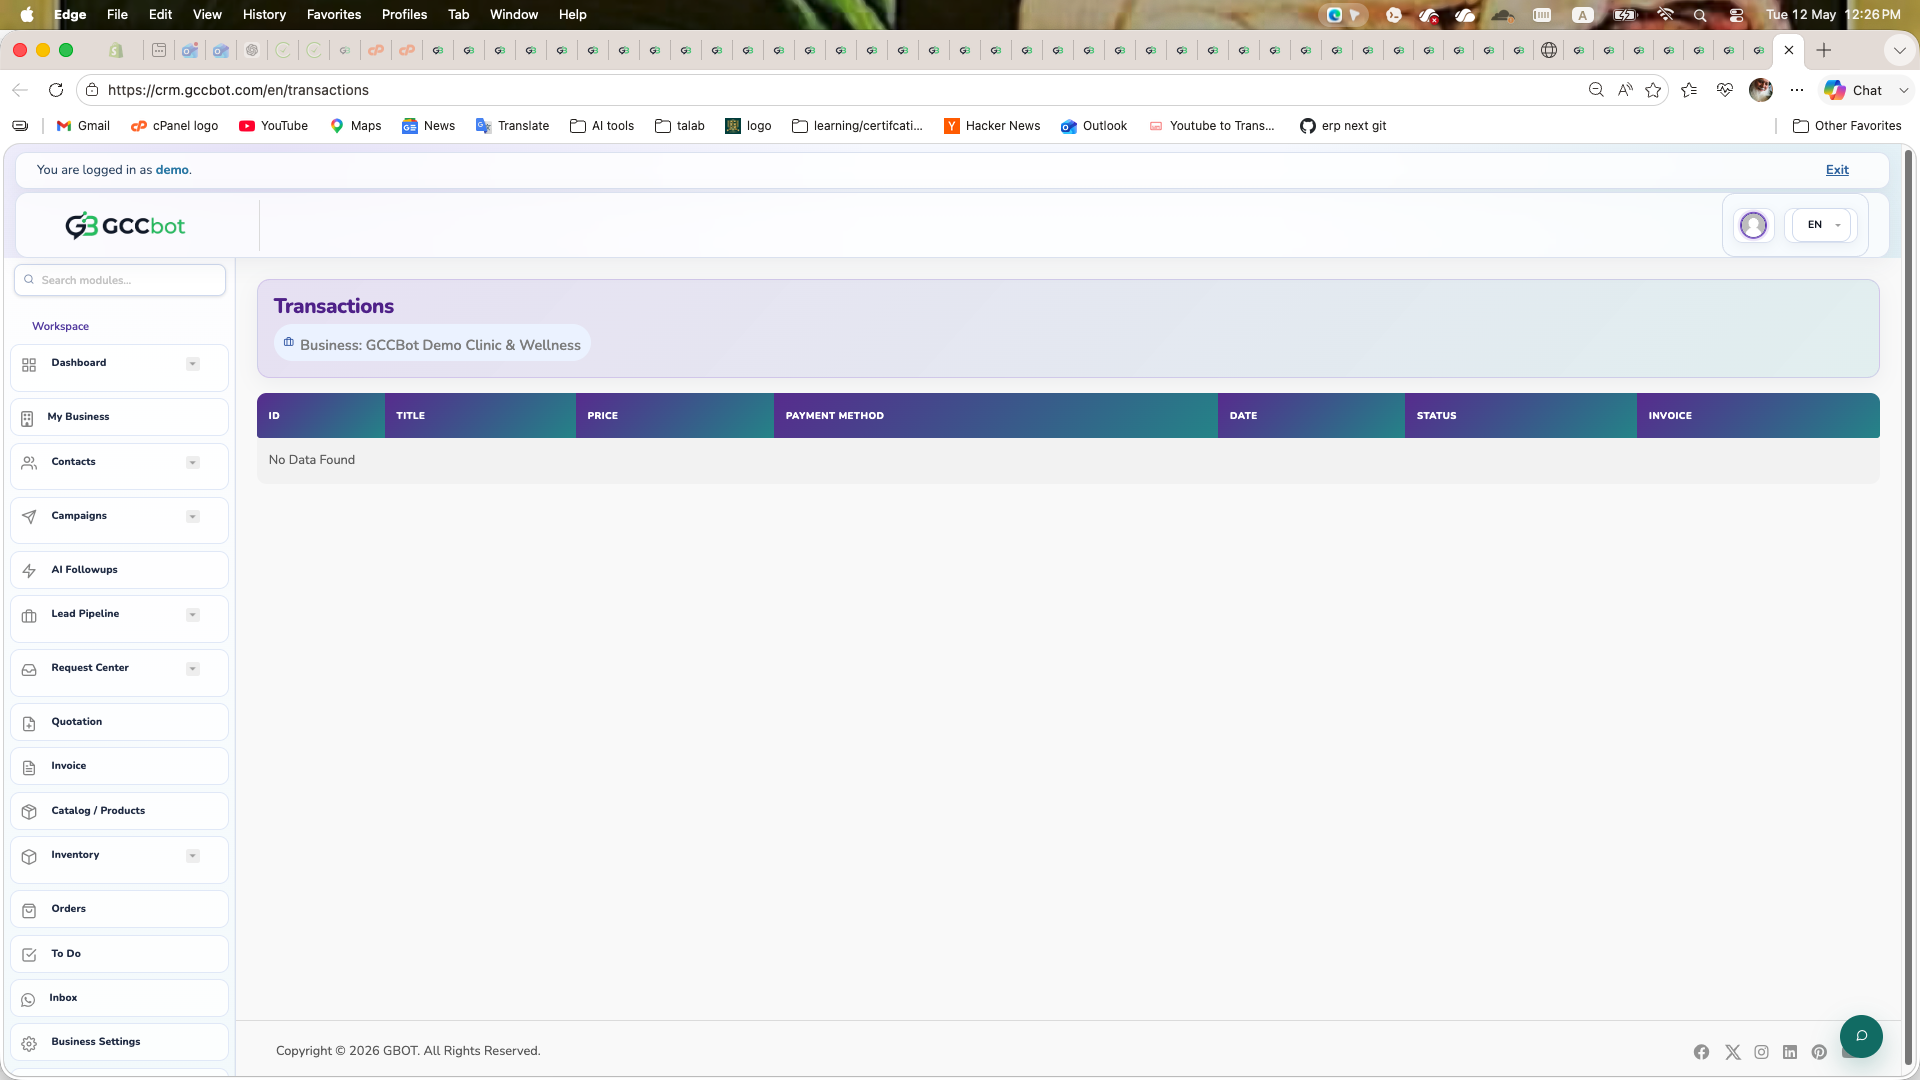
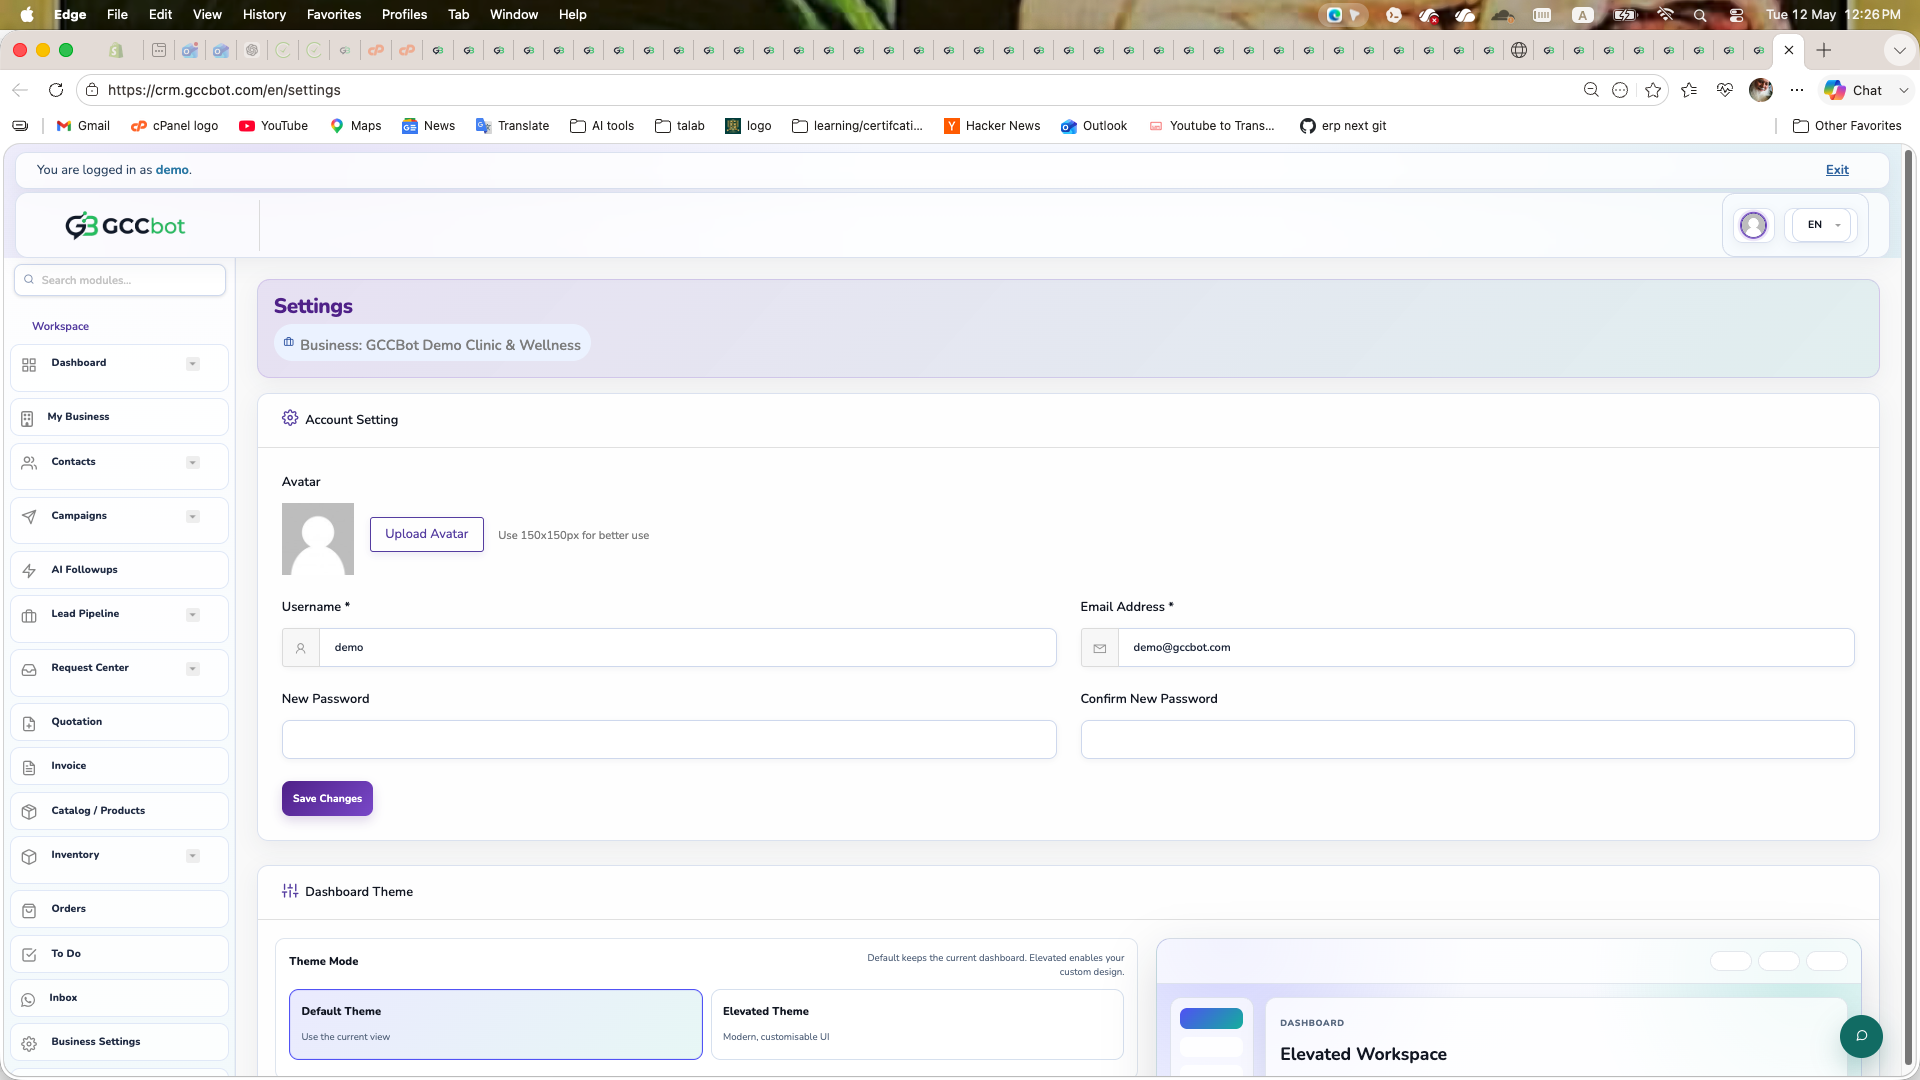
The main dashboard shows the user workspace, current business context, quick stats, and shortcuts to business operations.
How to use this module
Use Dashboard Home when users ask for the main screen, business overview, quick stats, or where to start.
How to guide users:
1. Open Dashboard from the sidebar.
2. Confirm the correct business is selected in the business switcher.
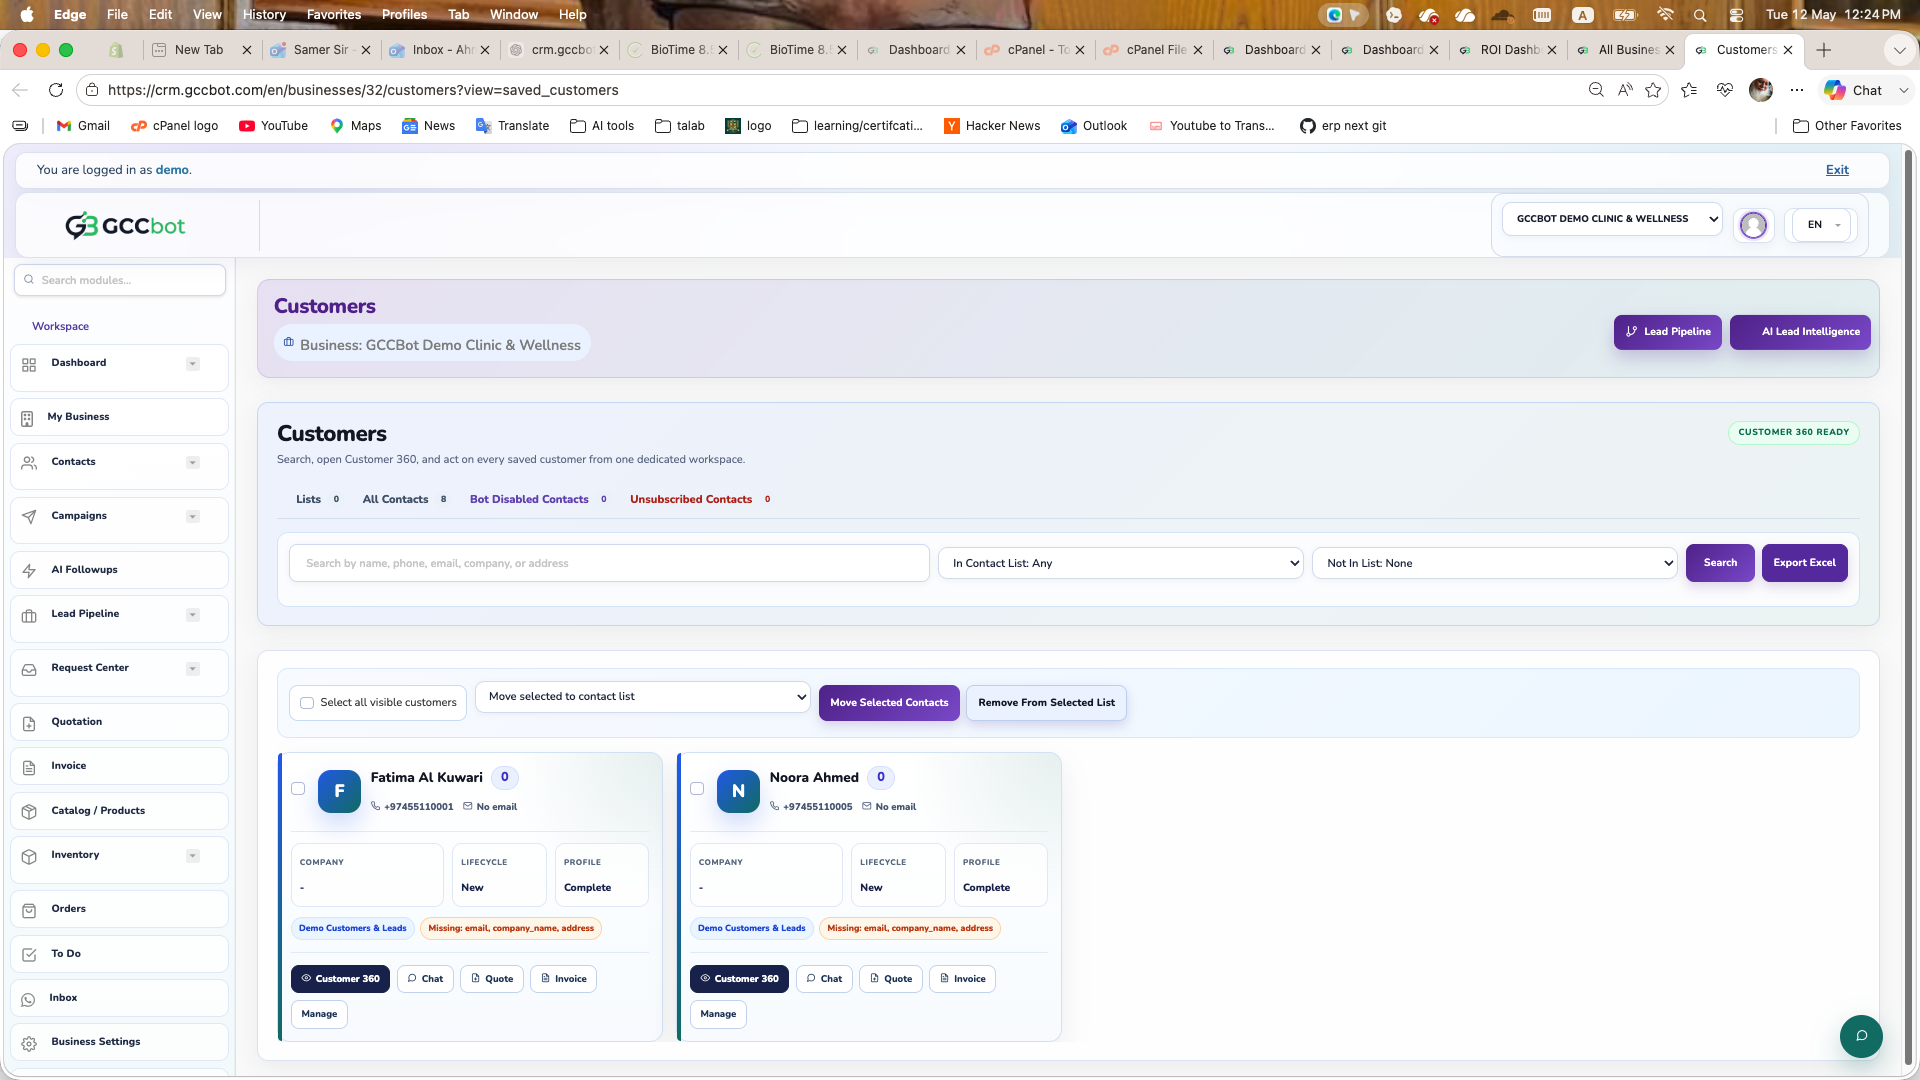
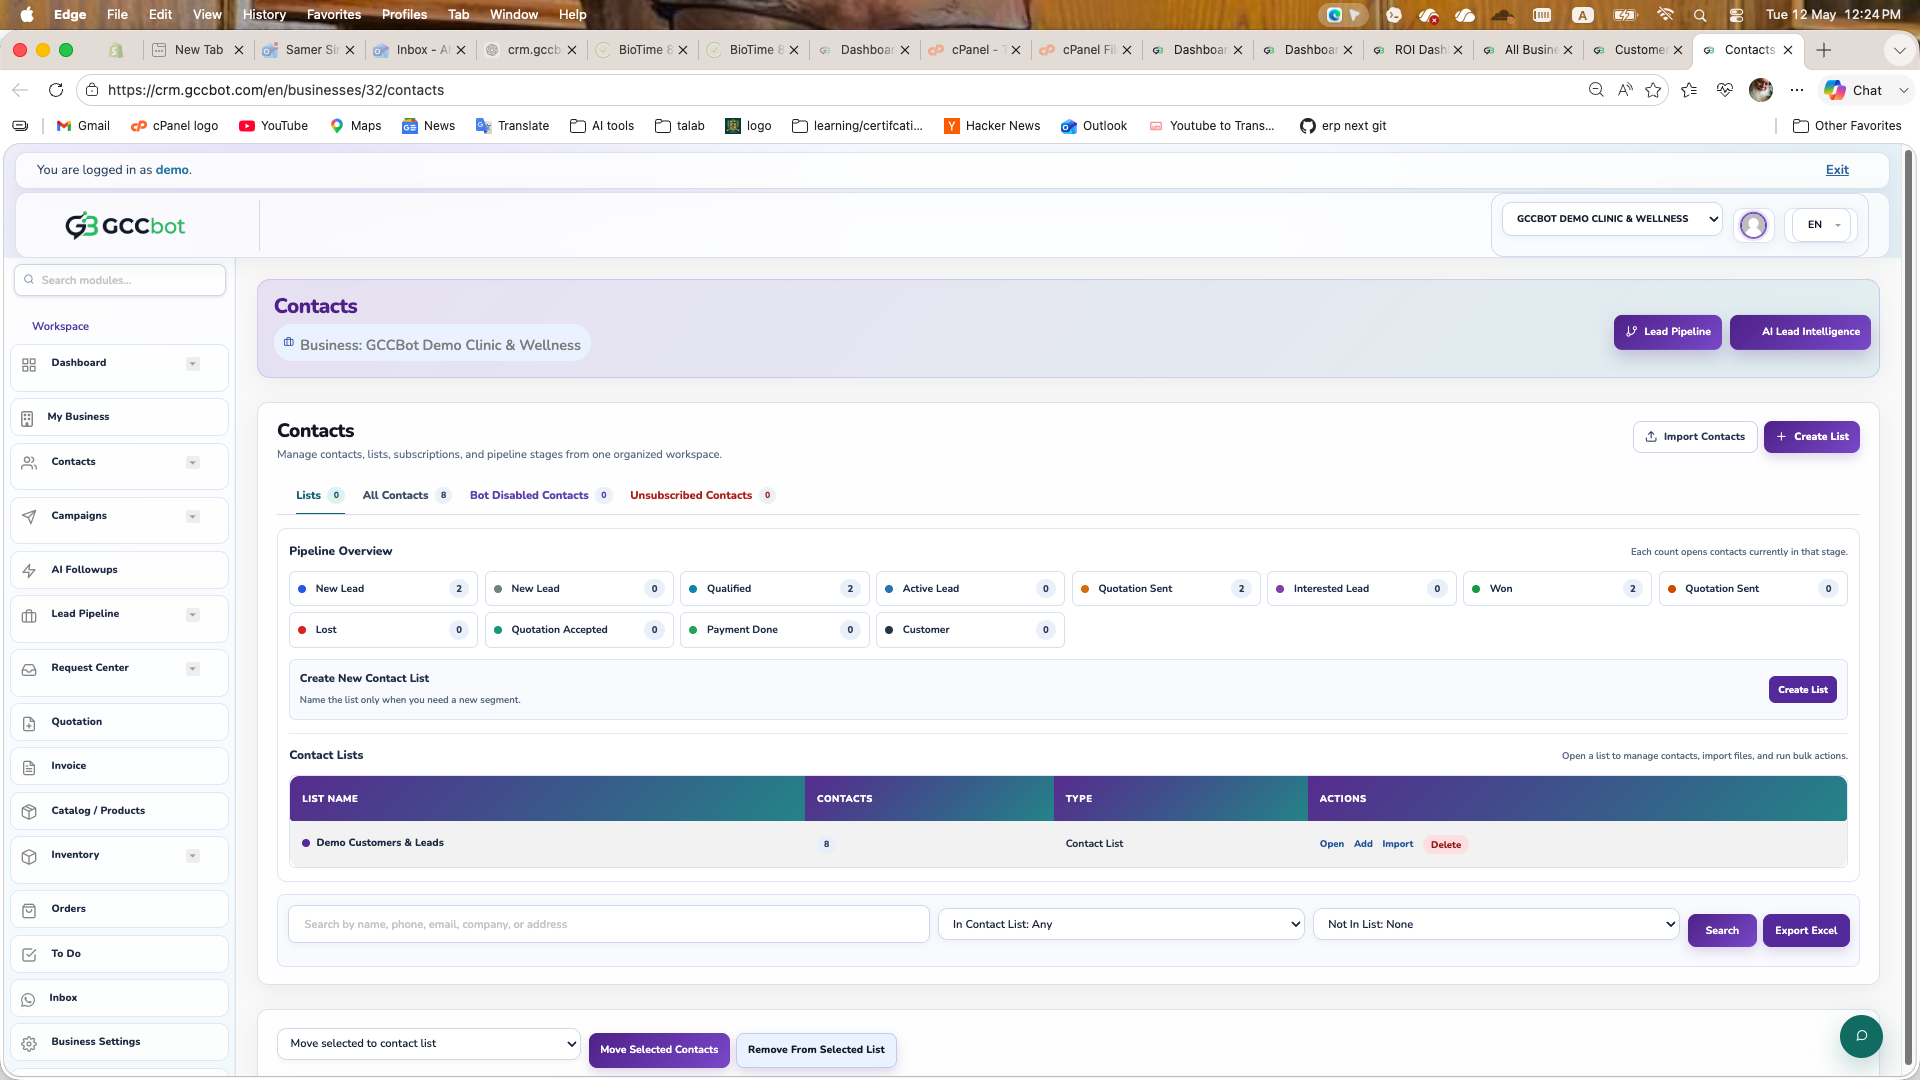
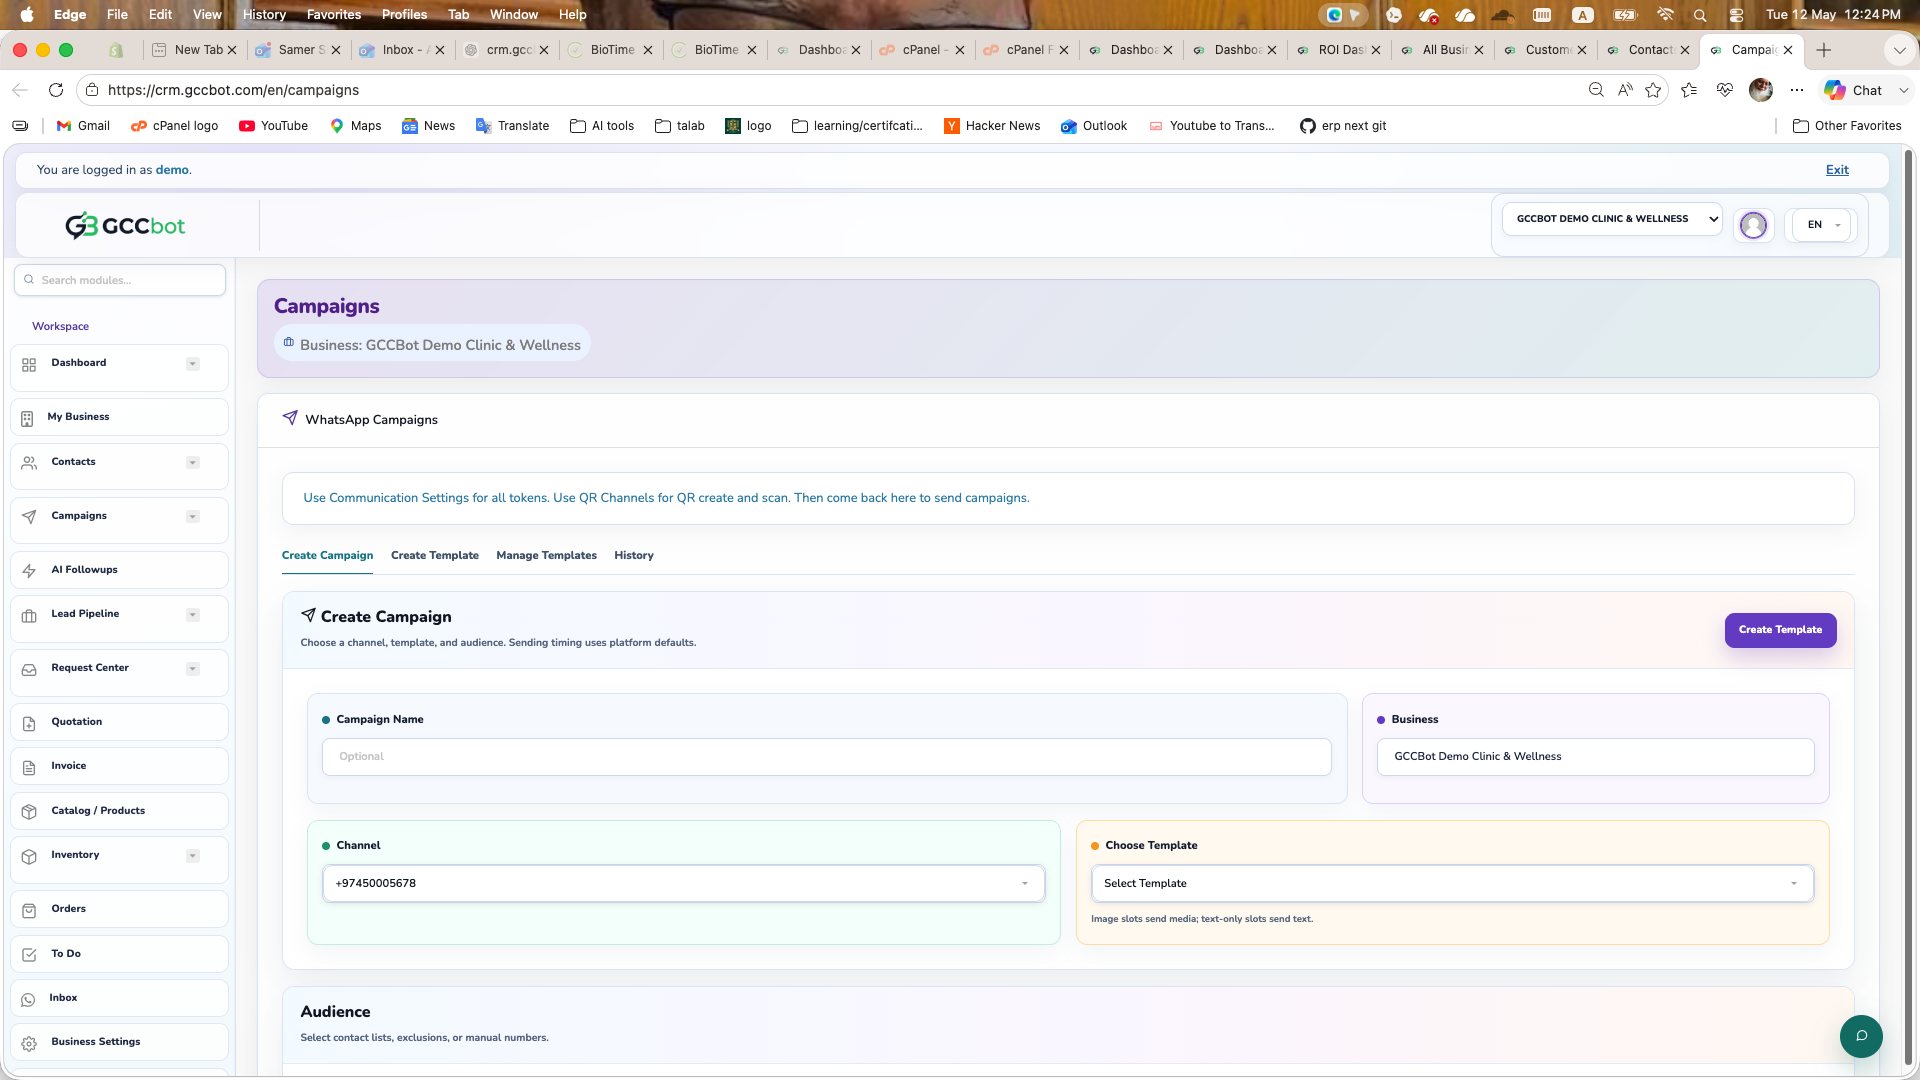
3. Use the visible cards and shortcuts to continue into contacts, catalog, orders, campaigns, or settings.
Common issue: if data looks wrong, ask the user to verify the current business context first.
How to guide users:
1. Open Dashboard from the sidebar.
2. Confirm the correct business is selected in the business switcher.
3. Use the visible cards and shortcuts to continue into contacts, catalog, orders, campaigns, or settings.
Common issue: if data looks wrong, ask the user to verify the current business context first.